The BriskGen Journal
Video to Storyboard: Turn a Reference Clip Into an Editable Shot List
Turn a reference video into a storyboard, edit each shot, and prepare a shared character and scene image for a short-form video.
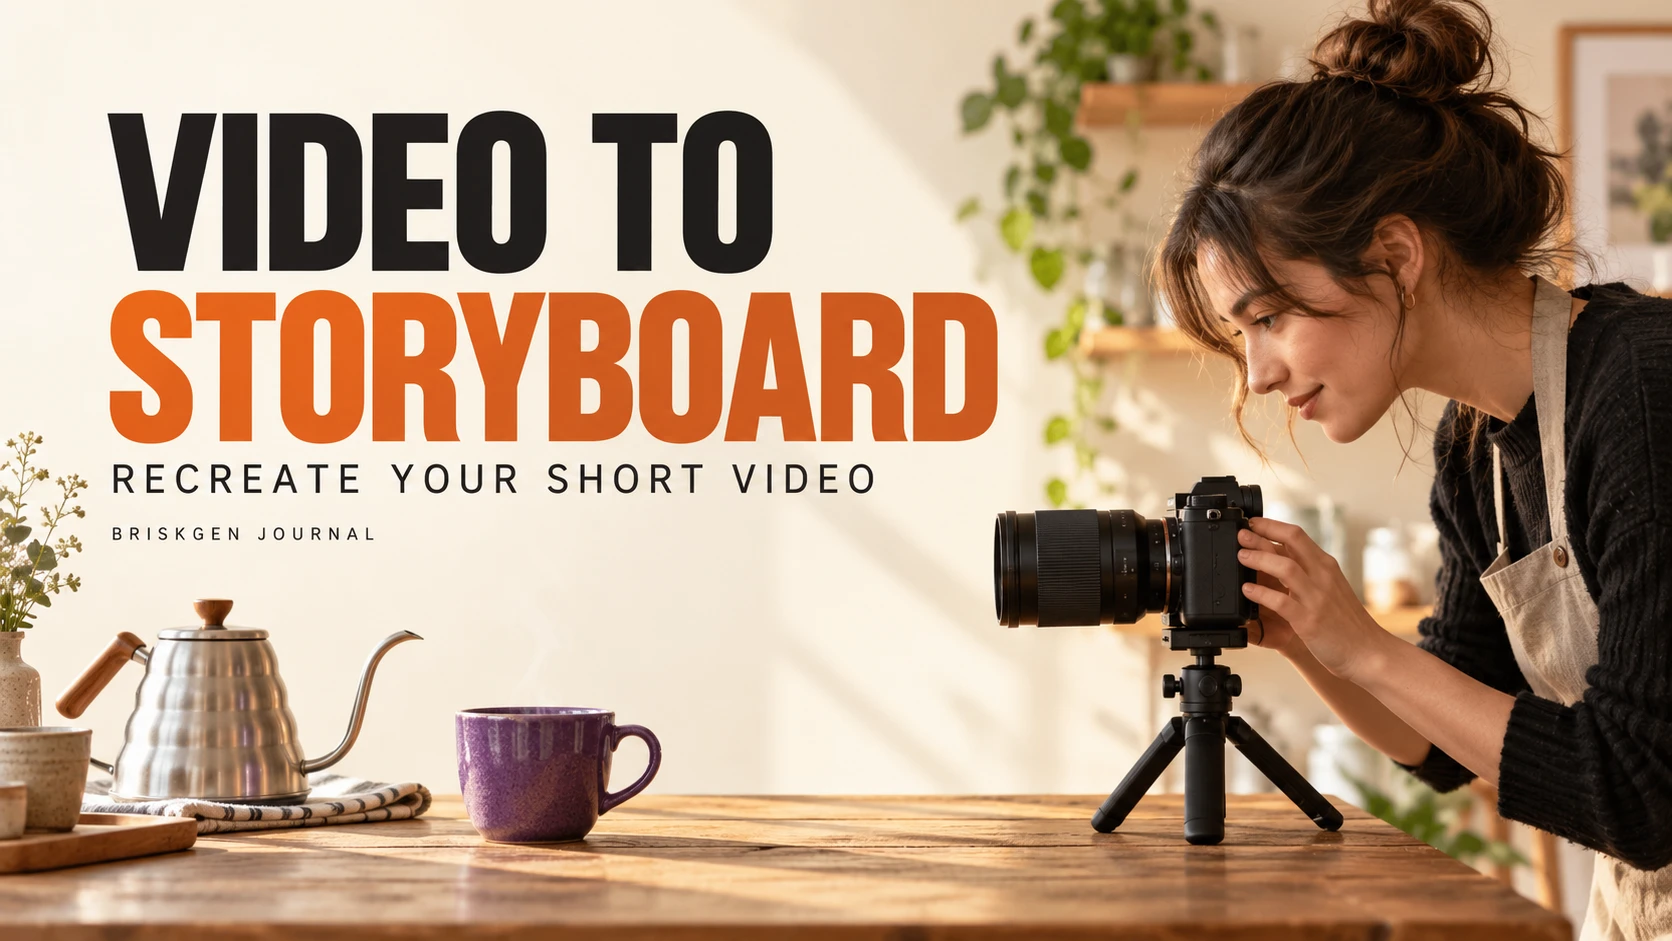
Upload a reference video, review its shots and timings, and edit the script for your own idea. Then prepare a single image showing your character and setting together. Pair that image with each shot's script when generating individual clips, and check the clips before assembling your Short.
This video to storyboard guide walks through a fictional nine-second coffee video for TikTok or YouTube Shorts: a creator holds a cup, pours water, and lifts the finished drink. The example is a planning exercise, not a real video or a tested product output. Its timings and prompts are there to adapt to your own material.
Availability: This describes the intended BriskGen workflow. The signed-out homepage says video pricing and generation are not yet available. The complete generation flow and this example have not been verified through a signed-in production test. Use a supported tool or manual notes for available steps, and check your account's actual options before submitting a generation.
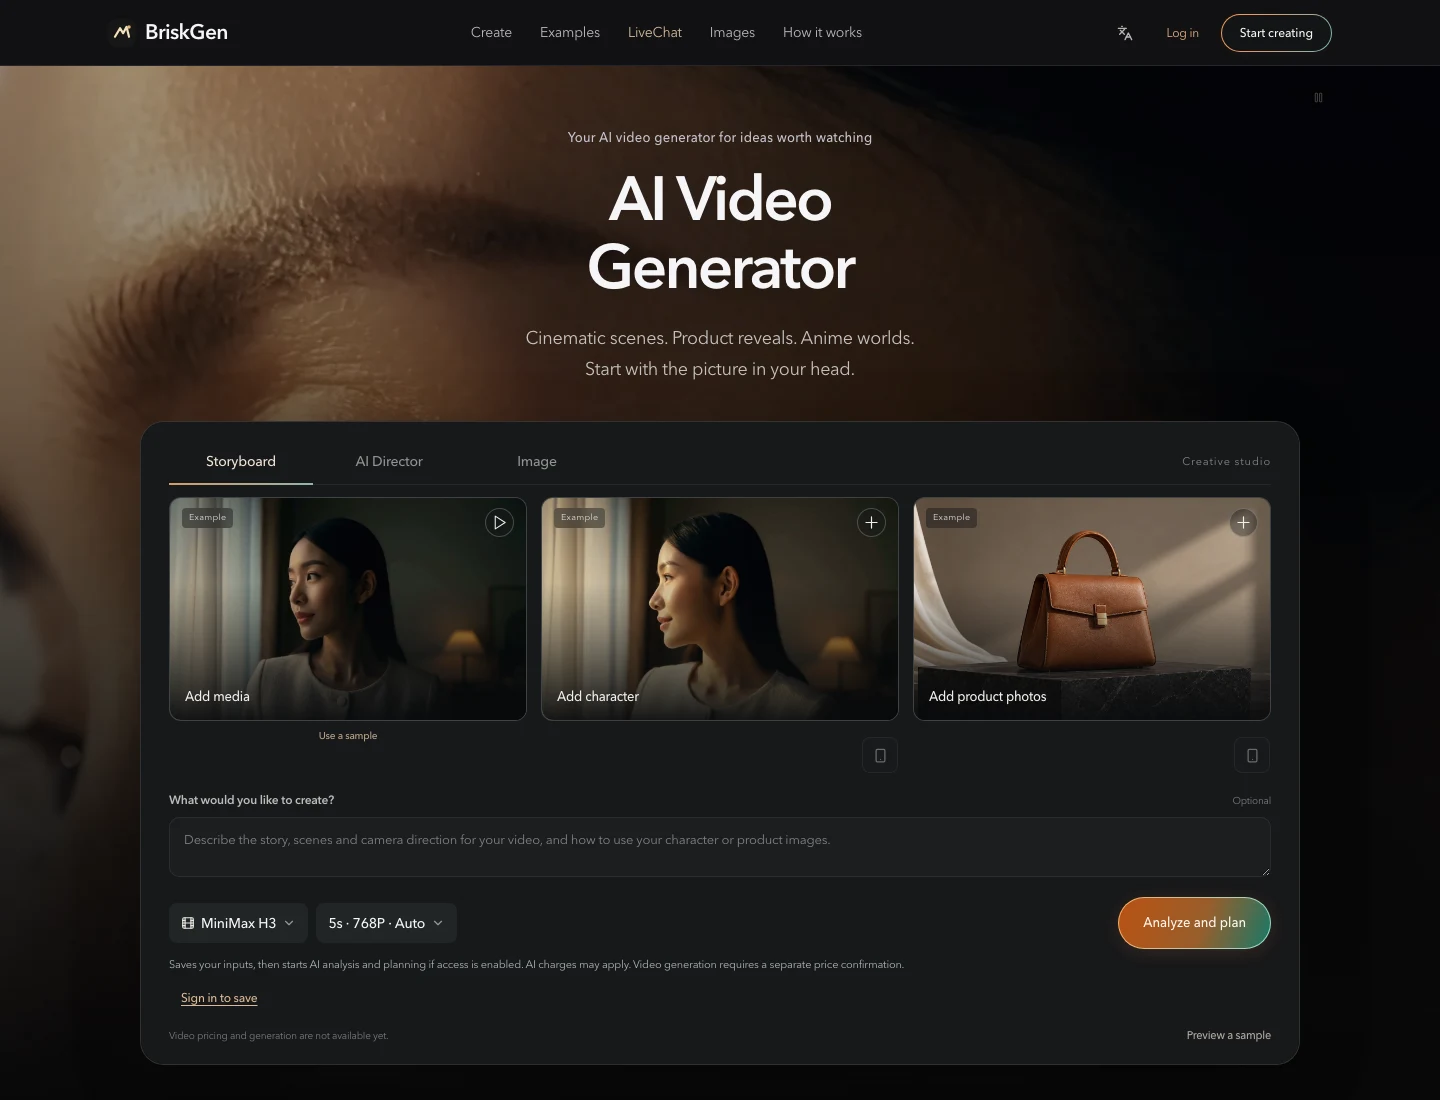
Public homepage captured October 29, 2026, while signed out. The built-in example is unrelated to the fictional coffee project.
What does a video to storyboard tool produce?
A video to storyboard tool takes a video as input and presents its sequence as shots or visual panels. Depending on the tool, the output may include frames, timecodes, camera descriptions, notes, or an editable shot list. Check which output you need before uploading: StoryFolder describes a video-based storyboard with shot notes and exports, while Vidsembly's B-roll planner starts from a written script instead. Those are the providers' descriptions, not results tested for this guide.
A storyboard from a reference video can help you identify the cuts, shot sizes and camera moves that create the original rhythm.
For this workflow, the useful result is a reference video storyboard with one editable entry per shot: start and end time, framing, camera movement, subject action, and any transition worth preserving. Compare each entry with the source; an automatic breakdown is a draft to review.
1. Upload a reference video for your storyboard
Choose a short reference whose footage you have permission to use. Check the rights to any music and to the use of an identifiable person's likeness separately. Keep the original file and permission information with your project.
In a video to storyboard workflow that accepts your file, upload it and request a shot-by-shot breakdown. If the workflow is unavailable, pause the clip at each cut and make the same table yourself. Play across each boundary to see whether an action begins in one shot and ends in the next. A shot list from video should record that handoff; one still frame will not show the whole movement.

Shot 1 planning illustration for the fictional coffee project. The script also calls for placing the cup back beneath the dripper before the cut. This is not a video frame or a tested product output.
2. Review your video to storyboard breakdown and edit the script
Here is an example reference video storyboard for a nine-second edit. Its timings are invented, not measured from footage.
Shot 1 · 0:00–0:03 · Opening: Medium close-up with gentle handheld movement. The creator picks up a purple ceramic cup, then places it back beneath the dripper before the cut.
Shot 2 · 0:03–0:06 · Pour: Fixed overhead close-up. A silver kettle pours water over coffee grounds in a dripper, with the cup underneath.
Shot 3 · 0:06–0:09 · Lift: Side view with a slow push-in. The creator lifts the same cup from beneath the dripper.
The timings describe the intended edit, not a promise that a model generates exactly three seconds per request. Pick supported generation durations and trim the usable footage during editing.
When adapting a storyboard from a reference video, choose which changes to make to the character, location and props, and which parts of the original shot sequence to keep. For a useful shot list from video, replace vague phrases such as “make it cinematic” with an action and a camera instruction. Check that the cup is placed back beneath the dripper at the end of shot 1, remains there during shot 2, and is lifted from that position in shot 3. Check the counter and lighting across all three shots. This continuity is planned, not tested in generated clips.
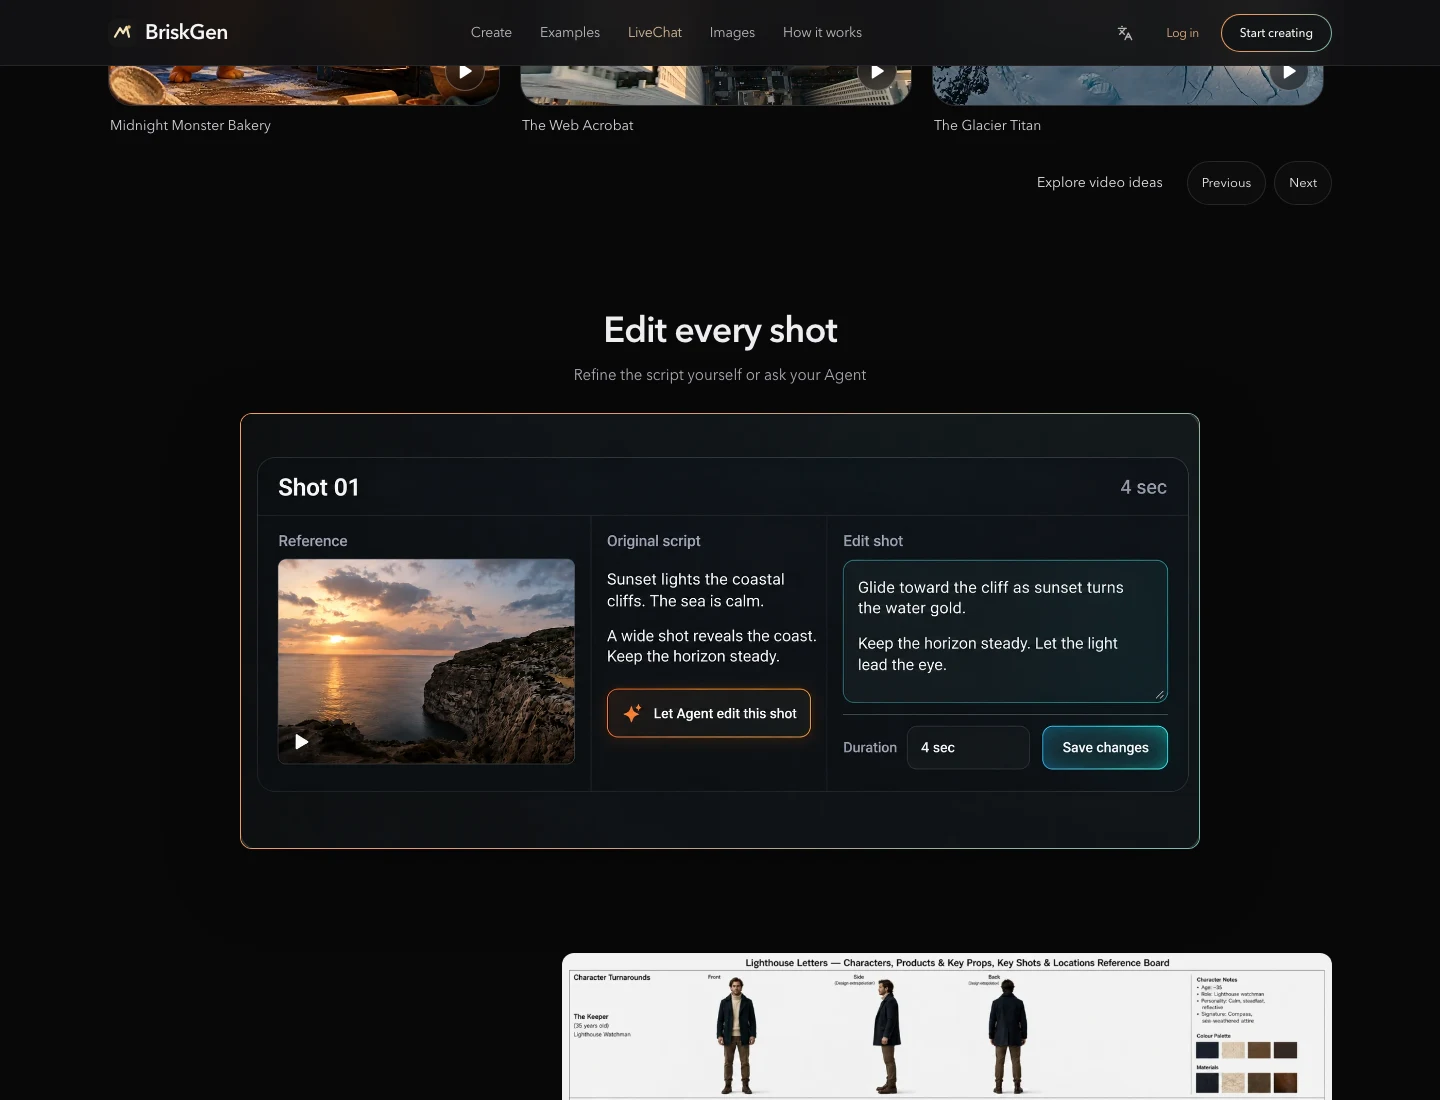
Homepage presentation based on an editor screenshot. The displayed project is unrelated to the coffee example and is not its analysis result.
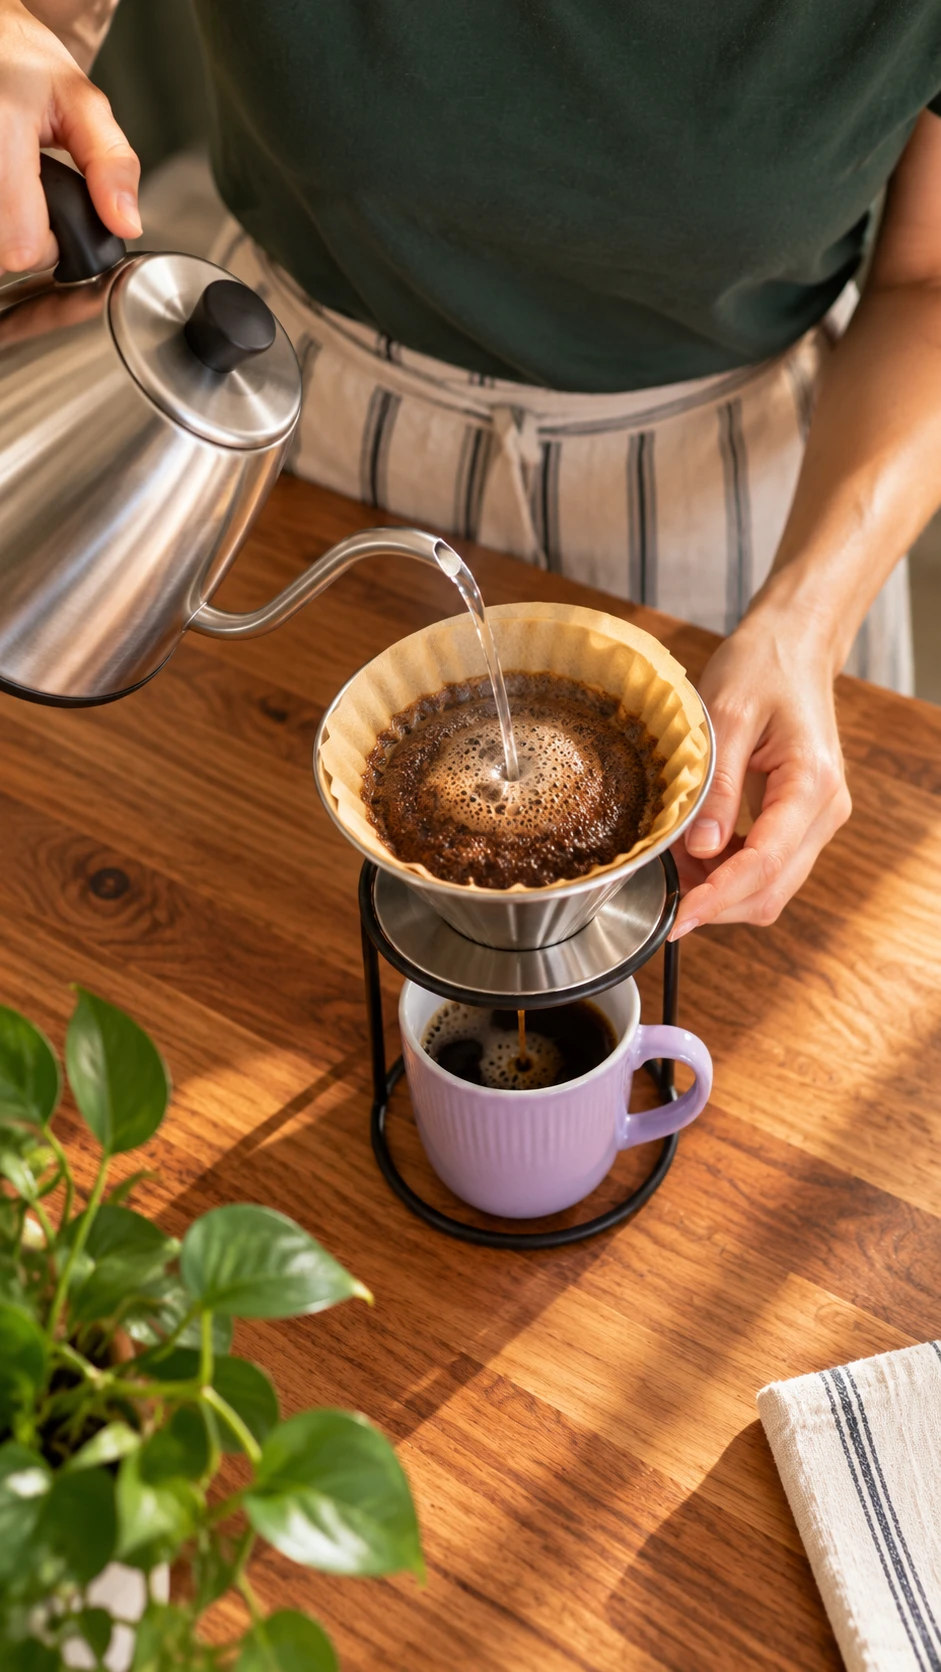
Shot 2 planning illustration. This is not a video frame or a tested product output.
3. Adapt a storyboard from a reference video with a character photo
Use a character photo with the person's permission. The intended next step is to combine that photo with your edited script to create one image showing the character and scene together. That image gives all three shots a common visual reference: the person, clothes, cup, kettle, counter, and lighting.
Adapt this prompt in an image tool that accepts the necessary photo input:
Using the uploaded, authorized character photo as a visual reference, create one vertical image of the same person standing at a warm kitchen counter. The person wears a dark green shirt. Place a purple ceramic cup and a silver gooseneck kettle on the wooden counter, with a coffee dripper nearby. Soft window light comes from the left. Show the person and these objects together clearly, in a realistic editorial photography style.
Inspect the image before using it. Is the cup the right color? Is the kettle in the scene? Does the person resemble the authorized reference sufficiently for your purpose? Revise the image or prompt if details conflict with the edited script. Runway's reference-media documentation notes that supported reference types depend on the model; supplying an image does not guarantee identical details in each output.
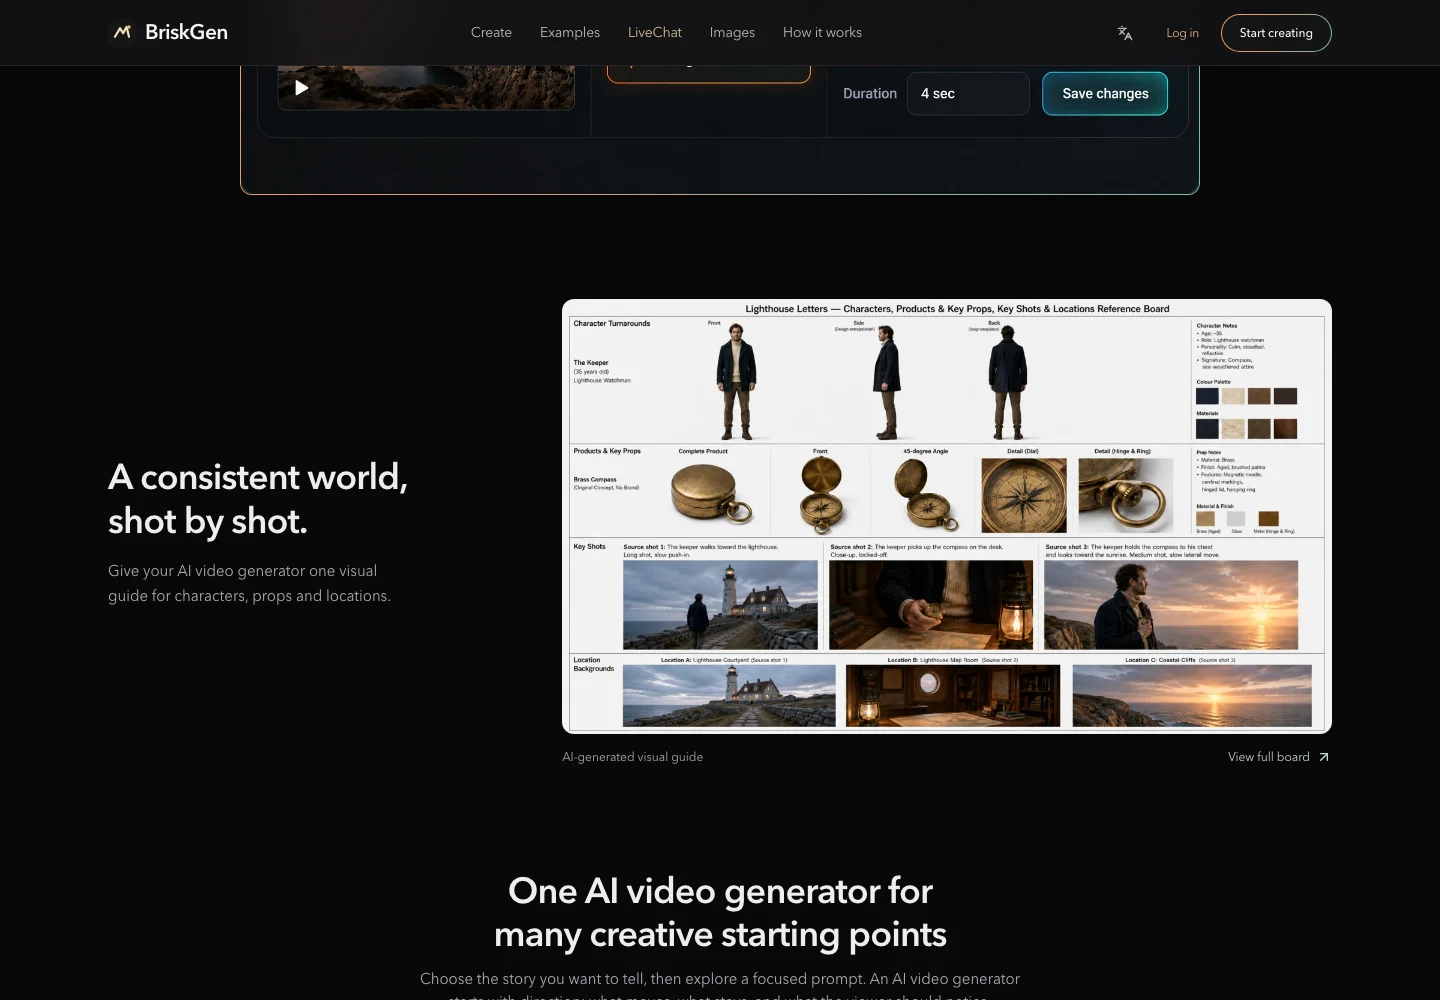
Homepage presentation for a different project. It illustrates the shared-reference format, not a coffee-case generation.
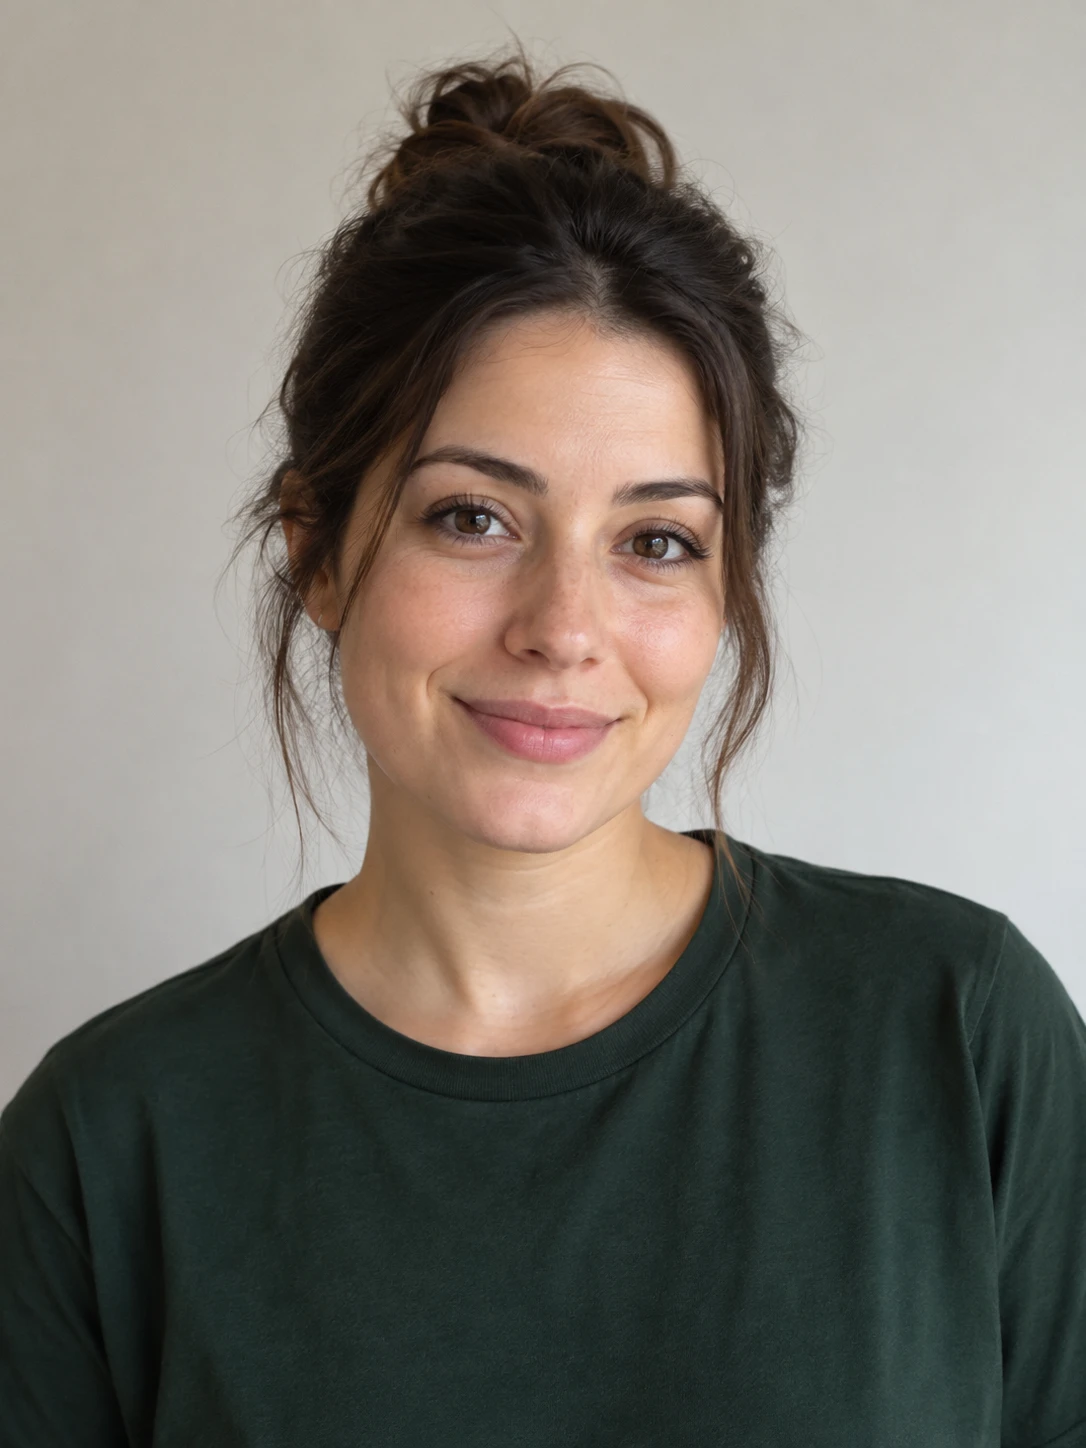
Fictional character reference image for planning. It is not a real person’s uploaded photo or a tested product output.
4. Pair the shared image with each shot script
Once a suitable model and workflow are available, submit the shared reference image with one edited shot script at a time. Check the model's supported inputs, aspect ratio, duration, cost, and terms before submitting. Begin with the opening shot and inspect it before generating the other two.
These are starting instructions, not tested prompts or guaranteed results:
- Opening: “Medium close-up of the creator beside the kitchen counter, picking up the purple ceramic cup and placing it back beneath the dripper before the cut. Gentle handheld camera movement; soft window light from the left.”
- Pour: “Overhead close-up of the silver gooseneck kettle pouring water slowly in a circle over coffee grounds in a dripper. Fixed camera; warm kitchen light.”
- Lift: “Side view of the creator lifting the purple ceramic cup from beneath the dripper. Slow camera push-in; light from the left.”
The same reference image and recurring object descriptions give the model consistent guidance. Results may still differ from the image or text: Runway explains that models interpret prompts and references. This plan makes no claim about exact motion transfer, face replacement, lip sync, audio, or generation success.

Shot 3 planning illustration. This is not a video frame or a tested product output.
5. Check the clips and assemble the Short
Put the clips beside the reference video storyboard and compare each against its row. Check the opening and ending frames, hand positions, props, lighting, and direction of movement. Trim the clips into sequence in an editor, then check the vertical crop and any captions in a phone-sized preview. Add only music or narration you are authorized to use.
If a shot needs work, identify the concrete mismatch before changing the prompt:
Cup color changes: Check the shared image and repeat “purple ceramic cup” in the affected shot.
Pour looks unclear: Specify the kettle, dripper and water path; simplify the camera instruction.
The lift does not connect to the pour: Check the cup position in both adjacent clips and adjust the shot script or trim point.
Hands or object shapes look wrong: Review the affected frames; revise the shot or regenerate where supported, after checking cost.
A video to storyboard process gives you a plan to compare against; it does not replace watching the generated footage. Use the original reference and the edited script together when checking the final sequence.
FAQ
Can a video to storyboard tool create a shot list?
Upload an authorized clip to a tool that accepts video, then review its extracted shots. For each shot, record timing, framing, camera movement and action. Edit the list for your own project and check its boundaries against the source.
What is the difference between a shot list and a storyboard?
A shot list records the shots and their details; a storyboard adds visual frames or illustrations to communicate composition. A reference video storyboard may include both.
Can I generate this coffee example in BriskGen now?
The signed-out homepage says video pricing and generation are not yet available. The coffee example and complete generation workflow have not been verified in a signed-in production session. Confirm availability in the actual account and workflow before relying on it.