The BriskGen Journal
How to Make an AI Video Remake: A Shot-by-Shot Guide
Plan an AI video remake from a reference clip, prepare your own assets, write shot-by-shot prompts, and review each clip before editing.
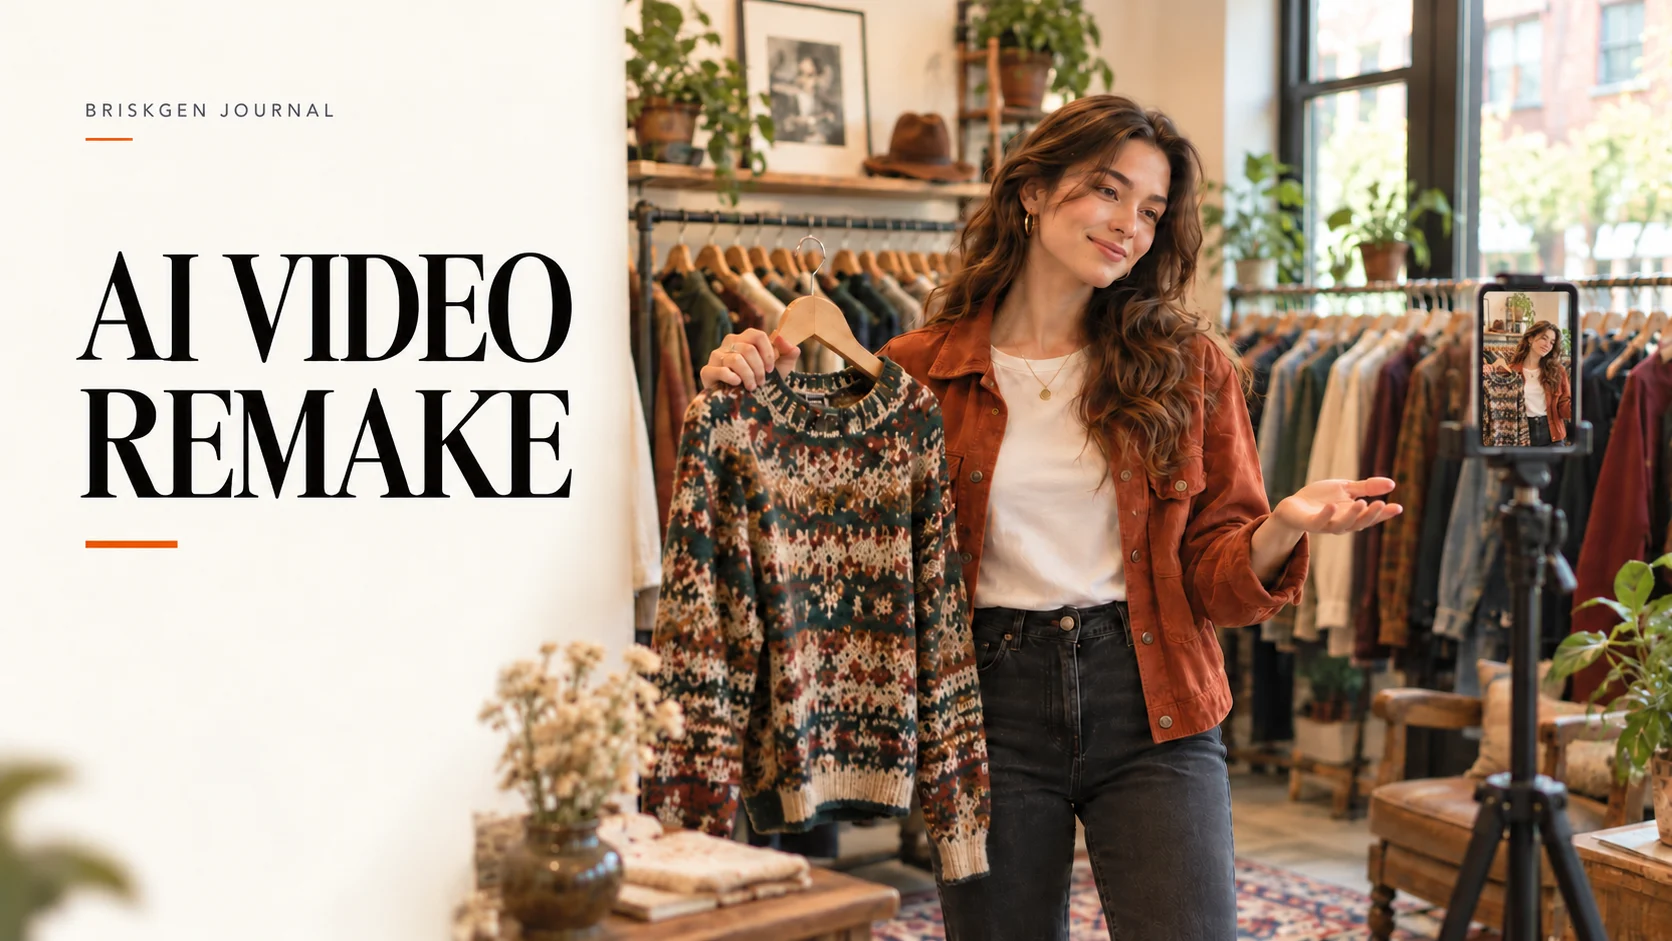
An AI video remake starts with a reference video you have permission to use. Mark each cut, note the action and framing, then prepare your own character, setting, and props. Generate and review each shot before editing the clips together.
The example below follows a fictional visit to a vintage clothing store. The person and locations are fictional. The prompts have not been tested through video generation, and the images are scene illustrations, not generated video results. Replace the example materials with assets you have permission to use.
Choose what to keep in your AI video remake
To recreate a video with AI, watch the reference once, then watch it again without sound. Note the sequence of shots, the main actions, approximate durations, and transitions between actions.
Mark each element to keep, replace, or redesign:
-
Shot order and pacing: You might keep the broad sequence of entering, browsing, and leaving, then add a close-up if you want to feature a garment.
-
Person and clothing: Use a portrait with the person's consent and clothing references you have permission to use. Record the colors, fit, shoes, and hairstyle in a consistent description.
-
Setting and props: Choose your own location references. Note where recurring objects such as the clothing rack and mirror appear.
-
Music, captions, and narration: Check permissions separately. If you do not have permission, use your own material or material licensed for your intended use.
Check the permissions for the video, portrait, music, trademarks, and other relevant material, including adaptation, publication, and any intended commercial use. Ask the rights holder when the permission is unclear. A generation tool does not obtain those permissions for you.
How to plan an AI video remake shot by shot
1. Mark the cuts
Use your phone's video viewer or an editor to step through the reference. Record each change of camera position. A moving camera within one continuous take can stay as one shot. For a dissolve or an occlusion transition, note the shots on both sides and how they connect.
For example, a clip could move from entering the store to selecting clothes, adjusting an outfit in the mirror, tying shoes, and leaving. Set each shot’s duration to suit the reference and your edit.
2. Prepare your materials
Give your portrait, location, and clothing files clear names:
-
character-front-portrait: a clear portrait used with the person's consent. -
location-vintage-store: an authorized interior reference with the mirror and rack positions noted. -
location-outside: an authorized exterior reference for the departure shot. -
clothing-jacket-and-shoes: authorized clothing references with their colors and styles recorded.
Tools differ in the number and format of reference images they accept. Check the tool's instructions before uploading. If it cannot accept multiple references, describe the fixed appearance in each prompt and review every shot.
3. Prepare a character and setting reference
Use your authorized portrait and location material to make a character-in-setting reference image. Check the person, outfit, mirror, and rack before choosing it as a shared reference. Prepare a separate exterior image for the departure shot.
When you remake a short video with AI, a reference image cannot guarantee consistent people, clothing, or space across clips. Check that the tool permits your intended use of the materials.
Five sample prompts for an AI video remake
In this fictional example, the character wears an orange jacket, white top, dark pants, and white sneakers. The store has a wooden clothing rack and a full-length mirror. These are untested video prompts; the accompanying illustrations show proposed scenes rather than video outputs. Replace the bracketed references and adapt the inputs to your chosen tool.
Shot 1: Enter the store
Use [character portrait] and [store entrance reference]. Vertical video, medium shot, locked camera. The character wears an orange jacket, white top, dark pants, and white sneakers. They enter the vintage store and walk toward the clothing rack, ending near it.
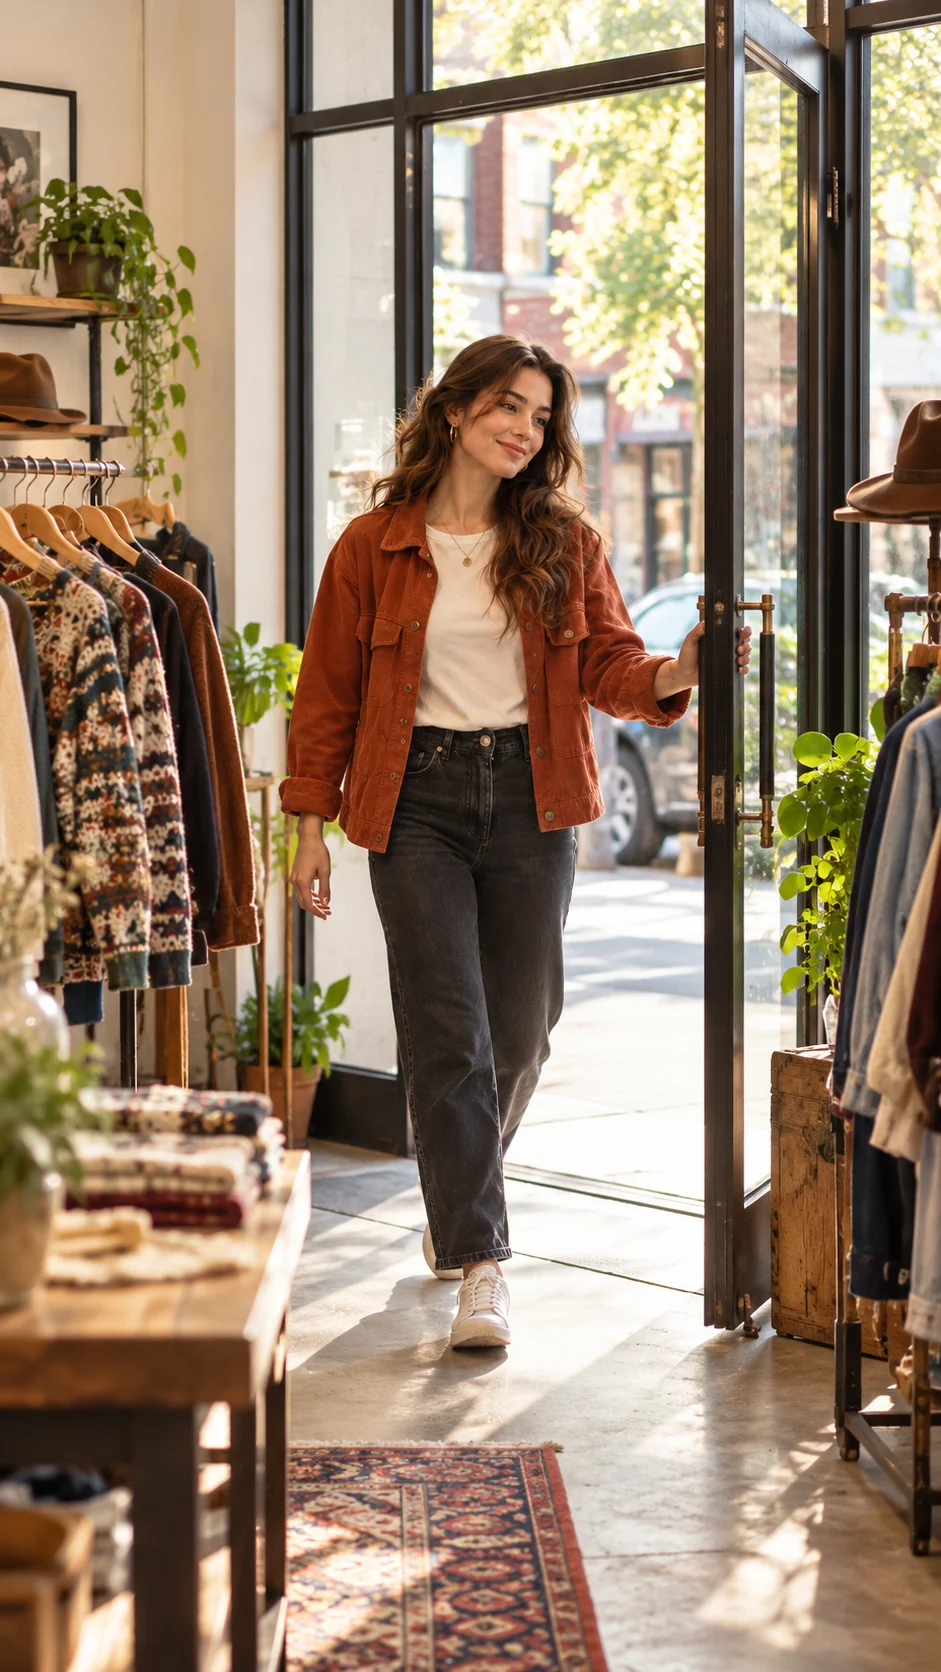
Fictional planning illustration for shot 1: entering the store.
Shot 2: Select a sweater
Use [character-in-setting reference]. Vertical video, medium close-up, steady camera. Standing beside the wooden rack, the character picks up a patterned sweater. Keep the hairstyle and the orange jacket they are already wearing consistent. They turn toward the mirror holding the sweater.
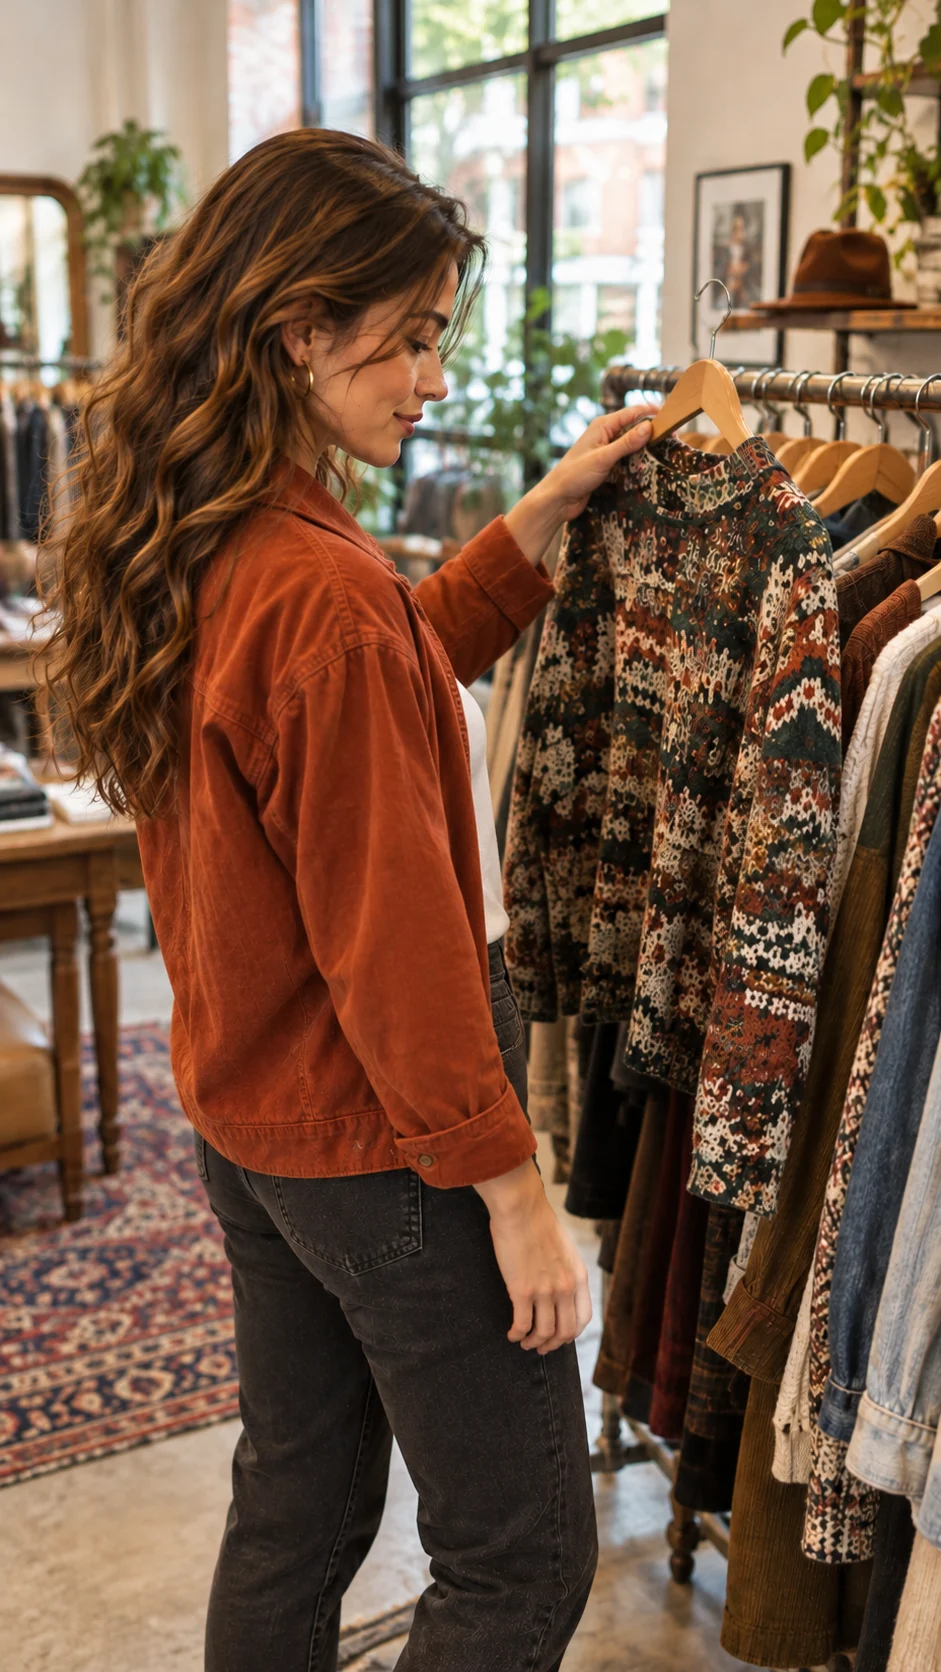
Fictional planning illustration for shot 2: selecting a sweater.
Shot 3: Adjust the jacket
Use [character-in-setting reference] and [jacket reference]. Vertical video, full-body medium shot, locked camera, mirror on the right. The character faces the mirror and adjusts the collar of the orange jacket they were already wearing. The rack is in the background; the patterned sweater is out of the shot. They look down at the end.
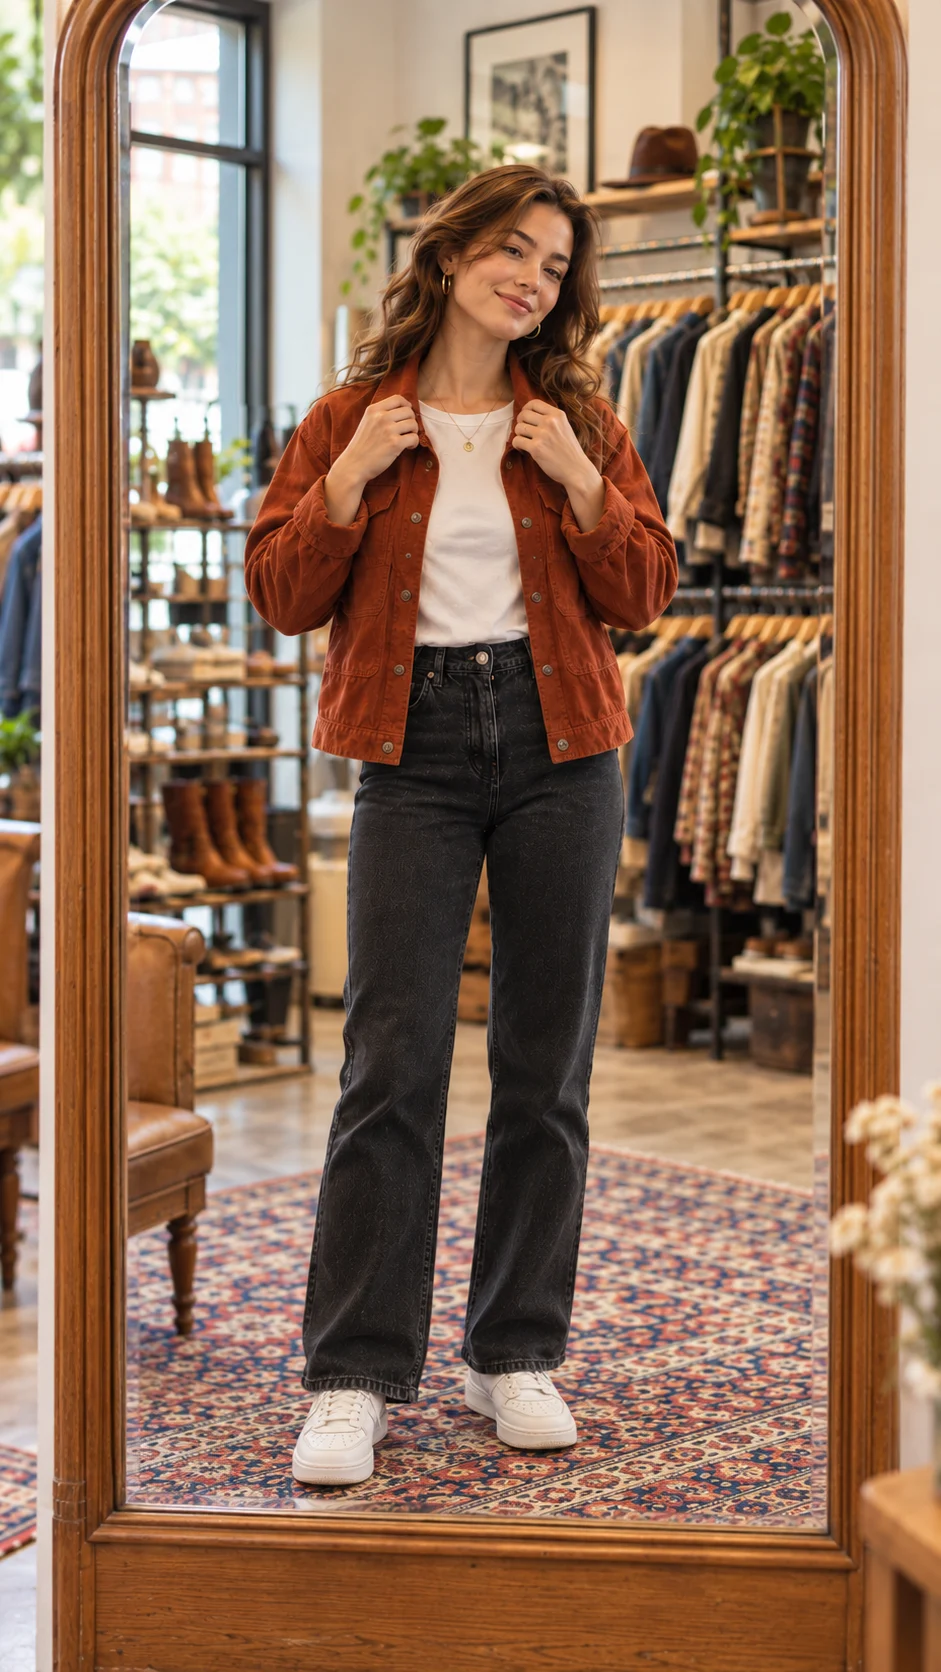
Fictional planning illustration for shot 3: adjusting the existing jacket.
Shot 4: Tie the shoes
Use [white sneaker reference] and [store interior reference]. Vertical video, low-angle close-up of the shoes. The character sits and ties the laces of their white sneakers. Keep the camera steady. At the end they stand up, ready to head toward the door; the close framing may not show the full action.
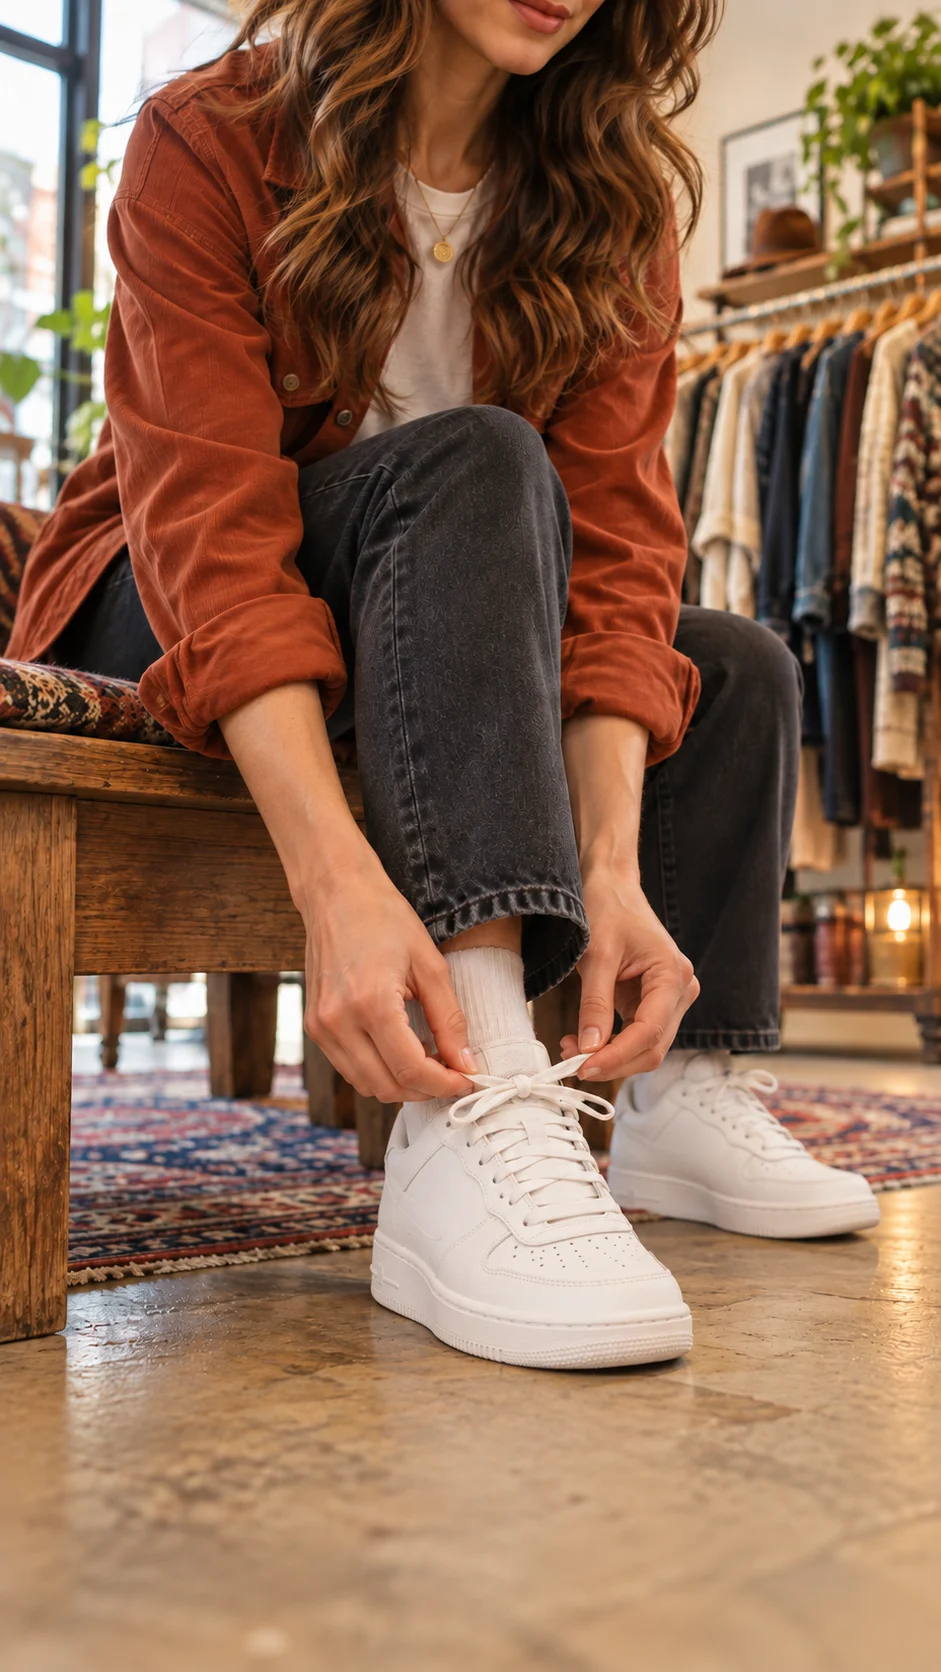
Fictional planning illustration for shot 4: tying the shoes. The close view does not show the full stand-up action.
Shot 5: Leave the store
Use [character portrait] and [exterior reference]. Vertical video, medium shot looking toward the door from outside. The character, wearing the orange jacket, white top, dark pants, and white sneakers, walks out of the store. Use the edit to connect this shot to the preceding stand-up action.
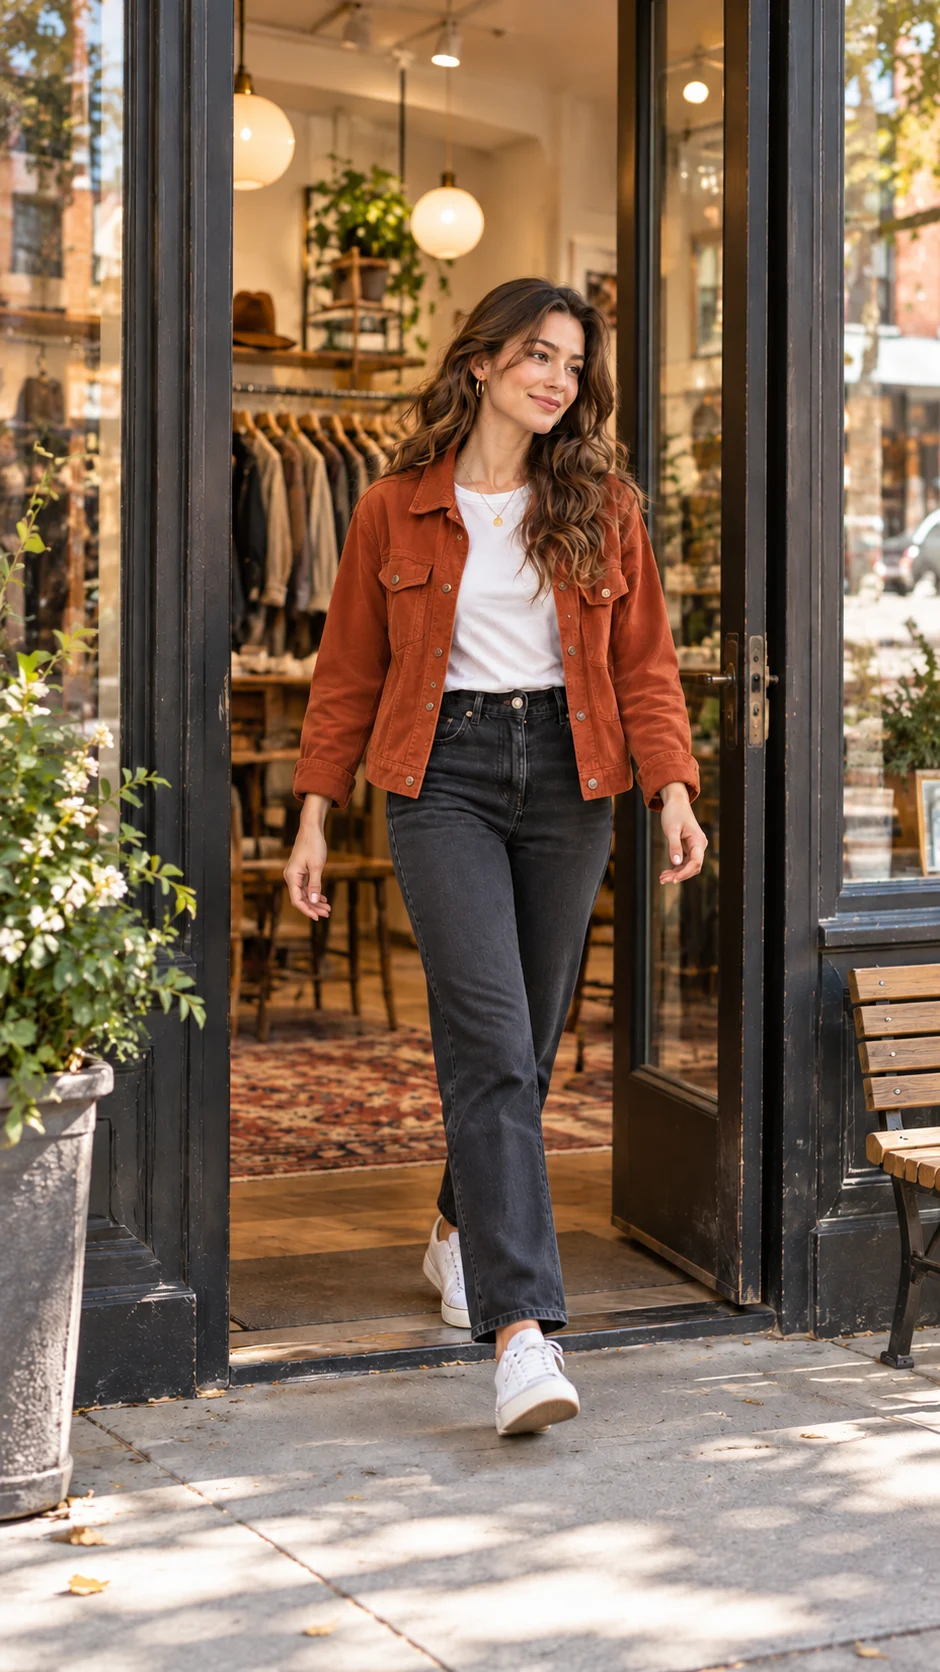
Fictional planning illustration for shot 5: leaving the store.
Adjust the directions, clothing, and actions in your AI video remake prompts to match your chosen reference. For example, if the mirror is on the left in your image, change its position in shot 3.
Review each AI video remake clip before editing
To recreate a video with AI, generate one clear character-and-setting shot first. Review the result, then reuse the confirmed descriptions for the remaining clips. Whether you can use fixed references, start and end frames, or other controls depends on the tool.
Before assembling an AI video remake, review:
-
Character: Compare face, hair, and body shape with the authorized portrait and previous shot. Check the hands for extra fingers or objects passing through them.
-
Clothing and props: Check the jacket, shoes, rack, and mirror. The character picks up a patterned sweater in shot 2 and adjusts their existing jacket in shot 3; they do not try on the sweater. The edit can omit putting it back, or you can add that action.
-
Movement: Check directions between entering, approaching the mirror, and leaving. If the character suddenly reverses direction, revise the prompt or choose another cut.
-
Picture and sound: Check aspect ratio, brightness, caption placement, and the permissions for music, narration, and ambient audio.
-
Transitions: Play adjacent clips together and look for jumps in clothing, posture, or gaze. Shorten a clip, use an authorized transition shot, or regenerate the section if needed.
If the face changes, try a clearer authorized portrait or character reference and reduce the number of actions in the shot. If clothing changes color, repeat the color and style in the prompt and check the reference image. For a problematic hand, shorten the selection action or begin with the hand already holding the hanger. Change one or two details at a time so you can compare results.
BriskGen's planned workflow and current status
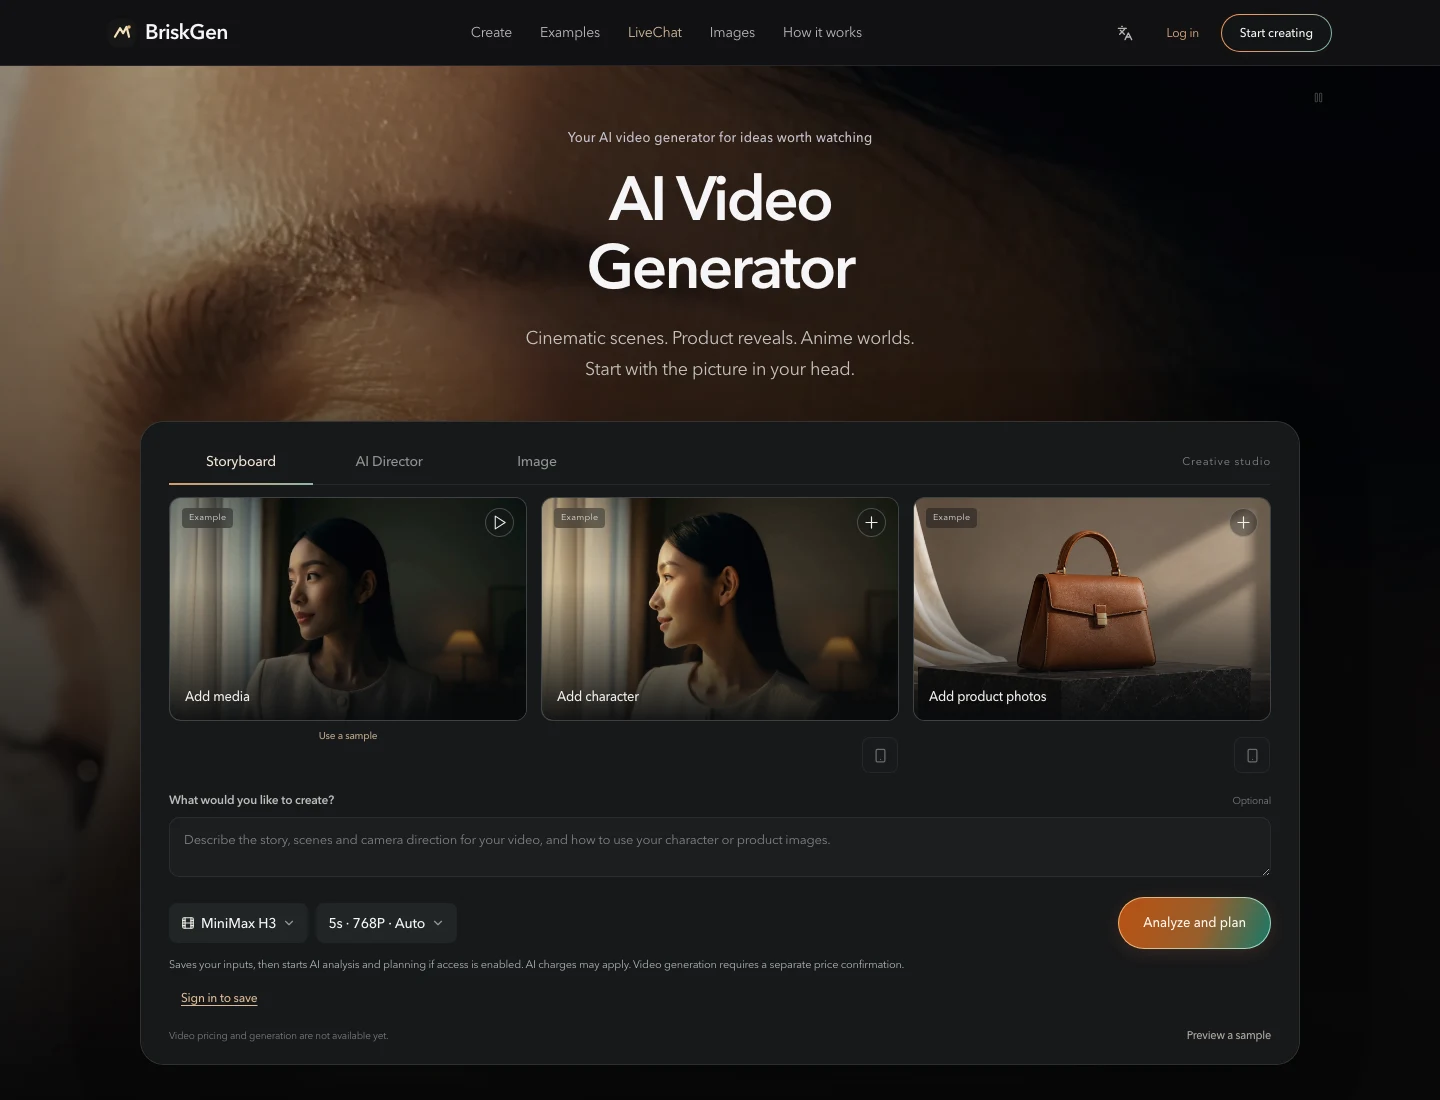
BriskGen public homepage, viewed while signed out on October 29, 2026. The built-in sample is unrelated to the fictional clothing-store plan.
BriskGen's planned workflow is to upload an authorized reference video, break it into a shot-by-shot script, provide a portrait, prepare a character-and-setting reference, and generate and review clips for editing.
Shot-by-shot video generation is not yet available in production. This fictional AI video remake example and its prompts have not been tested through video generation; the illustrations do not establish character consistency or finished-video quality. Check the product for current availability and supported inputs.
Frequently asked questions
Can I make an AI video remake without the original project file?
You can manually record cuts, actions, and framing from a reference video you have permission to use, then prepare your own portrait, setting, and props. Upload, script extraction, and clip generation depend on the tool's actual features. Check the reference video's permissions separately.
Should I remake a long video with AI in one go?
You can divide it into shots, review the people, clothing, and actions, then assemble the clips in an editor. When you recreate a video with AI, supported clip lengths and inputs vary by tool. Working in segments does not guarantee consistent characters or settings.
Will an AI video remake prompt reproduce the exact same shot?
There is no guarantee. A model may change a person's appearance, position, or action. Review one clip at a time and adjust the reference image, action, or framing. You can also replace a difficult shot with footage you filmed and have permission to use.
To remake a short video with AI, choose an authorized reference clip, note its cuts and actions, and use the sample prompts as a starting point for your own shot list.
For related planning, see the video to storyboard guide and character consistency workflow.