The BriskGen Journal
Product Video Storyboard: Plan a Clear 15-Second Ad
Build a product video storyboard with a copyable three-shot example, clear timing, product references, and a practical review checklist for a 15-second ad.
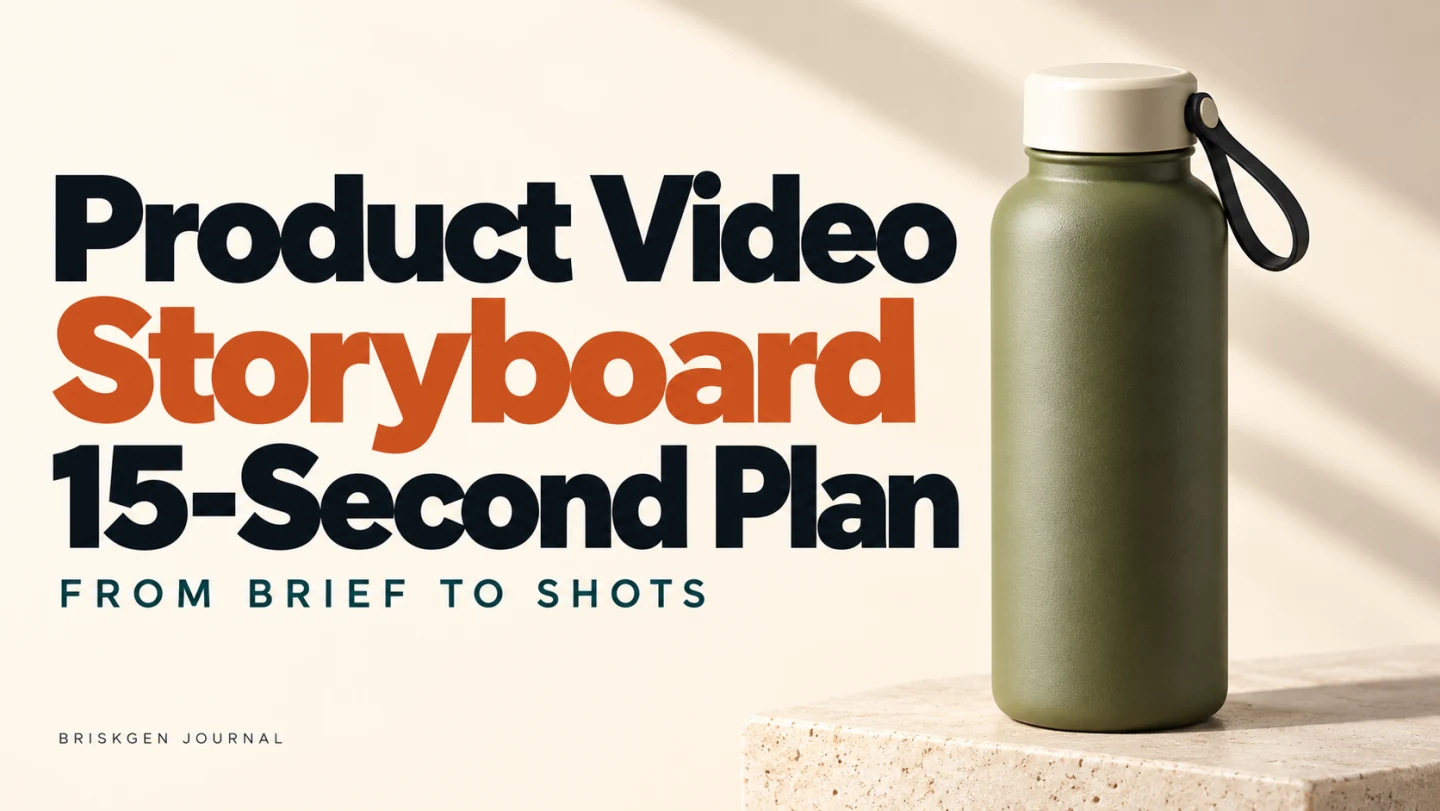
A product video storyboard turns a sales idea into a sequence of shots: what viewers see, what moves, what they hear, and how long each moment lasts. For a short ad, begin with one audience question per shot. Then check that the product looks like the same object throughout the sequence.
Our example is a 15-second vertical ad for a fictional, unbranded water bottle. The plan is simple: recognize the bottle, see it being filled, picture it in a commute. You can copy the shot table and brief below into your own project.
The illustrations are original AI-created planning stills, not BriskGen video outputs or evidence of product performance. Fifteen seconds is this example's editing target; it does not promise a single generation of that length.
Start with the decision the viewer needs to make
“Make a premium bottle ad” leaves nearly every useful choice unresolved. Premium could mean dramatic lighting, an expensive kitchen, a slow camera move, or a material close-up. None tells the editor what a viewer should learn.
Write a brief that names the object, the situation, and the one takeaway. For this example:
Introduce an olive green bottle for a daily commute. Show its shape clearly, show an ordinary filling action, and finish with the bottle in a canvas bag's outside pocket. Keep the message to everyday preparation.
The audience question is “Can I picture using this on my way out?” That supports an everyday scene. It does not justify “keeps drinks cold all day,” “leakproof,” or “fits every bag.” Those are product claims requiring separate evidence.
This is also where you decide what to leave out. Our ad has no founder story, capacity comparison, lid assembly tutorial, or discount offer. If each is important, give it its own version rather than asking three shots to carry an entire product page.
Fix the product before planning the scenes
Describe the bottle once: a warm olive green matte stainless steel body, a pale cream screw cap, a black carry loop, and no writing on the body. This is the design brief for a fictional object, not a specification for a product we tested.
Use one approved front view as the main reference. Compare body proportions, shoulder shape, cap height, and the loop attachment in every later image. “Green bottle” alone leaves too much room for a different silhouette.
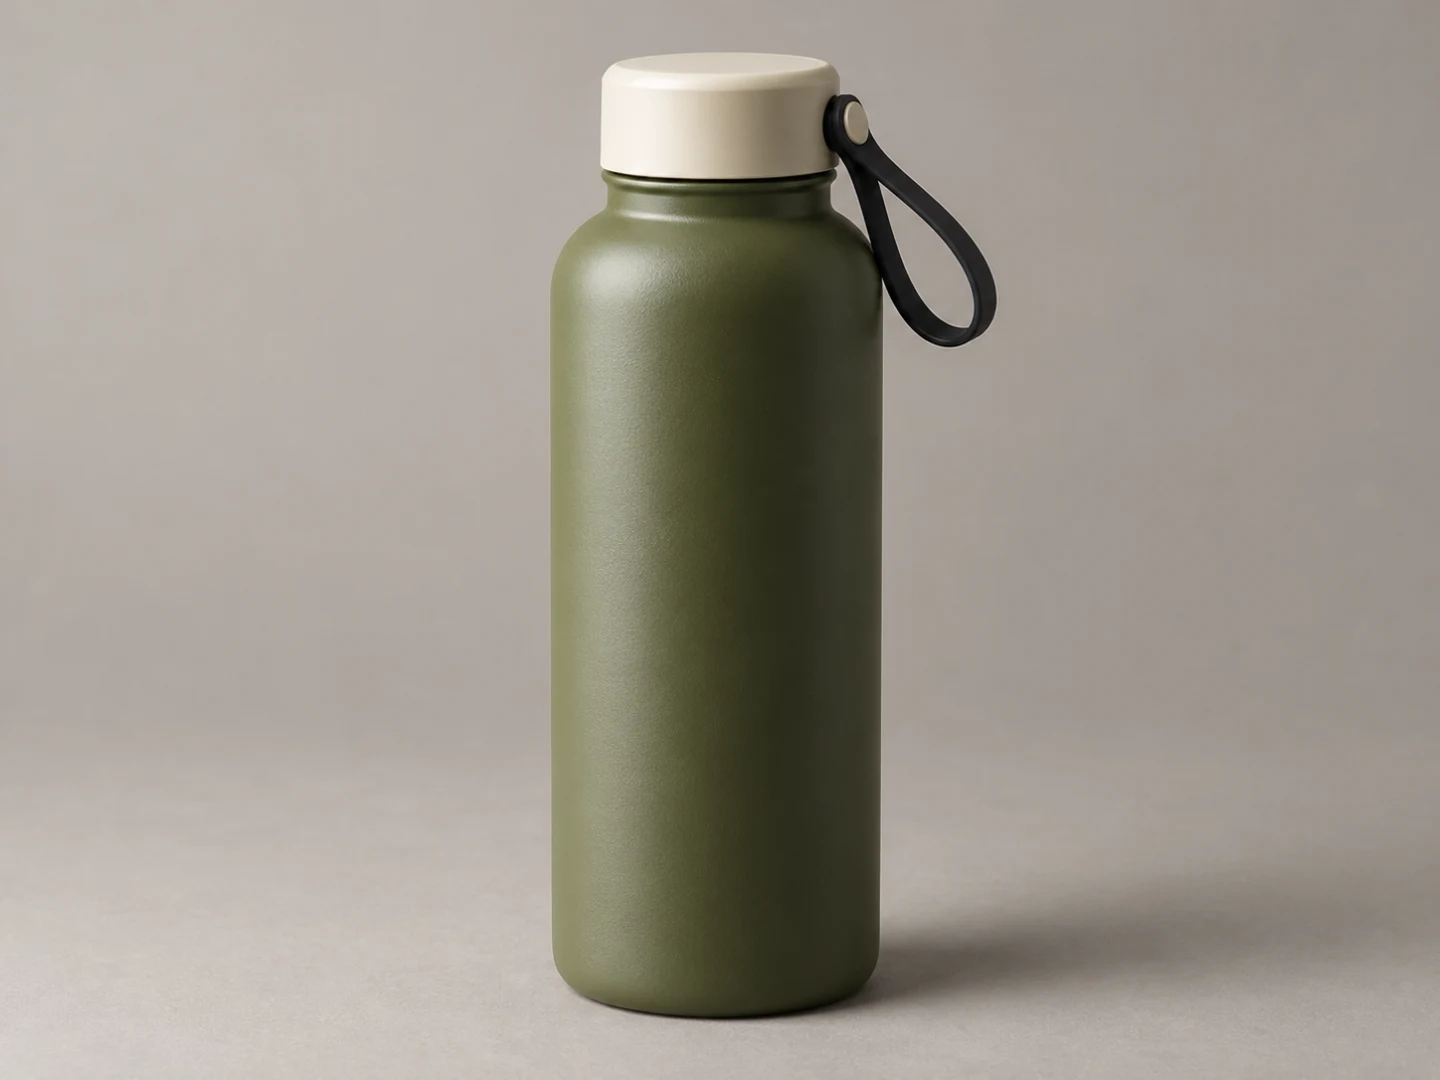
Approve the complete bottle first: body shape, cap proportions, carry loop, and blank surface.
A second view should answer a real shot question. Here, a cap detail helps establish the neck opening and how the carry loop belongs to the cap. Check those relationships before planning hand contact. An attractive detail image is unusable if it invents a second opening or attaches the loop to a different part.
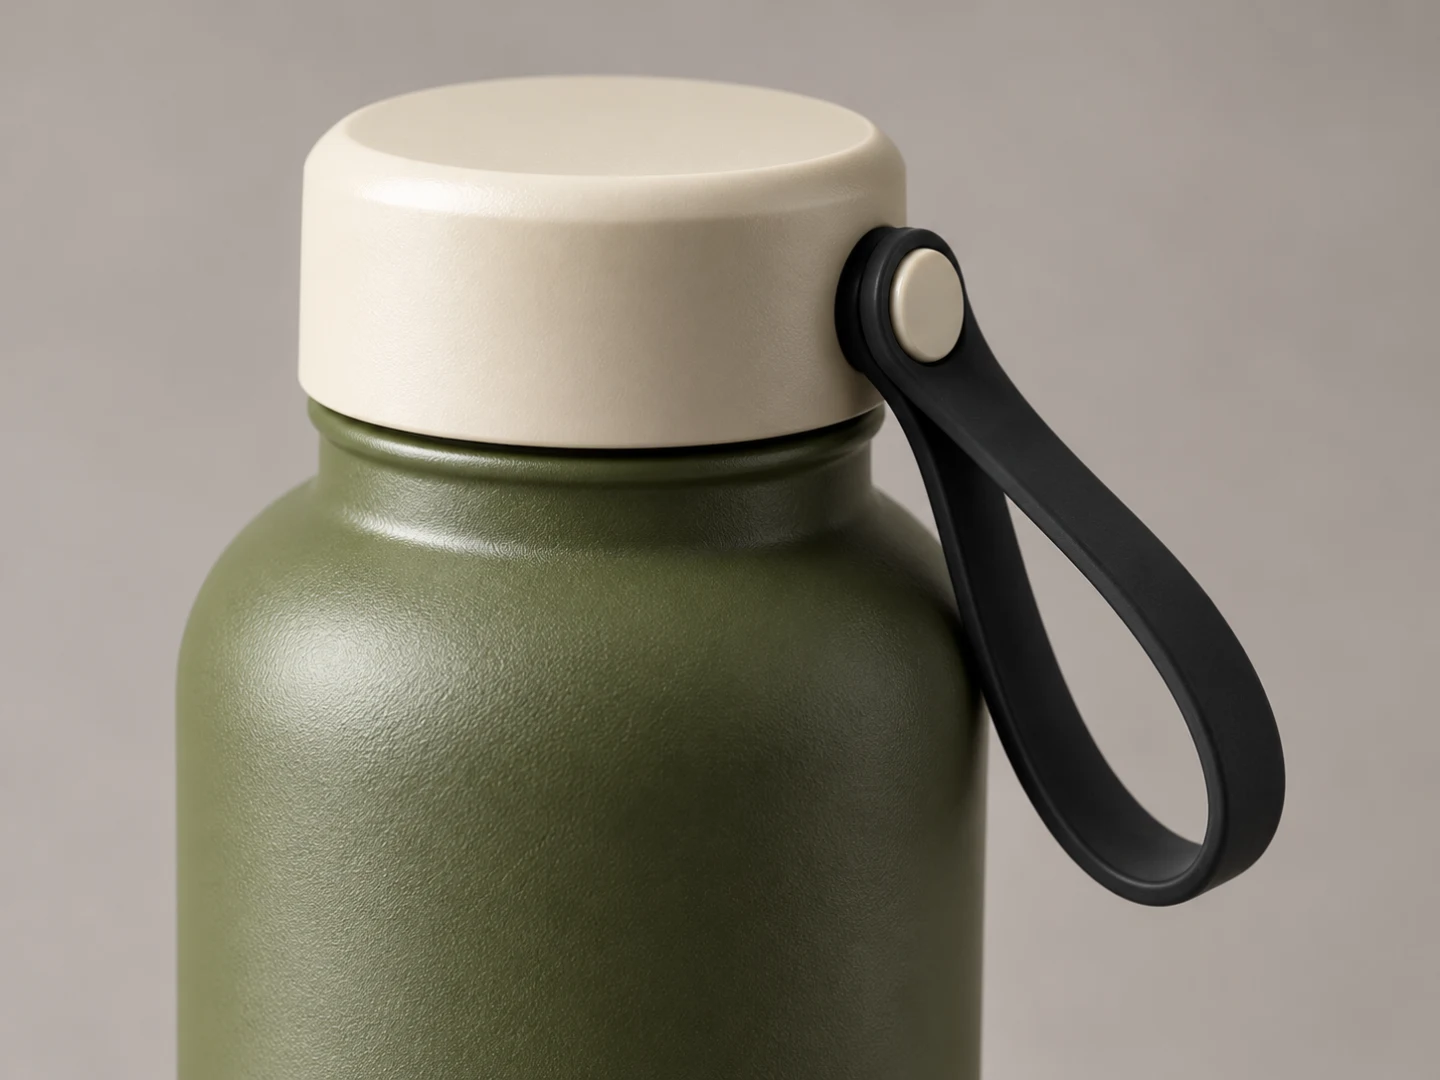
The detail reference makes the cap and loop easier to compare across shots.
For a real product, use authorized photographs of the actual item. Keep required labels legible in the source material and verify them in every result. Our blank bottle deliberately avoids a logo task; an AI-invented word would still be an error.
Build a three-shot product video storyboard
Give each shot one information job. Adobe's introduction to storyboarding describes storyboards as visual guides that translate a script into shots. The useful principle here is communication: another person should understand the intended sequence without hearing your explanation.
Separate the frame, action, audio, and time. “Beautiful bottle, inspiring music, dynamic close-up” mixes production decisions without defining what actually happens.
| Time | Viewer learns | Frame and action | Audio or text |
|---|---|---|---|
| 0–4 seconds | What the product looks like | Closed bottle on a stone counter; a restrained camera move reveals its shape | Quiet room tone; no text |
| 4–9 seconds | Where it opens and how it is filled | Bottle already open; one hand steadies it while a small stream pours into its mouth | Gentle pouring sound; no spoken claim |
| 9–15 seconds | Where it belongs in this story | Bottle closed again; a hand settles it into a canvas bag's outside pocket, then leaves it visible | Add “Ready for the morning” in the edit, if wanted |
The cut between shots two and three skips closing the cap. That is an intentional time jump. If you need to teach the closure mechanism, change the brief and allocate a separate shot; do not hide an assembly demonstration inside this filling shot.
Shot 1: make recognition easy
The opening frame should show enough of the bottle to identify it. Keep the full cap and most of the body visible, with a background that separates from the olive finish. Morning light on a stone surface gives us a setting without adding another subject to explain.
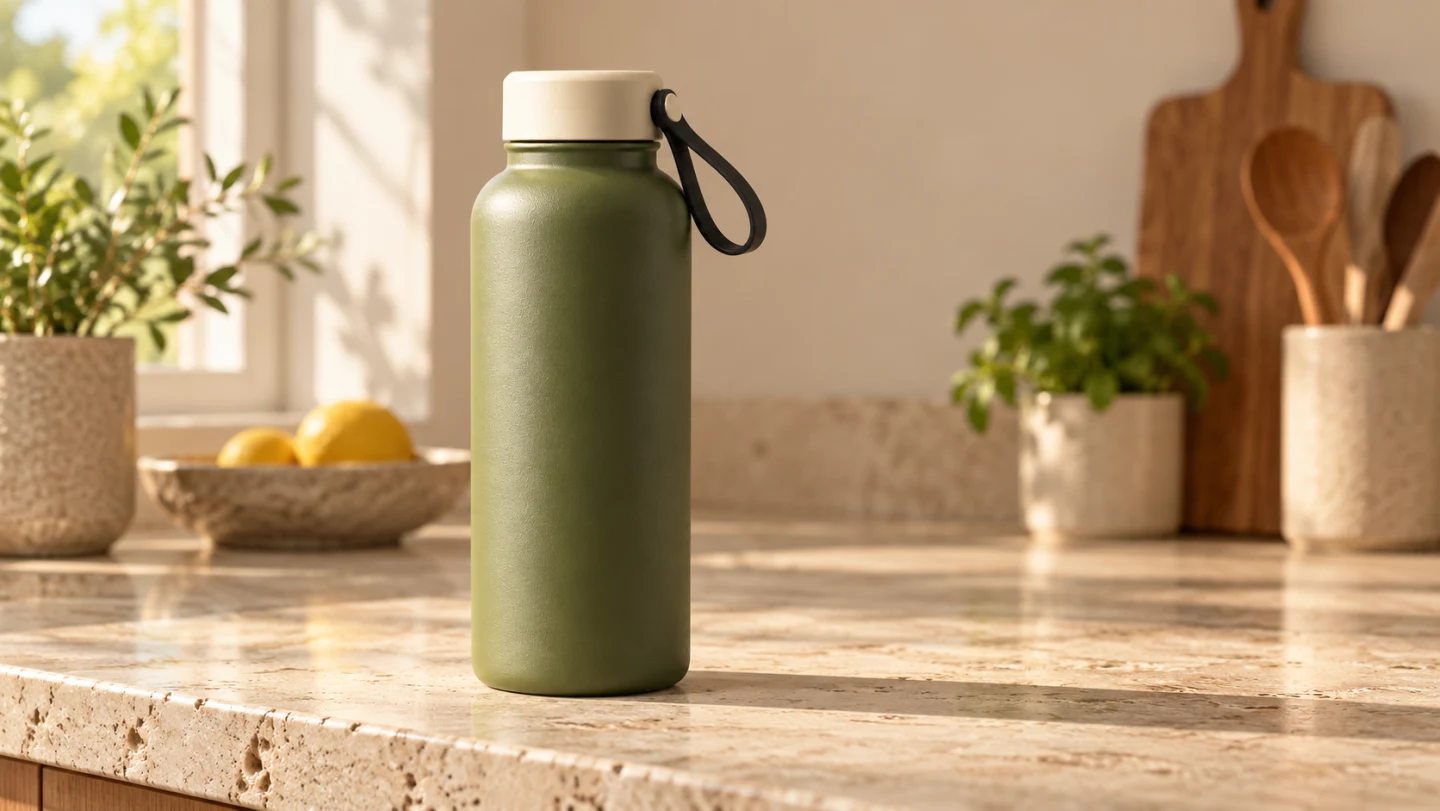
The reveal frame establishes the complete silhouette before any hand or bag obscures it.
For motion, choose a small push-in or a still camera with subtle environmental movement. Avoid combining a spinning bottle, moving background, changing light, and a sweeping camera in the same introduction. Each additional motion creates another thing you must inspect.
Shot 2: show one ordinary action
Start with the cap already removed and the opening visible. Plan a short filling action: steady bottle, gentle stream, stream stops. Specify where the cap rests or which hand holds it. Keep the carry loop attached to that same cap throughout.
The still below is a use-scene reference. Its exact cap and hand positions must be checked before selecting an animation starting frame. A frame with a removed cap cannot serve as the start of an instruction to “unscrew the closed cap.”
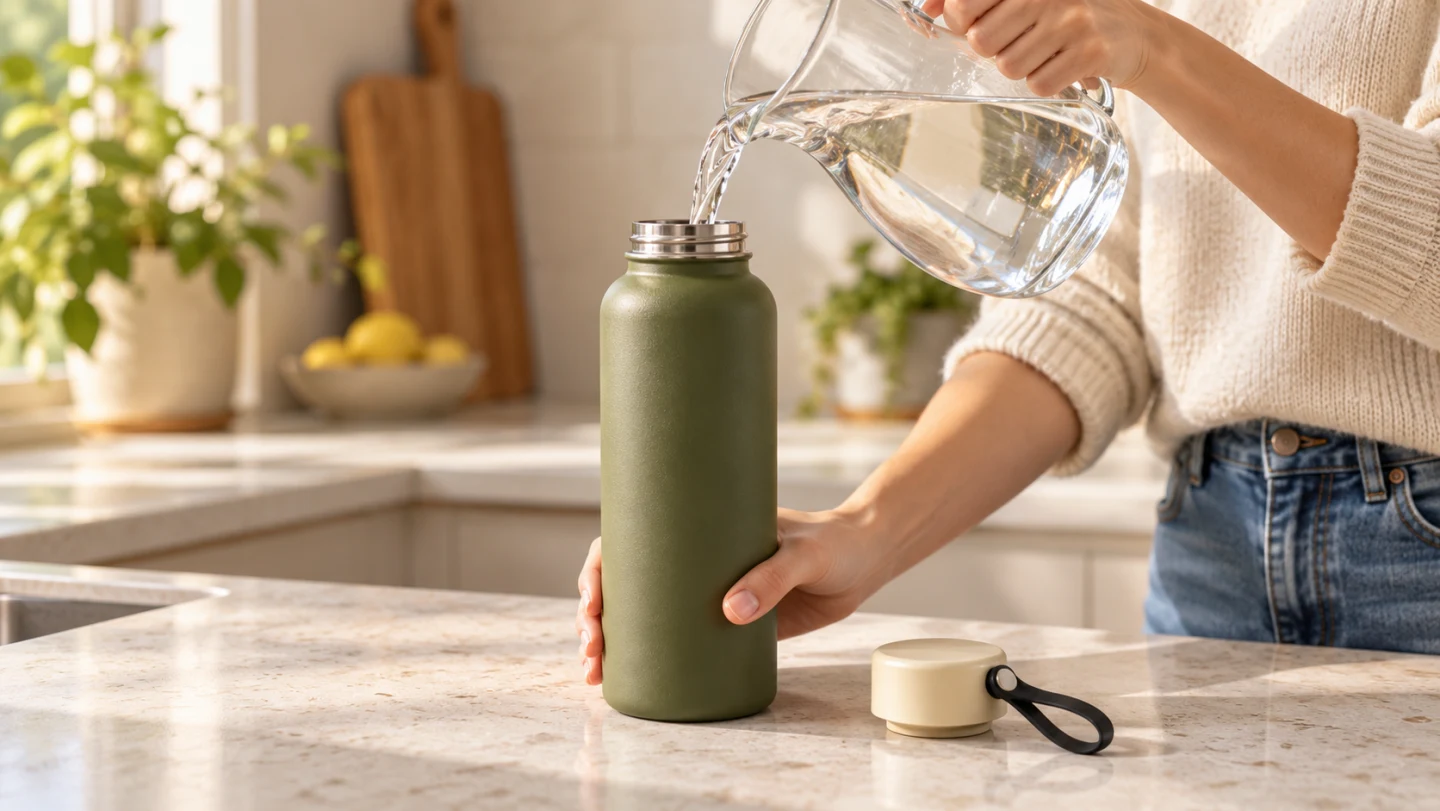
Check the cap state and hand contact here before defining the filling shot's start and end.
Watch for physical errors: water missing the mouth, a hand passing through the cap, a changing neck shape, or a loop floating independently. Showing water enter a bottle demonstrates that depicted action only. It does not establish insulation, hygiene, or spill resistance.
Shot 3: finish in a believable place
Begin with the bottle closed. Have one person place it in a canvas bag's outside pocket, then withdraw the hand. Leave enough of the product visible to connect this scene with the opening shot. Check the pocket's size against the bottle rather than letting the object shrink to fit.
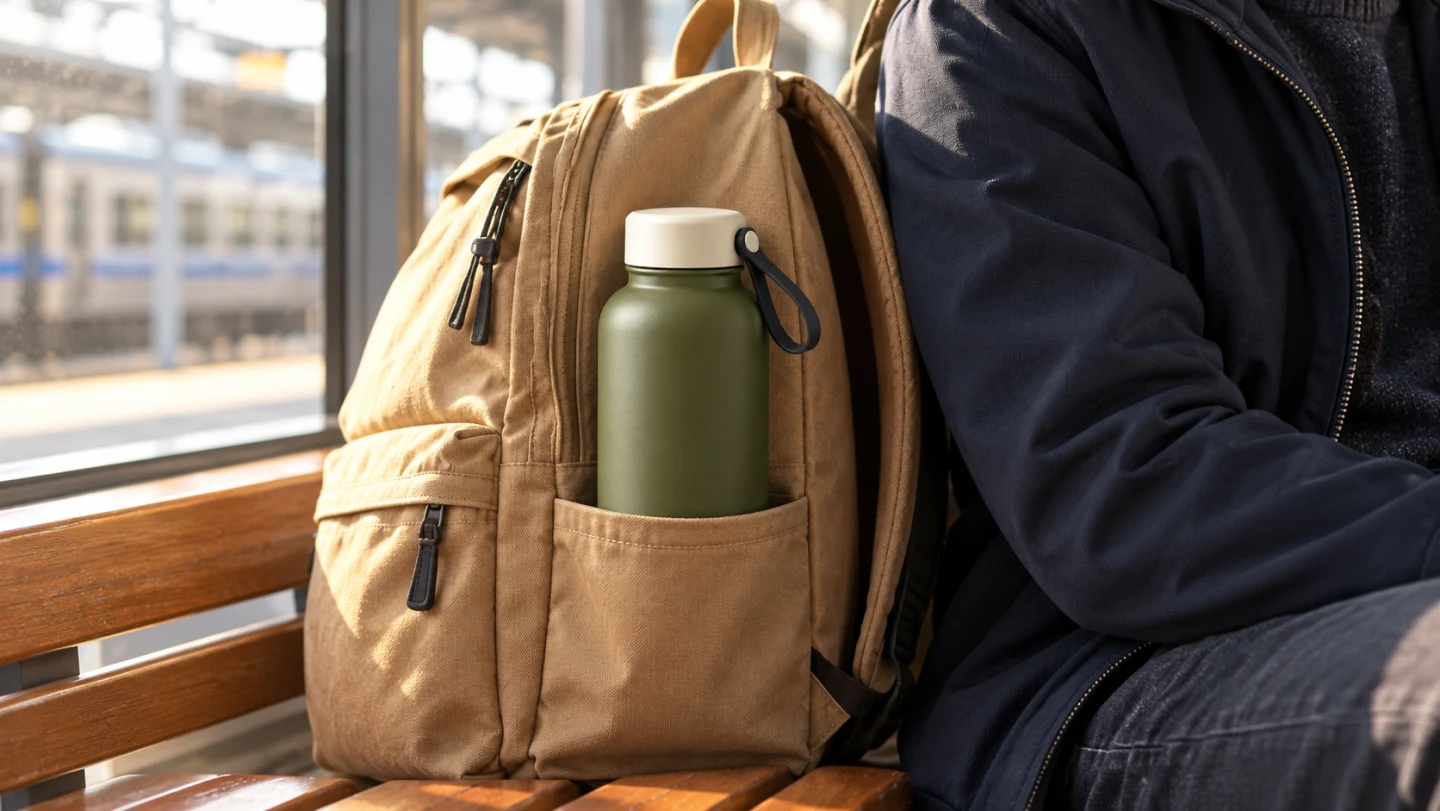
This is the intended resting position for the closing shot; placement needs its own earlier starting frame.
The bottle already sitting in the pocket is an end-state reference. To animate placement, approve a separate starting frame with the bottle in the person's hand above the pocket. If that transition proves unreliable, simplify the closing shot to a hand releasing an already seated bottle.
Plan vertical framing and add text in the edit
Decide where your final line will go before approving the stills. A cap at the top edge leaves little room for text above it. A bag covering the body leaves little room to show the finish. Use the intended 9:16 composition during planning rather than hoping a later crop preserves everything.
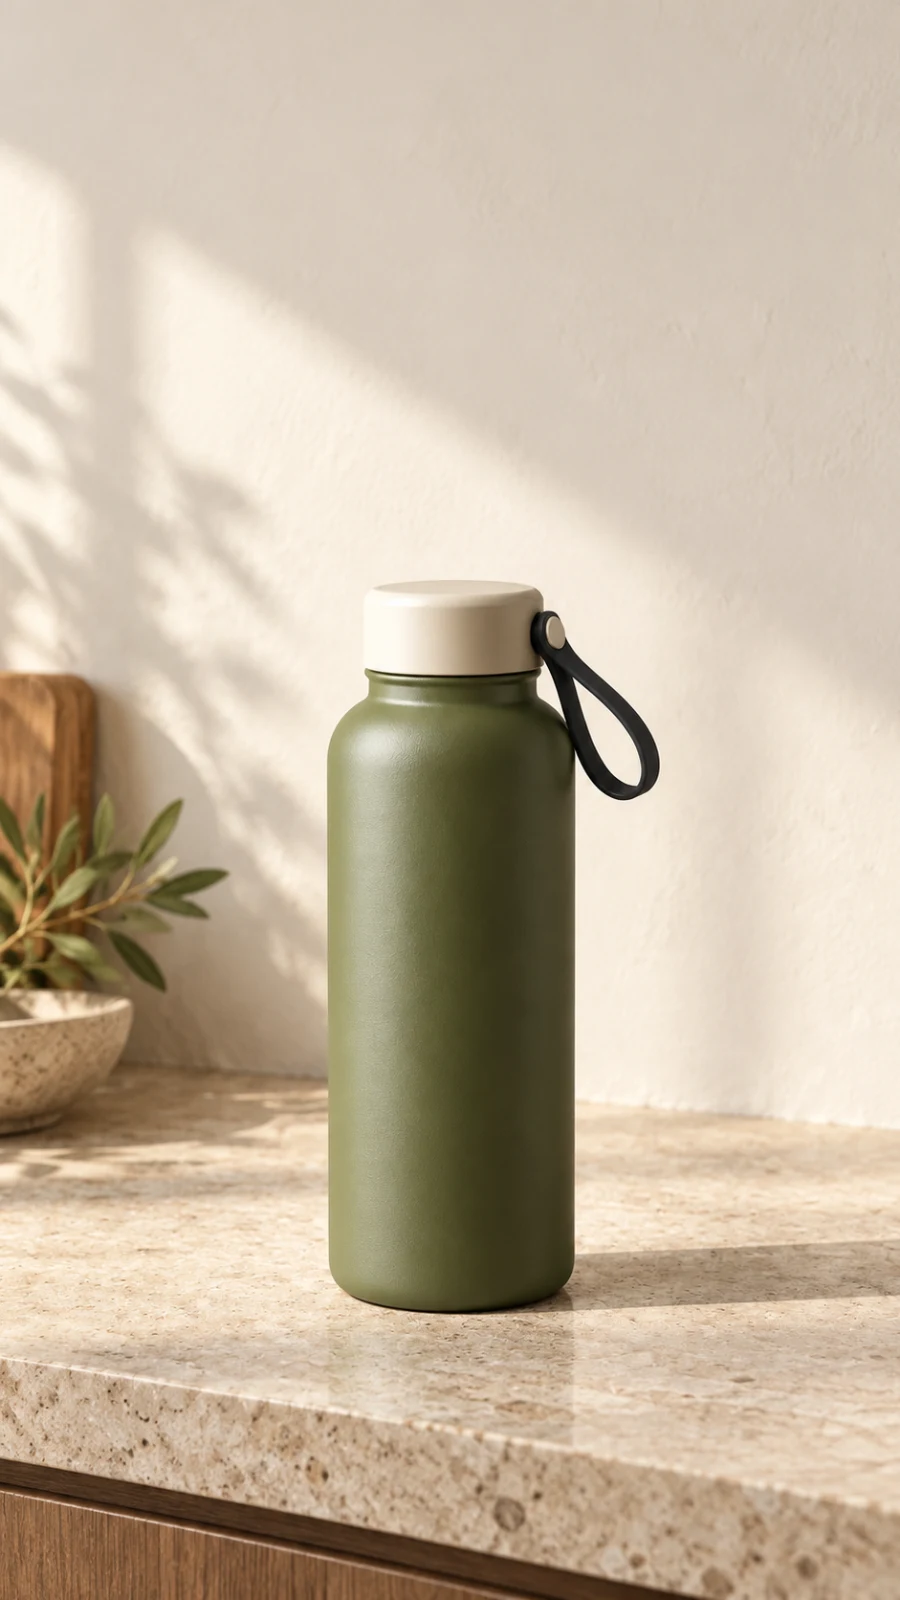
Check product visibility and available caption space together, without generating lettering into the scene.
Add “Ready for the morning” as an editable overlay after selecting the footage. That lets you correct spelling, change language, and adjust placement without rebuilding the bottle image. Preview the actual destination format: captions, interface controls, and cropping can change what remains visible.
Copy this brief into your project
Replace the product identity and setting while keeping the shot decisions explicit. Treat the text as a planning brief and inspect the resulting stills and clips against your own product references.
Goal: A 15-second vertical edit introducing an everyday commute bottle.
Format: 9:16. Three shots. No spoken performance claims.
Product: Warm olive green matte stainless steel body; pale cream
screw cap; black carry loop attached to the cap; blank body.
Keep the silhouette, neck, cap, loop, color, and scale consistent.

Shot 1, 0–4s: Closed bottle on a stone counter in morning light.
Show its shape. Restrained camera movement. No hands or text.
Shot 2, 4–9s: Start with bottle open and cap removed.
One steady filling action. State where the cap and hands are.
End when the stream stops. No insulation or leak test.
Shot 3, 9–15s: Bottle is closed after an intentional time jump.
Place it in a canvas bag's outside pocket; withdraw the hand.
Approve both placement start and resting end frames first.

Audio: Room tone, gentle pouring, soft bag movement.
Post-production: Optional “Ready for the morning” overlay.
Approval: Review product references and each still before motion.
Approve the stills, then review the moving footage
Lay the three scene references beside the product reference. Check the object before judging atmosphere. A lovely commute frame with a different lid fails this brief.
BriskGen's planning workflow includes a storyboard script, a shared reference board, and individual shot revisions. Use those stages to make decisions visible before generating clips. When a revision affects only part of the plan, review the affected segments before choosing what to regenerate. An approved reference board guides production; it cannot guarantee the motion result.
For scene preparation, see the product video workflow. For turning an approved still into a clip, see image to video. The same continuity discipline applies to people in our consistent characters guide.
Review the final edit with this checklist:
- Does the same bottle appear in every shot, including cap, loop, finish, and proportions?
- Do hands, water, and the bag interact with solid objects plausibly?
- Are opening, filling, and closed states consistent with the planned cuts?
- Can a viewer understand each shot without the optional caption?
- Does the edit actually total 15 seconds, including any end hold or transition?
- Are all words accurate, readable, and supported by what you know about the product?
Frequently asked questions
How many shots does a 15-second product ad need?
This example uses three because it has three information jobs. Use fewer if one action needs more time. Add shots only when you can name the new information and give viewers time to read it.
Do I need professional drawings for a product video storyboard?
No. Clear photographs, simple sketches, or planning stills can communicate a sequence. Pair each image with the action and timing; a polished image alone does not explain what happens next.
Can one product photo keep every shot consistent?
It can anchor identity, but hidden details remain uncertain. Supply approved detail views for important cap, handle, label, or connection geometry, then inspect the resulting stills and clips.
Can I use this storyboard to prove a product works?
No. A depicted filling or carrying action does not substantiate thermal performance, leak resistance, durability, or a universal fit claim. Use appropriate real evidence before adding those claims to an ad.
When your product references and three information jobs are ready, open the BriskGen workspace and start with the brief. Approve the scene plan before deciding which clips to generate.