The BriskGen Journal
AI Video Camera Movement Prompts: 10 Examples for Short-Form Creators
Break down a reference shot, plan its camera movement and adapt 10 copyable AI video prompts for TikTok or YouTube Shorts.
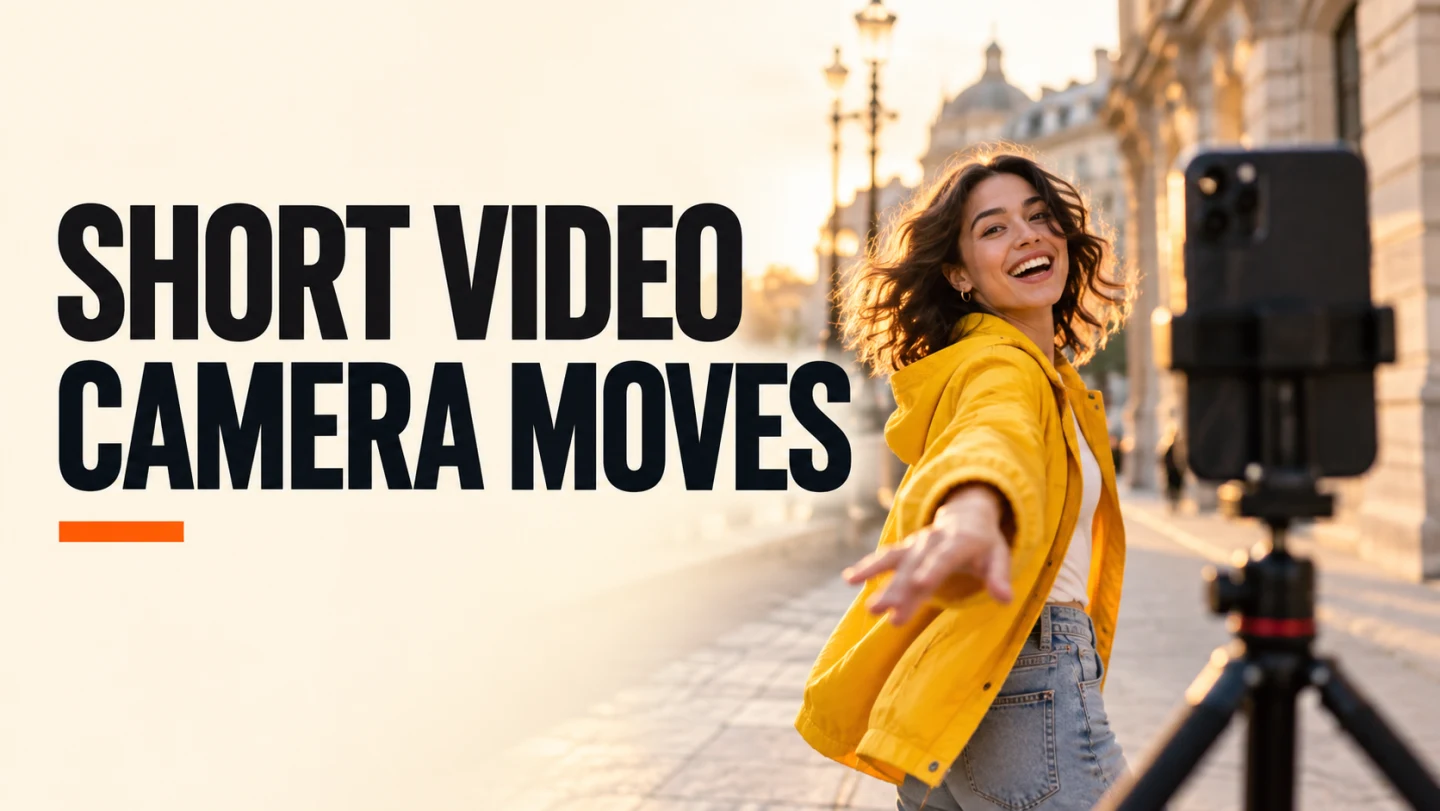
The illustrations are independently created AI planning stills, not reference footage or results of these prompts. The people shown are not the same person across a finished video, and the prompts have not been tested.
A TikTok or YouTube Shorts clip can feel dynamic because of a simple camera move: a slow push toward a product, a sideways track alongside a person, or a pullback that reveals a setting. AI video camera movement prompts turn that observation into a shot direction you can adapt to your own subject and footage.
Start by watching one short shot in a reference video you have the right to use. Note its opening frame, approximate duration and pace, camera direction, subject action, and final frame. Then substitute your own subject and material and describe one clear move. A reference can guide pacing and composition, but a prompt does not guarantee an exact match: models interpret movement and input differently.
The worksheet and examples below are original planning exercises, not results from tested generations. Use them to plan a shot, then assess the video you actually generate. For the broader workflow, see product video ad prompts.
Contents
- Break down a reference shot
- Camera terms at a glance
- 10 AI video camera movement prompts
- Adapt a prompt to your input
- Test, compare, and revise
- Frequently asked questions
Break down a reference shot
Choose one shot rather than an entire edited video. A cut is a useful place to start or stop: it separates one camera setup from the next. Watch at normal speed first for the rhythm, then replay the shot and pause at its beginning and end. Use a reference video you have the right to use, and use your own or appropriately licensed material in your finished work.
Copy this worksheet for each shot:
| Field | What to record |
|---|---|
| Starting frame | Subject, framing, viewpoint, and what is visible |
| Duration and rhythm | Approximate seconds, steady or changing pace, and where the move starts and stops |
| Camera movement and direction | One move, its direction, and whether the camera travels, rotates, or stays fixed |
| Subject action | What the subject does independently of the camera |
| Ending frame | Final framing, viewpoint, and what has been revealed or emphasized |
| Your adaptation | Your subject, setting, source material, and details to preserve |
Worked example: adapt a street-scene hook
Imagine a four-second vertical shot that starts with a medium view of a creator in a yellow jacket on a city street. The camera moves slowly toward the creator at a steady pace as they lift a hand in greeting. It ends on a closer view of their face and upper body. This is an invented planning example, not a tested clip or a description of actual reference footage.
- Record the opening: Medium view of the creator in a yellow jacket, with the street visible behind them.
- Mark timing and rhythm: About four seconds, with a steady push in. Duration is a planning target and depends on the tool's available settings.
- Separate motions: The camera moves forward; the creator lifts a hand. The creator does not need to walk toward the camera.
- Describe the end: A closer view emphasizes the creator's face and upper body.
- Adapt with your own material: Use your own creator, outfit, location, and starting image. Retain the push and timing as direction, while allowing for differences in the generated result.
Start on a vertical medium shot of a creator in a yellow jacket standing on a city street. Over approximately four seconds, the camera slowly dollies forward at a steady pace, ending on a closer view of the creator's face and upper body. The creator lifts one hand in a small greeting. Keep the jacket and the street setting consistent.
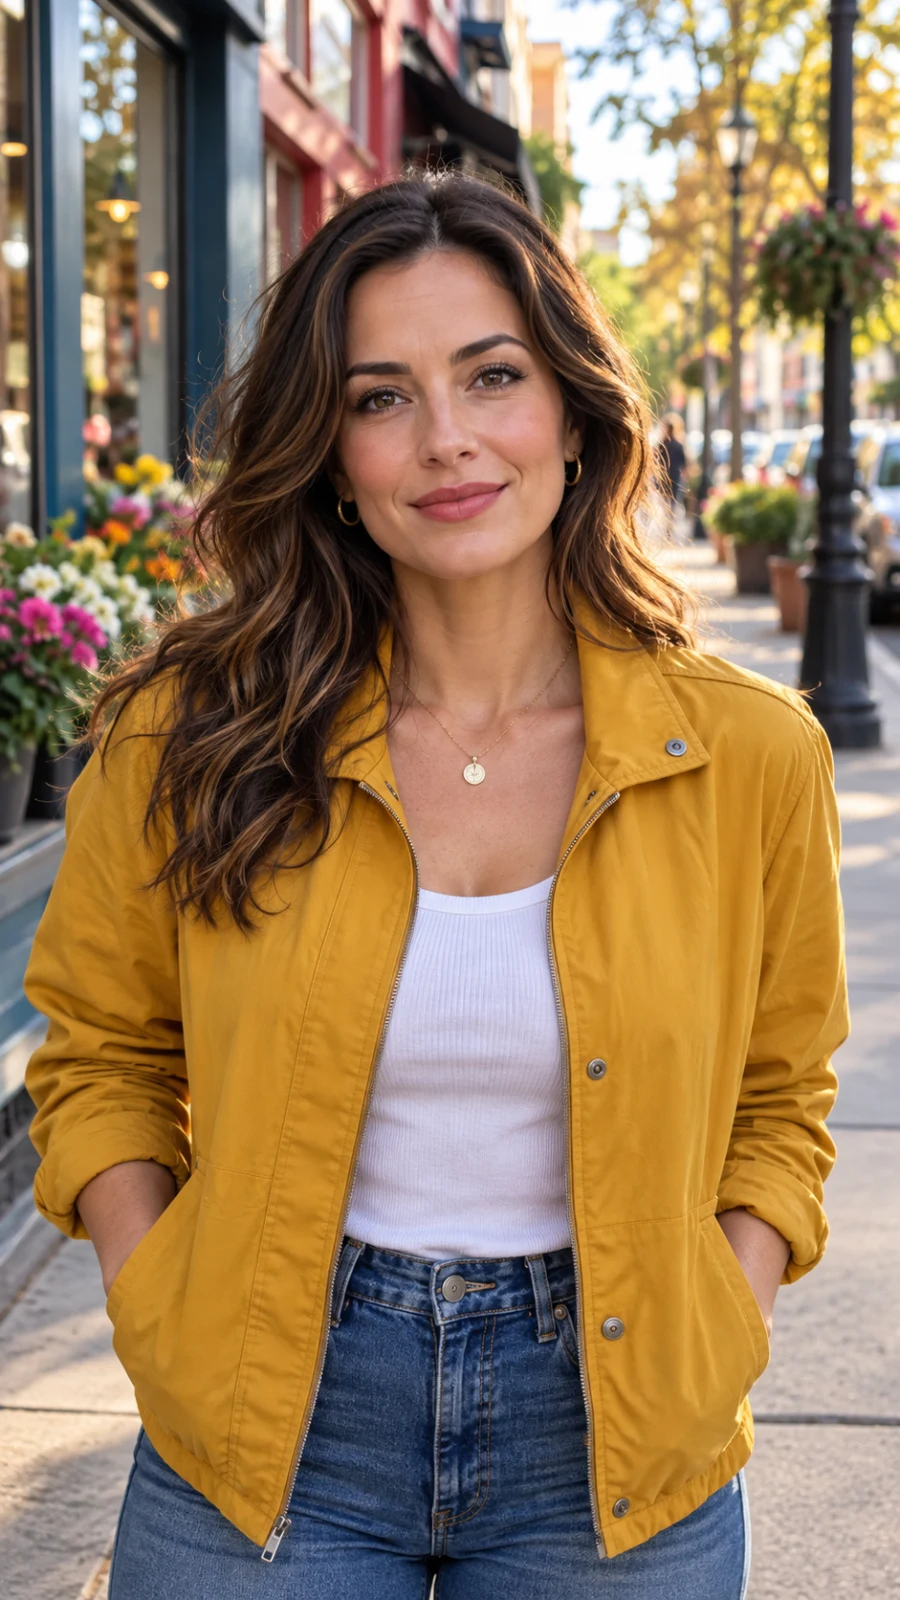
Newly generated planning still, not reference footage or a generated video result.
Choose the closest duration available in your tool and compare the result with your timing notes. If working from an image, make sure its framing fits the requested opening. In BriskGen, a workflow can include uploading a reference video, preparing editable storyboards, and preparing consistent reference images. Availability and configuration can vary; review the storyboard and output yourself, and do not assume an exact shot-by-shot breakdown or an automatically finished video.
Camera terms at a glance
| Movement | What you ask the camera to do | Useful when you want to… |
|---|---|---|
| Locked-off | Stay in a fixed position and orientation | Let the subject or environment provide the motion |
| Dolly push in | Move physically toward the subject | Draw attention to a detail or expression |
| Dolly pull out | Move physically away from the subject | Reveal more of the setting |
| Horizontal pan | Rotate left or right from a fixed position | Reveal something across a scene |
| Vertical tilt | Rotate up or down from a fixed position | Reveal height or a detail above or below |
| Lateral tracking | Travel sideways through the scene | Move alongside a subject |
| Follow tracking | Travel behind or with a moving subject | Stay with an action through space |
| Orbit or arc | Travel around a subject on a curved path | Show the subject from a changing angle |
| Crane rise | Move upward through space | Reveal the subject's surroundings from higher up |
| Zoom in | Change focal length to enlarge the subject in frame | Tighten framing without moving the camera position |
In physical cinematography, a dolly changes the camera's position; a zoom changes focal length. That difference affects perspective and apparent background relationships. Generated footage may approximate either instruction rather than reproduce a real lens or rig precisely. Runway's camera terminology guide illustrates these terms with its own Gen-4.5 text-to-video examples; those examples are model-specific, not a promise of identical results elsewhere.
10 AI video camera movement prompts
Each original example is a complete scene for text-to-video and can serve as a starting point for a short vertical edit. For image-to-video, use a compatible image you have the right to use and adjust the scene to match it. Swap in your own subject, setting, and timing from the worksheet. The checkpoint tells you what to look for after generation; these prompts have not been tested and do not guarantee a result.
1. Locked-off: let the action carry the shot
Use it for: A tabletop unboxing beat in a short-form edit.
Start on a vertical overhead view of two hands above a package on a tabletop. The camera stays locked off in one position and angle. The hands slowly open the package and reveal the item inside. Keep the table and package consistent throughout the shot.
Check: Does the frame stay still while the hands move? Inspect the hands and package for changes.
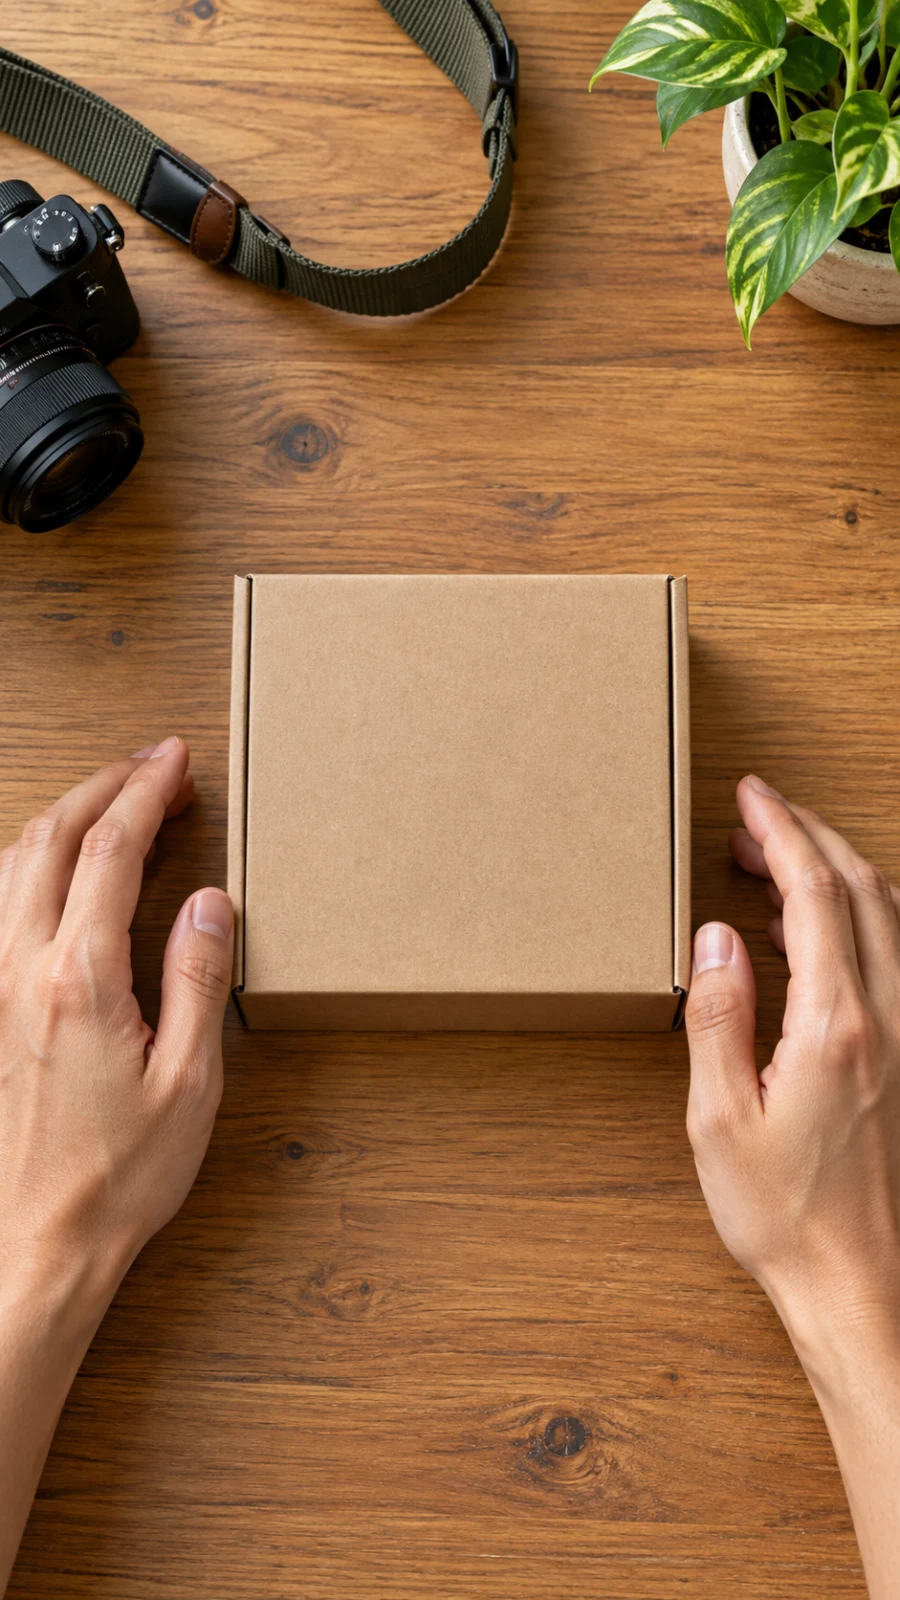
Newly generated planning still, not reference footage or a generated video result.
2. Dolly push in: open with a hook
Use it for: Bringing attention to a creator at the beginning of a vertical video.
Start on a vertical medium shot of a creator in a yellow jacket standing on a city street. The camera slowly dollies forward toward the creator, ending on a closer view of their face and upper body. The creator lifts one hand in a small greeting. Keep the jacket and street setting consistent.
Check: Does the viewpoint move smoothly toward the creator while their appearance remains recognizable? The hook planning still above illustrates the opening, not the finished movement.
3. Dolly pull out: reveal the setting
Use it for: Moving from a creator's expression to the location around them.
Start on a close shot of a creator in a yellow jacket standing on a city street. The camera slowly dollies backward, ending in a wider shot that reveals the creator's upper body and more of the street. The creator stays in place and smiles slightly. Keep the jacket and surroundings consistent.
Check: Does the viewpoint move backward and reveal more of the setting without the creator changing appearance?
4. Horizontal pan: reveal across a scene
Use it for: Linking a creator to a nearby location within one shot.
Start on a vertical medium shot of a creator in a yellow jacket standing beside a row of shops. From a fixed position, the camera pans slowly to the right, ending on a storefront beside the creator. The creator remains in place and turns their head toward the shop. Keep the lighting and storefront details consistent.
Check: Does the camera rotate from a fixed position rather than travel sideways? Is the final storefront coherent?
5. Vertical tilt: reveal the full look
Use it for: A style or outfit reveal from shoes to face.
Start on a vertical full-body view of a creator wearing a yellow jacket on a city street. From a fixed camera position, slowly tilt upward, guiding attention from the creator's shoes along the outfit to their face. The creator stands still with a relaxed pose. Keep their clothing and the street consistent.
Check: Does the view rotate upward without an unintended rise through space? Inspect clothing continuity.
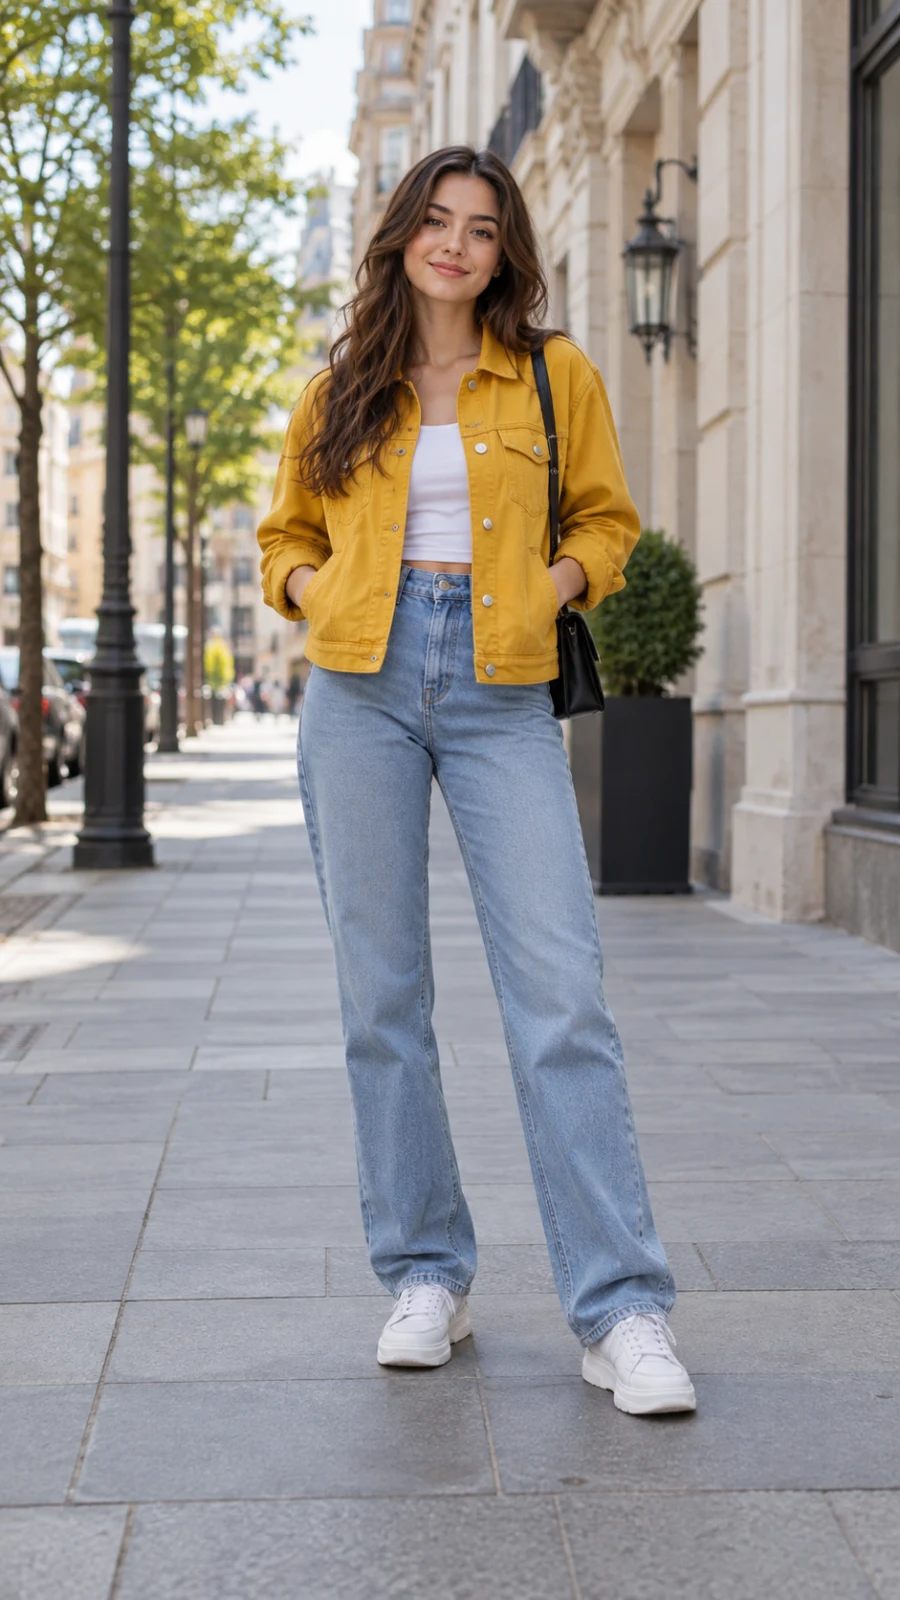
Newly generated planning still, not reference footage or a generated video result.
6. Lateral tracking: move alongside
Use it for: Following a creator along a row of shops.
Start on a vertical side view of a creator in a yellow jacket beside a row of shops. The creator walks at an even pace along the storefronts. The camera tracks slowly sideways alongside them, keeping the creator in view. Keep the jacket and storefronts consistent.
Check: Does the camera travel sideways alongside the creator? Watch for changes in the jacket, walking motion, or storefronts.
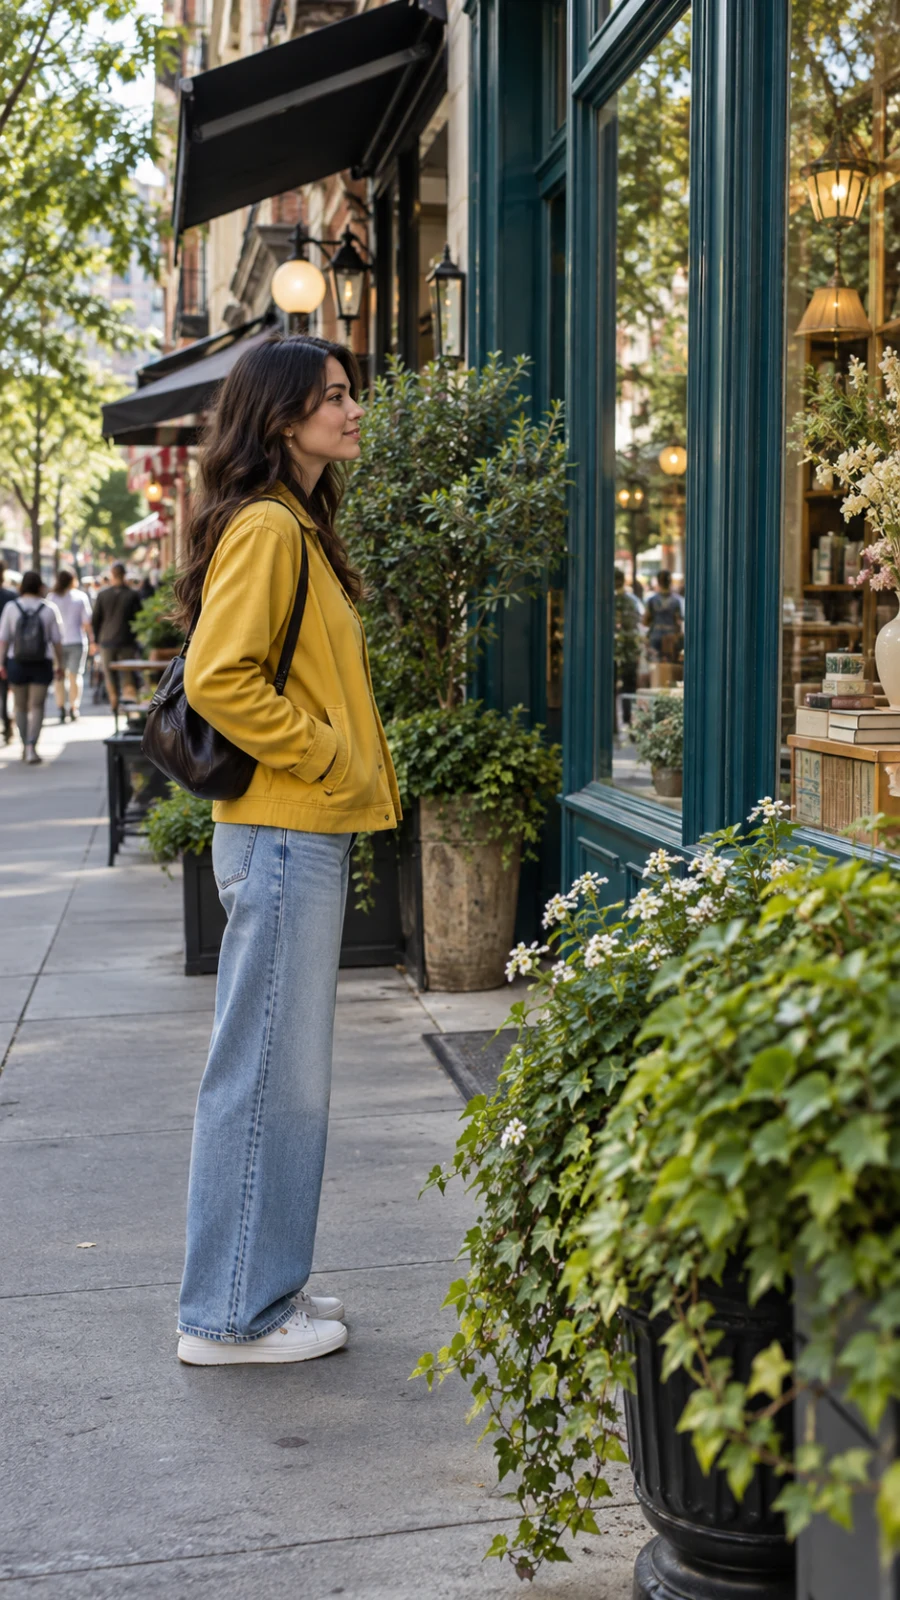
Newly generated planning still, not reference footage or a generated video result.
7. Follow tracking: stay behind the subject
Use it for: Bringing the viewer along as a creator enters a street scene.
Start on a vertical rear view of a creator in a yellow jacket on a city street. The creator walks forward at an even pace. The camera follows slowly behind at a steady distance. Keep the jacket and the creator's appearance consistent as the street unfolds ahead.
Check: Does the following distance remain roughly steady? Inspect the jacket and walking motion.
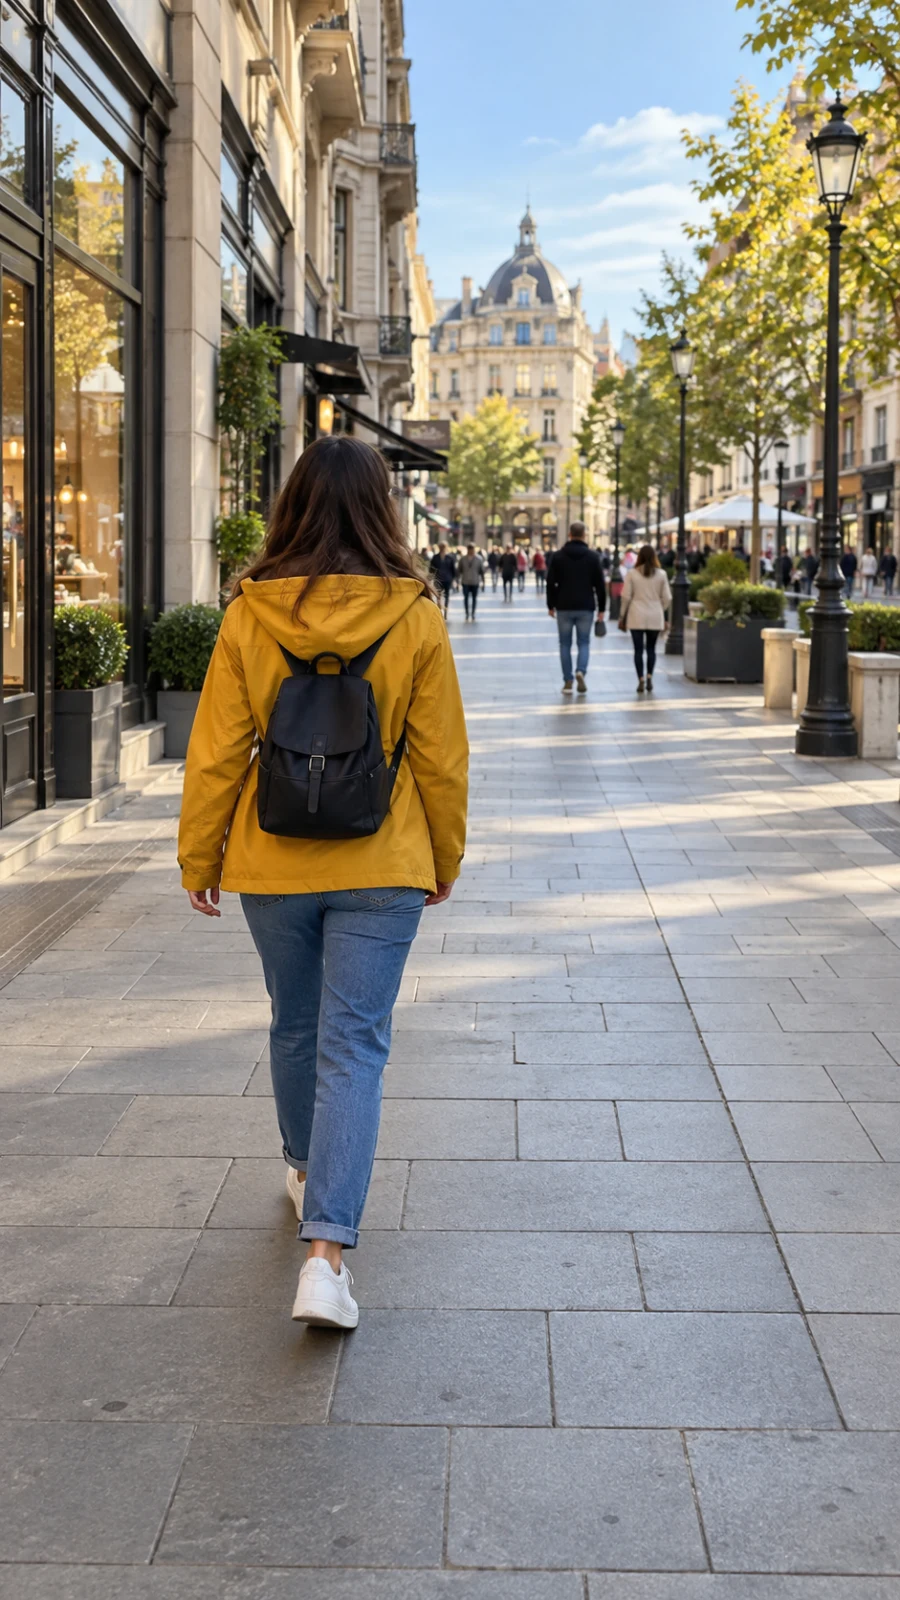
Newly generated planning still, not reference footage or a generated video result.
8. Orbit or arc: change the viewing angle
Use it for: Adding a small change in perspective around a stationary creator.
Start on a vertical three-quarter medium shot of a creator in a yellow jacket standing on a city street. The camera moves slowly in a short arc from the creator's front-left toward their front-right, keeping them near the center. The creator holds a relaxed pose and smiles slightly. Keep the jacket and street consistent.
Check: Does the viewpoint travel on a curved path? Look for changes in the creator's appearance or background jumps.
9. Crane rise: reveal from above
Use it for: Ending a short scene with more of the location in view.
Start at chest height on a medium shot of a creator in a yellow jacket standing in a small city square. The camera rises slowly and smoothly, ending in a high-angle view that reveals more of the square around the creator. The creator remains in place and looks around. Keep the jacket and surroundings consistent.
Check: Does the camera rise through space instead of merely tilting? Watch for changes in the creator or newly revealed surroundings.
10. Zoom in: tighten the frame
Use it for: Emphasizing an expression without requesting camera travel.
Start on a vertical wide shot of a creator in a yellow jacket standing on a city street. The camera stays in a fixed position and slowly zooms in to a medium shot. The creator looks toward the camera and gives a small wave. Keep the jacket and street consistent.
Check: Does the framing tighten without obvious camera travel? If the result resembles a dolly, clarify the fixed camera position or consult the selected model's controls.
Adapt a prompt to your input
Text-to-video: describe the scene and its motion
Without a starting image, the prompt must establish what the viewer sees as well as what happens. Include the subject, environment, starting composition, camera movement, and subject action. Add a few details that matter to the shot; leave out competing instructions that do not.
For example, “medium shot of a creator on a street; slow dolly forward; the creator waves” gives the model a scene and a movement. Google's video generation best practices recommend clear, specific prompts for Gemini Omni and Veo. Treat that as guidance for those models, and check the instructions for whichever model you use.
Image-to-video: build on the starting image
With image-to-video, the source image supplies visible information such as the subject's appearance and initial composition. Describe the movement and action in terms that fit that image. If your image shows a creator in a yellow jacket on a street, asking for a different outfit and setting can conflict with preserving the starting frame.
A practical adaptation is: “Slowly dolly toward the creator shown in the image. Keep their jacket and the street consistent as they lift a hand.” The image provides the visual starting point; the prompt describes the intended change. Adherence depends on the model and input. Explore the image-to-video tool when you are ready to work from an image.
Preserve the subject and avoid competing directions
Identify the details that matter: a creator's jacket, their appearance, or the direction they are walking. Keep preservation instructions short and compatible with the action. “Keep the creator stationary while the camera moves toward them” is clearer than asking both the creator and camera to move toward each other when you only want a push-in.
Avoid asking for a locked-off camera and a full orbit at the same time. Likewise, a pan rotates from one point, while lateral tracking changes position. If you need both, plan two shots or describe a deliberate sequence and check whether the model supports it. For product-specific scene ideas, see product video ad prompts.
Test, compare, and revise
- Make a baseline. Choose your source image if applicable, a single movement, and a short subject action. Save the reference-shot worksheet, prompt, and available generation settings. For vertical Shorts or TikTok, choose an appropriate aspect ratio if your tool offers it; check the framing on a phone-sized screen.
- Compare under the same conditions. Keep the model, input, settings, and prompt wording the same except for the one element you are testing, where the tool permits. If a seed is available, record or reuse it; this can help organize comparisons but does not guarantee identical results.
- Inspect the whole clip. Check the start, middle, and end for camera direction, subject identity, transitions, and unwanted changes. A convincing first frame does not establish that the rest of the shot holds together.
- Revise the specific problem. If the move is too fast, change the speed wording. If the camera travels when you wanted a pan, clarify “rotate from a fixed position.” If a hand changes shape, simplify its action or choose a shot that does not depend on that detail.
- Keep the useful parts. If your workflow supports scene-level replacement, retain the shots you like and regenerate the one that needs work. Check the new scene against its neighbors for framing and continuity. See how to regenerate one scene in AI video for a related workflow.
A comparison is useful evidence for your own workflow, not proof that a phrase will perform the same way across models, settings, or future versions. Record what changed and judge the actual clips.
Frequently asked questions
How do I turn a reference video into an AI camera movement prompt?
Watch one shot and record its starting frame, approximate duration and rhythm, camera direction, subject action, and ending frame. Replace the reference subject and setting with your own material, then write a prompt around those observations. Review the generated clip against your notes; a prompt cannot ensure an exact recreation.
How do I prompt camera movement in AI video?
Describe the starting frame, movement, direction, and speed, then say what the subject does. For instance, ask for a medium shot followed by a slow dolly toward a stationary object. Review the output for both camera movement and subject consistency, then revise the part that missed your intention.
What is the difference between a pan and a tracking shot?
A pan rotates the camera left or right from a fixed position. A tracking shot moves the camera through space, such as alongside a person walking. If you want a side view to travel with the person, say “track alongside”; if you want to reveal a scene from one point, ask for a pan.
Is a zoom the same as a dolly push in?
No. In physical camera work, a zoom changes focal length while the camera position stays fixed; a dolly moves the camera toward or away from the subject. Both can make the subject larger in the frame, but their perspective can differ. AI-generated footage may not reproduce that distinction exactly.
Why does the subject change during a camera move?
A generated video can reinterpret details as the viewpoint and action change. The cause in a particular clip is not always clear. Try a simpler movement, a compatible source image, and a concise description of the features to retain; then inspect the result rather than assuming the instructions were followed.
Can I combine camera movements in one prompt?
You can describe a sequence, such as a slow push in followed by a tilt upward, but a model may merge or ignore parts of it. Start with one movement to establish a baseline. If the sequence matters to the edit, test each part separately and compare continuity between shots.
Choose one reference shot, fill in the worksheet, and adapt one of these AI video camera movement prompts to your own subject. Review the opening, movement, and ending in the actual clip before building the next shot in your short-form edit.