The BriskGen Journal
Product Video Ad Prompts: 8 Templates to Copy
Copy 8 product video ad prompts for hero shots, demos and ecommerce ads. Learn how to adapt each shot and check product details before publishing.
Good product video ad prompts describe one useful shot: the product, its action, the camera and the details that must remain recognizable. Start with an approved product image, choose a single action, and check the result against the real item before adding copy or publishing.
Below are eight prompts for ecommerce sellers and creative teams. They are starting points, not tested results or guarantees. Replace the bracketed details, adapt the wording to your video tool, and use separate clips when a full ad needs several shots.
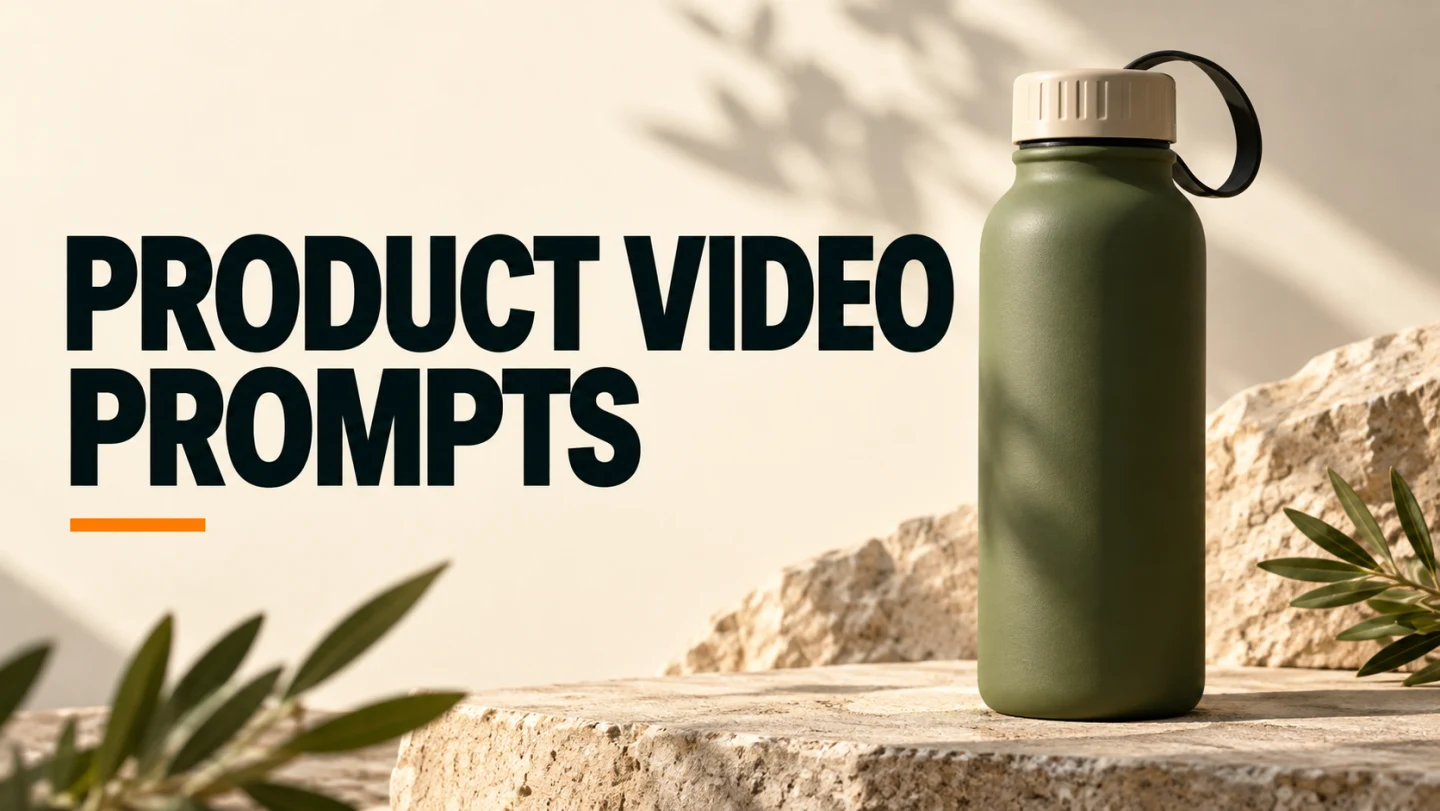
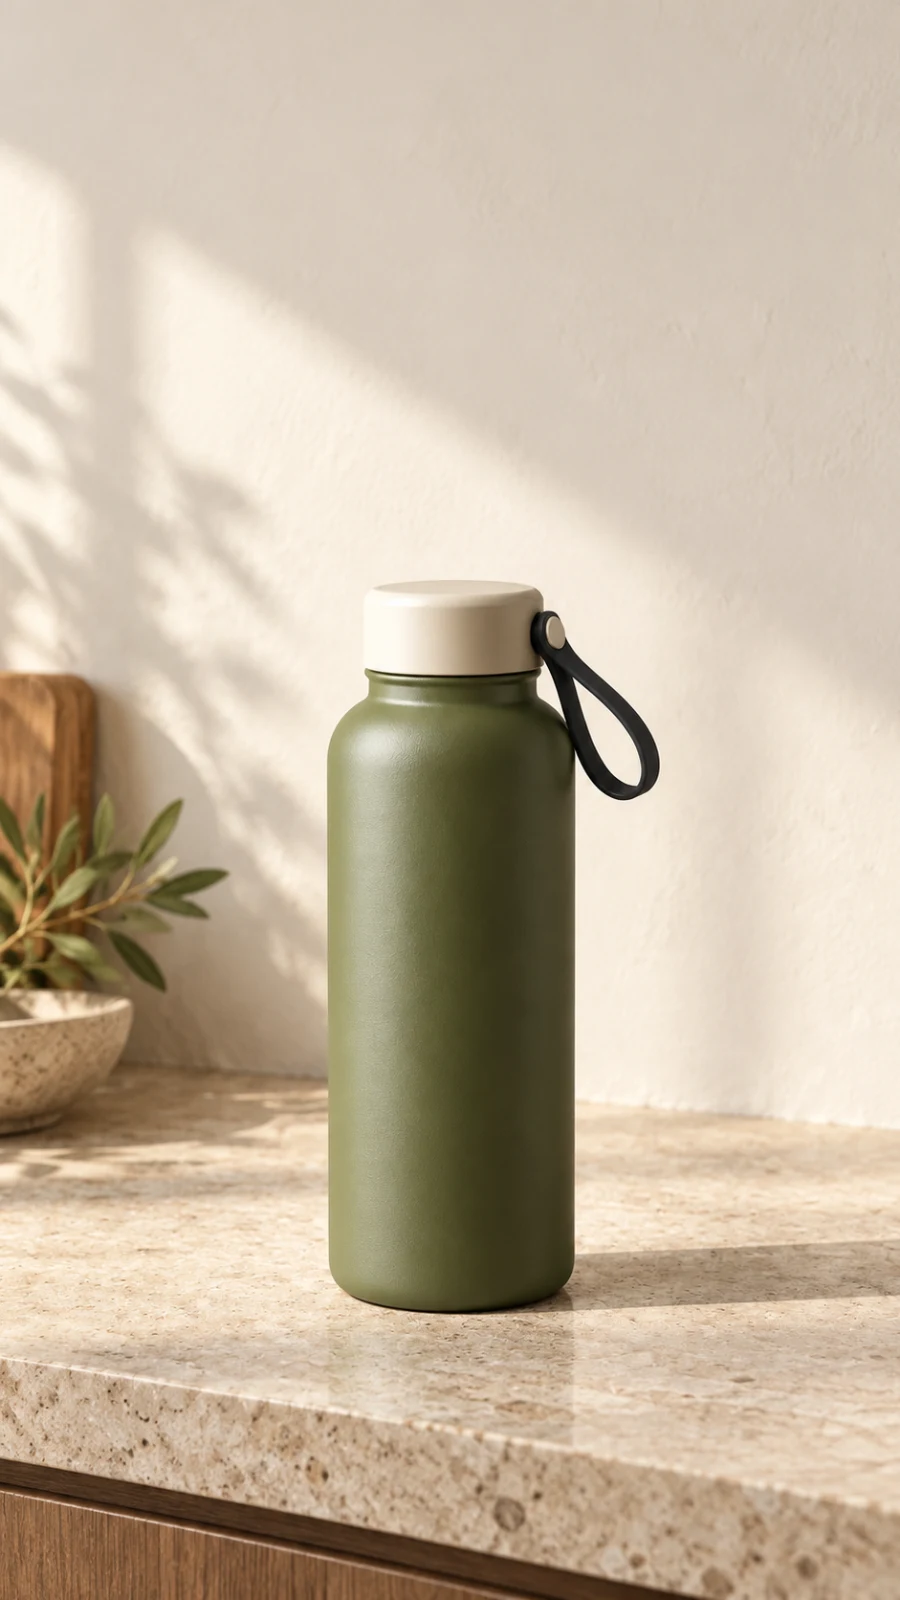
The illustrations are original AI-created planning stills for the fictional bottle. They are not outputs of these prompts or photographs of a real product. The prompts have not been tested in a specific generator.
Quick answer: A practical prompt can follow this pattern: product reference + shot purpose + visible action + camera movement + setting + constraints. If the source image already defines the scene, describe what should move instead of rewriting everything in the image.
In this guide: choose a shot · copy the prompts · build an ad · troubleshoot · FAQ.
Choose the shot before writing the prompt
| Your goal | Start with | What to inspect |
|---|---|---|
| Make the product recognizable | Hero reveal | Shape, color, label and crop |
| Show a detail | Material close-up | Texture, edges and joins |
| Explain one action | Product demo | Hand contact and starting state |
| Place it in a setting | Lifestyle scene | Scale and interaction with the environment |
| Finish the ad | End frame | Product visibility and space for added text |
For an example of turning several shots into an edit, use our product video storyboard guide. A 15-second edit, for example, can contain several separate clips; the length of the finished edit is not a promise that any tool will generate it in one pass.
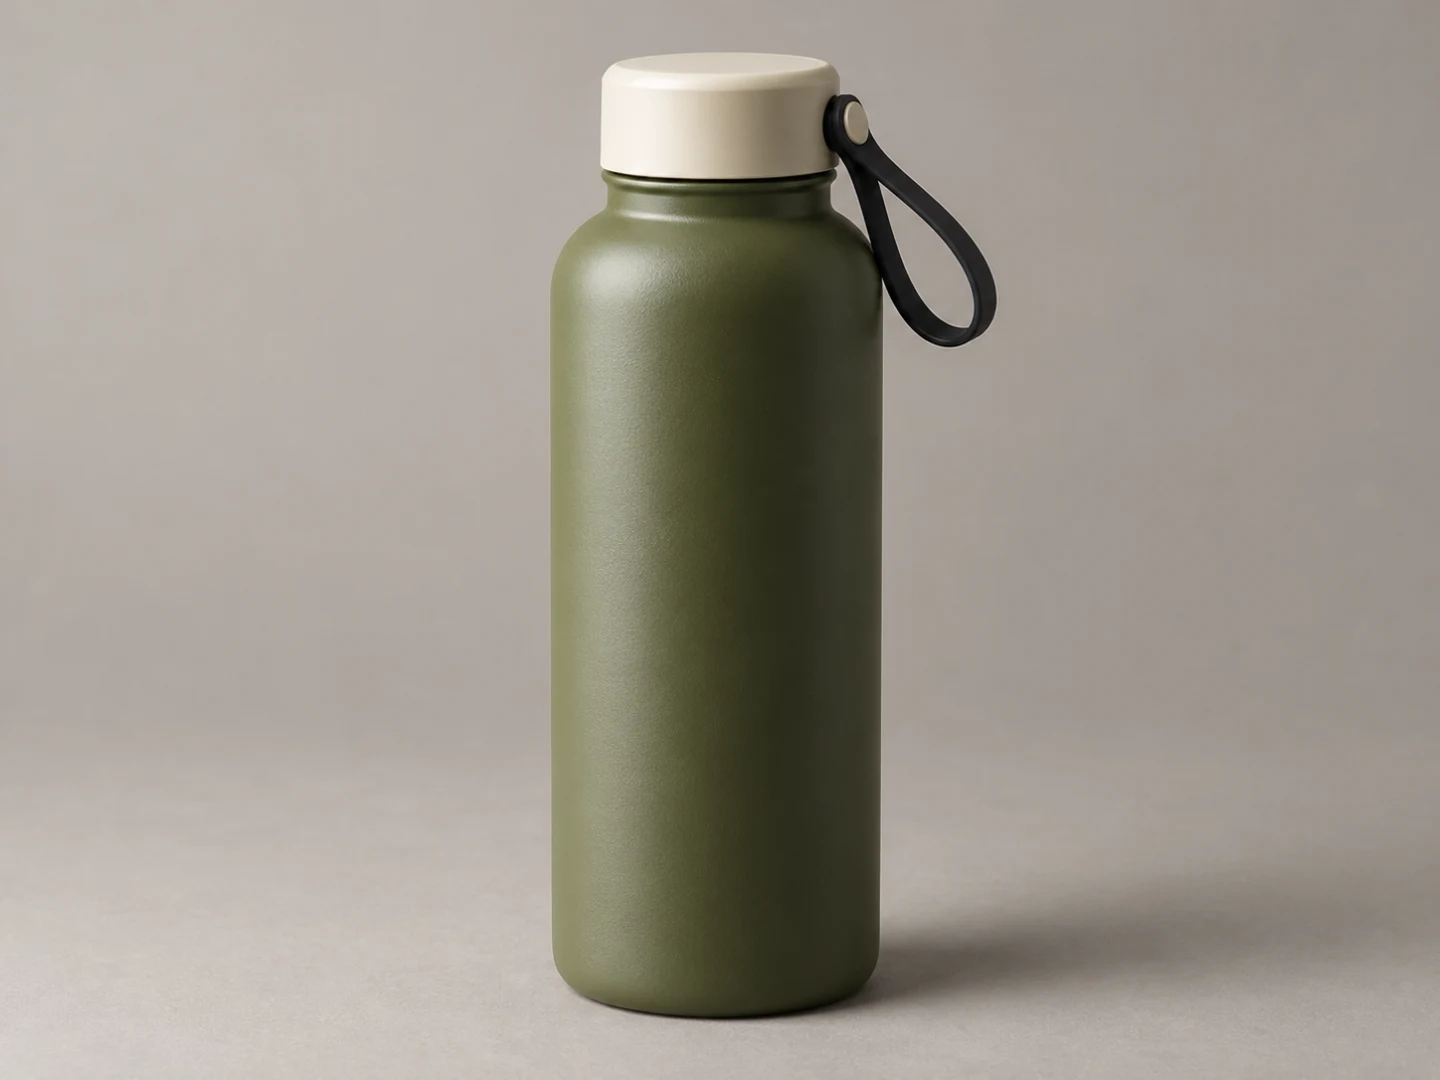
This planning still provides a fictional bottle reference for comparing its silhouette, cap and loop.
Example: turn a vague idea into a shot
Suppose your fictional product is an olive green bottle with a cream screw cap and a black carry loop. “Make a premium bottle ad” leaves the framing and action open. A more useful starting instruction is:
Starting from the approved reference image, show the closed olive green
bottle on a stone counter in morning light. Slowly push the camera closer.
Keep the cream cap and its black carry loop attached and visible. The
bottle stays still. Do not add lettering to the bottle or the background.
This example defines one reveal shot, not a complete advertisement. The bottle is fictional, and the prompt has not been tested for this article. After generation, compare the bottle's silhouette, cap and loop with the source image before deciding whether the shot is usable.
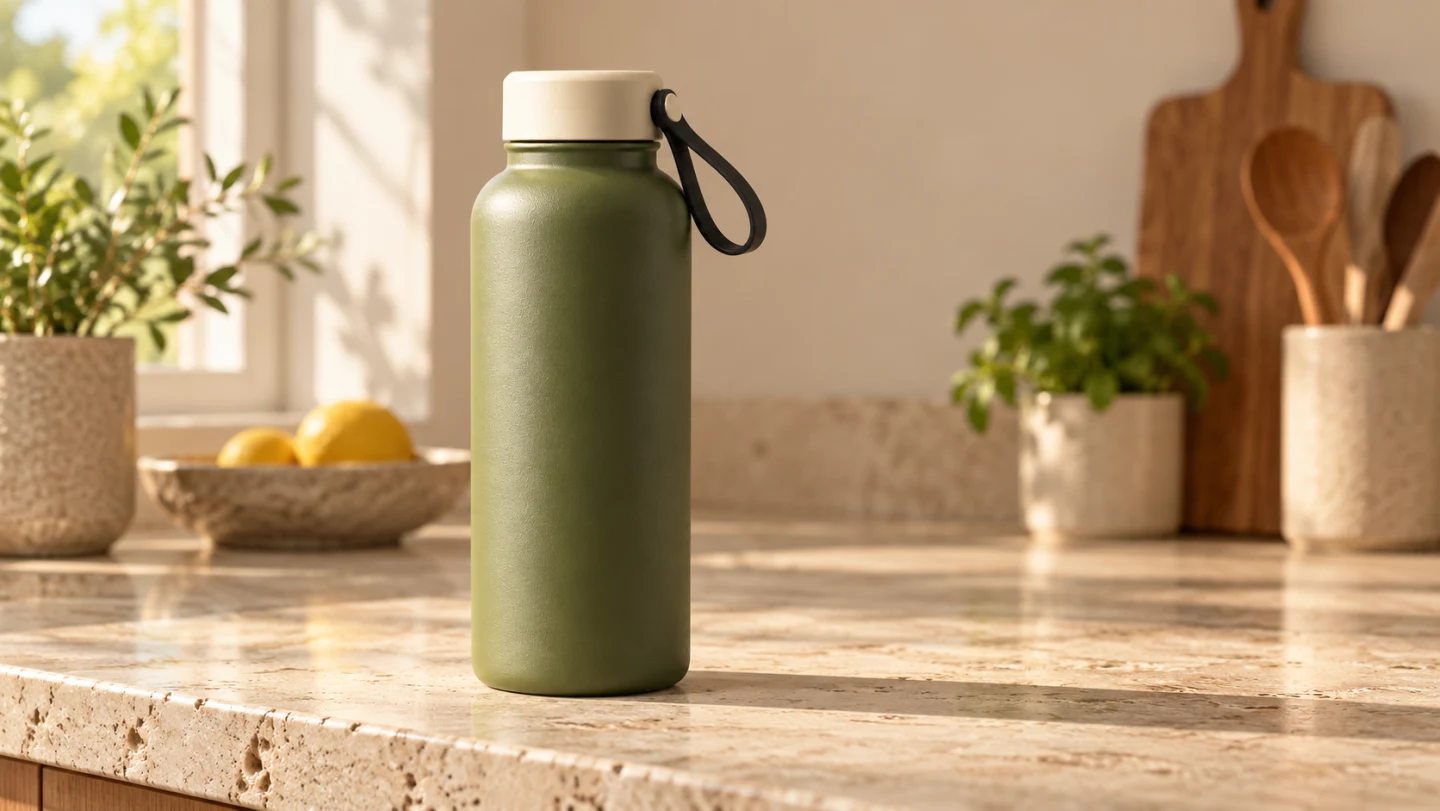
The still illustrates the proposed reveal setting; it is not the result of the example prompt.
Product video ad prompts you can copy
The examples assume you have the rights to use the references and that the starting image matches the described action. For each prompt, select the ratio and duration supported by your chosen tool. Add readable claims, prices, logos and captions in editing rather than relying on generated text.
1. Clean product hero reveal
Use this when the viewer first needs to recognize the object.
Use the approved image of [product] as the identity reference. Show the
product on [surface] in [setting]. A slow, gentle push-in reveals its
silhouette. Keep the [color, shape and distinctive parts] consistent.
Soft [lighting]. Keep the background uncluttered and do not add text.
Check: The full silhouette stays visible; cap, handle or other distinctive parts do not change.
2. Close-up of a real product detail
Choose a feature your reference actually shows, such as a woven seam or a metal finish.
Start from the approved close-up of [specific product detail]. The camera
moves slowly across the [surface or seam] while the object stays still.
Use [lighting] and preserve the visible material, edge and construction.
No invented markings or extra parts.
Check: The close-up agrees with the actual product photograph. A beautiful texture is not proof of durability or material quality.
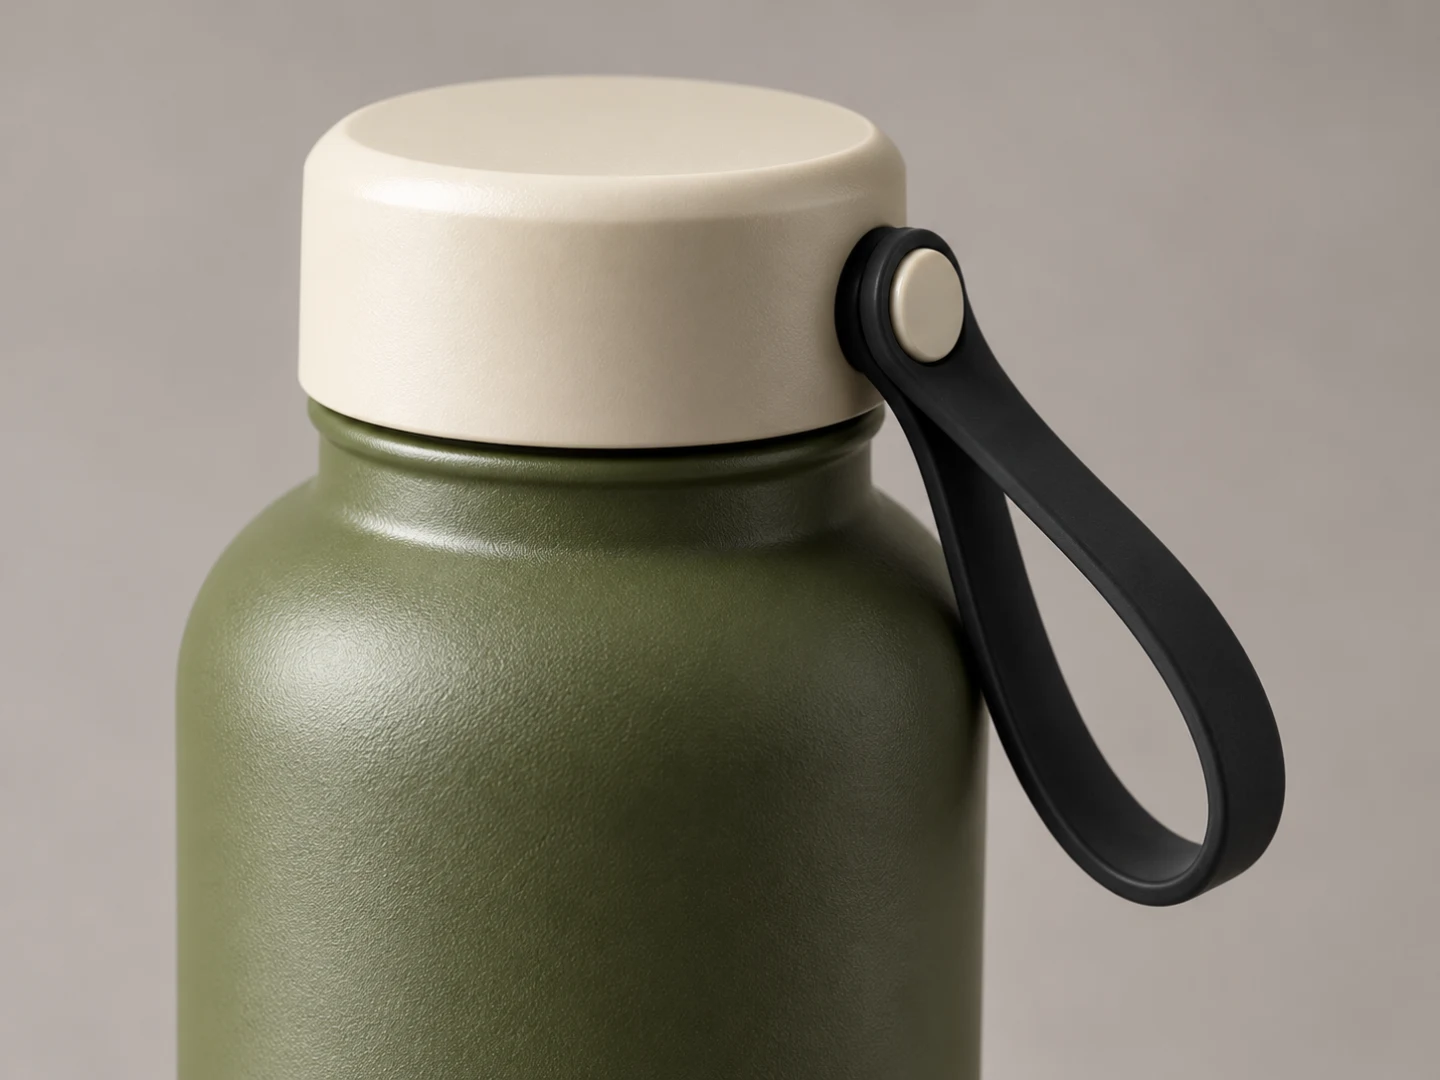
This detail view illustrates what to compare in a close-up: the cap and loop connection.
3. A simple product action
Show one action with a clear start and end. For example, a person places a closed bottle on a desk. Use a starting image that already shows the hand holding the bottle above the desk; a standalone product photo does not establish that starting pose.
Begin with [product] held above [surface]. One hand places it down gently
and moves away. Keep the camera stationary and preserve the product's
[shape, color and key parts]. Show natural contact with the surface.
No extra hands or objects.
Check: The hand grips the object plausibly, the product touches the surface and its proportions remain stable.
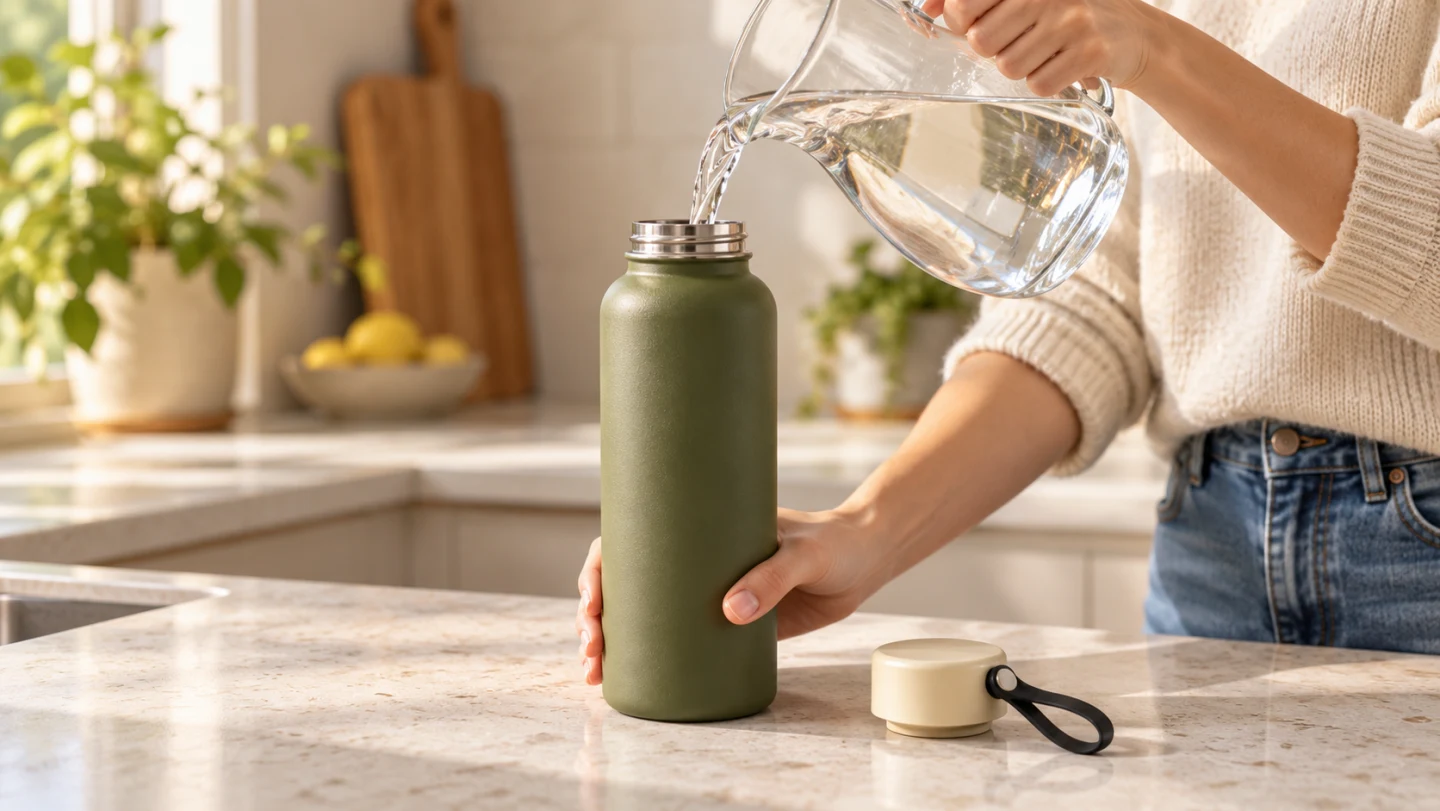
This separate filling scene illustrates an action starting state to inspect; it does not depict the desk-placement prompt.
4. Product photo to lifestyle video
Use a source image that already places the product in the intended environment. Changing the entire setting and animating a complex action at the same time makes review harder.
Animate the supplied image of [product] in [setting]. Keep the product
and its scale fixed. A light breeze moves [curtain or leaves] while the
camera makes a subtle lateral move. Maintain the product's existing
color, shape and visible details. No added text.
Check: The surroundings move as intended while the product remains recognizable. Google Cloud's video guidance recommends focusing image-to-video prompts on motion for its supported models; other tools may interpret instructions differently.
5. Unboxing without a fake review
Start with an authorized reference showing the actual packaging, product and relevant hands in a plausible opening state. If the product is hidden inside the box, keep a separate product photograph for checking what emerges; use it as an additional reference only if the selected tool supports it.
From the supplied image, show two hands opening the [actual packaging]
on a [surface] and lifting out [product]. Keep the package shape and
product identity consistent. Use a steady overhead camera and soft
light. No written claims, extra items or spoken testimonial.
Check: Packaging and contents match what a buyer actually receives. If the lid or hands become inconsistent, split the action into separate shots.
6. UGC-style demonstration
UGC-style refers to the visual format here, not a claim that a generated person is a real customer. For image-to-video, begin with an authorized image that already shows the presenter holding the product in the intended setting.
Create a casual, handheld-style product demonstration of [product] in
[ordinary setting]. A presenter holds the product and performs [one
visible action]. Keep the product consistent with the approved reference.
Use natural light and a simple background. No testimonial, review score,
invented customer experience or product-performance claim.
Check: The action is visually plausible and any person, voice or likeness is used with appropriate rights. Do not present an invented experience as a real review. The US Federal Trade Commission's guidance on reviews and endorsements explains why authenticity and disclosure matter.
7. Show a verifiable product feature
Use an action that can be visibly checked, such as opening a pocket, rather than asking the model to prove an untested performance claim. The starting reference should show the actual feature and the hand in a position from which the action can begin.
Show the [actual pocket, clasp or other visible feature] of [product].
One hand [opens or closes it] once. Keep the camera close enough to see
the interaction and preserve the real construction shown in the reference.
Avoid labels, measurement graphics and performance claims.
Check: The mechanism exists on the actual product and is shown accurately. A generated demonstration cannot establish that a product is waterproof, safe or durable.
8. Closing frame with room for a CTA
This is a shot for the end of the edit, not an instruction to generate the final lettering.
Show [product] resting on [surface] against [background]. Hold a stable
composition with clear space at [top or side] for an editor-added caption.
Use a subtle camera push-in and preserve product color and shape. No
generated text, logos or additional products.
Check: The product and caption area remain visible after the actual destination's crop and interface overlays. Add your CTA in the editor so it can be corrected and localized.
The vertical still illustrates how to reserve space for an editor-added caption while keeping the bottle visible.
Turn ecommerce product video prompts into a short ad
- Prepare the reference. Choose authorized, clear photographs of the actual item, including detail views for important features. Write down the shape, material, color and parts that must not change. A detail view can help you review the output even when the tool accepts only one starting image.
- Plan three jobs. For an example edit, use a hero reveal, one demonstration and a closing frame. See the storyboard guide for a shot-by-shot planning table.
- Generate or select each shot. Use a prompt appropriate to the tool and review the clip against its own starting image. Capabilities, cost and supported lengths vary by model.
- Review before editing. Compare the actual product to each frame. Check hands, contact, text, lighting continuity and whether the action communicates what you intended.
- Assemble and approve. Add verified copy and a CTA in the edit. Preview the delivery format; if one shot fails, revise that shot before deciding whether to rebuild the sequence. Our guide to regenerating one scene covers that decision.
For planning and producing product footage, explore the product video workflow and image-to-video page. Availability and results depend on the selected workflow and model.
Troubleshooting product video ad prompts
The product changes shape. Use a clearer reference and simplify the camera move. Compare the starting frame and output; if a critical side is hidden, provide an appropriate authorized view when your tool supports it.
The action looks wrong. Make the start and end states explicit. Replace “open, fill and close” with one shot for each action, and check contact between hands and objects.
The camera moves too much. Change one instruction at a time: first try a fixed camera, then a single slow push or pan. Keep a note of the source image and settings so you can compare attempts under the same conditions.
The generated words are unreadable. Remove lettering from the prompt and add approved copy after the visual is selected. Check the final crop on the destination format.
The shot implies an unsupported benefit. Remove the claim or substantiate it separately. A generated scene is creative material, not a product test or customer testimonial.
Frequently asked questions
Can I make a product video from one photo?
Some image-to-video tools can animate a single photo. A photo can anchor visible details, but it cannot establish hidden sides or guarantee accurate hands and motion. Use additional authorized views where supported and compare every output with the real product.
How long should a product video ad prompt be?
Use enough detail to state the shot purpose, action, camera and essential constraints. A concise instruction is easier to review than a long list of conflicting movements. The best length depends on the model, so test and revise with your own reference.
Can I use AI-generated UGC as a customer review?
Do not present an invented person or experience as a real customer's review. If you use actors, generated characters or endorsements, describe the material accurately and review the rules applicable to your market and platform. The FTC provides US guidance on endorsements and testimonials.
Should I generate the whole ad in one prompt?
For a multi-shot ad, planning separate shots gives you clearer points to inspect and revise. Whether a tool can generate or edit a longer sequence varies. Start with one product video ad prompt for each information job, then assemble the approved clips into an edit.
When your reference is ready, open the BriskGen workspace, start with one shot and review the result against the actual product before building the rest of the ad.