The BriskGen Journal
Canva Audio to Text Converter: Transcripts or Captions?
Choose the right Canva audio-to-text workflow: Transcribe Audio for design text or Editable Captions for video. Follow the steps and check the actual download.
Use Canva’s Transcribe Audio app when you want wording from a recording for a poster, quote card or presentation. Use Editable Captions when the words must follow speech in an exported video. For a standalone reading transcript, decide on the text-file handoff before spending time on a design.
This guide follows a workshop announcement from spoken information to its intended output. The important choice is what your colleague or audience will receive: checked text, a finished design, or a captioned MP4.
Decide what you want to receive
| Your actual goal | Start here | What counts as completion |
|---|---|---|
| Pull wording from a voice note into a design | Transcribe Audio app | Checked text appears in the intended document or design |
| Add words that follow speech in a video | Editable Captions | Correct, readable captions play in the exported video |
| Give a transcript or subtitle file to another editor | Check the required file format first | The receiving application can open and use the downloaded file |
There is another distinction inside Canva: Editable Captions differ from playback captions controlled through Accessibility or Show captions. If words appear while you preview a design, that alone does not show they will be included in the download. Follow the editable workflow when captions must be part of the exported video. Canva's caption help explains the distinction.
Route one: put a voice recording into design text
Canva's audio-to-text feature guide describes this path:
- Create a design or open an existing project.
- In Apps, find Transcribe Audio.
- Upload the recording and select Transcribe your audio.
- Proofread the resulting text in the side panel and design.
- Arrange the text, then save, share, or download the project as appropriate.
The marketplace listing identifies this app as being by SRB and lists MP3, WAV, M4A, and OGG audio inputs. Check the app name and developer so you do not apply one app's instructions or allowance to another similarly named transcription tool.
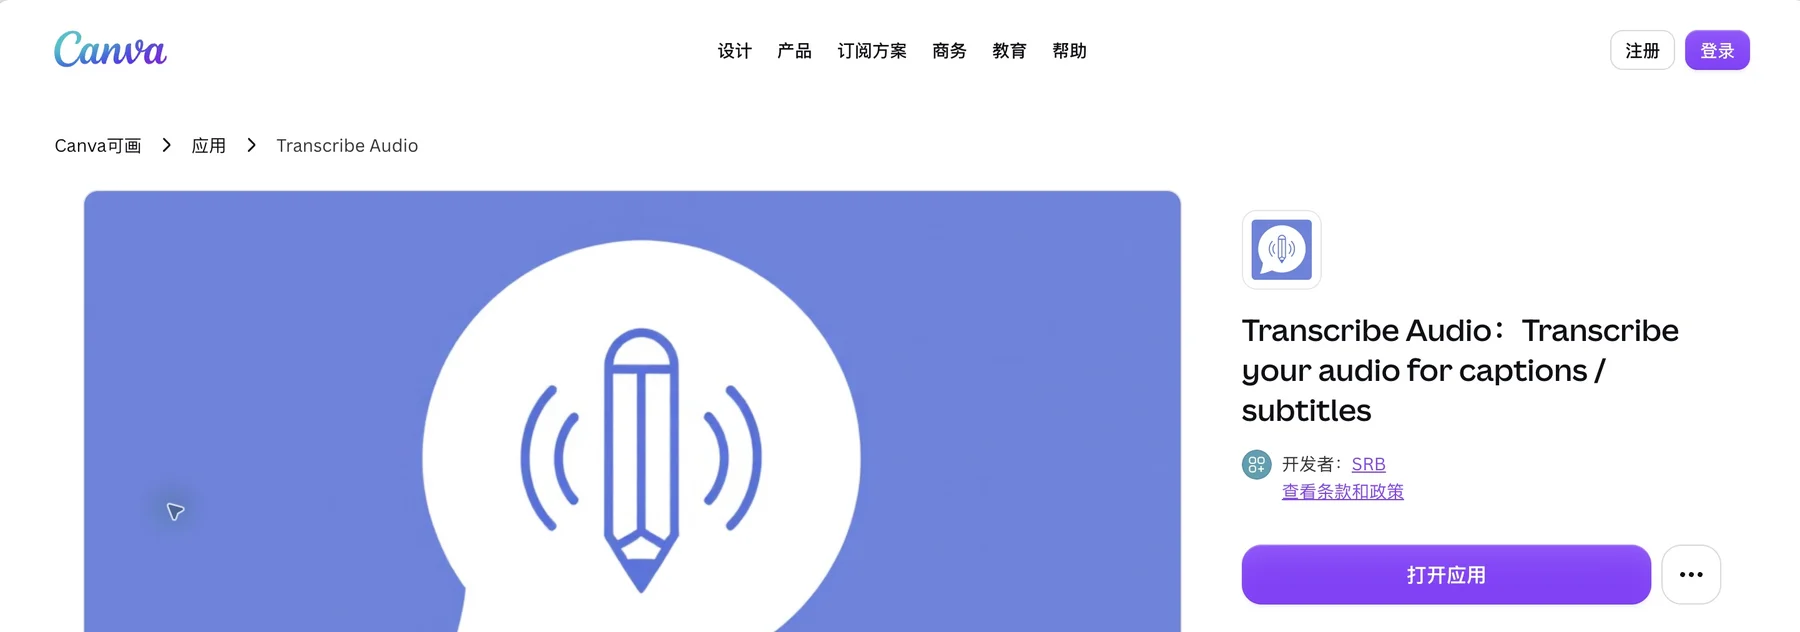
Canva public app listing, retaining the page location and developer so you can identify the entry. This is not a signed-in editor or evidence of an upload or generated captions.
Official app listing
.
Use this route when the text itself is material for a layout: a workshop announcement, a quotation, or notes accompanying a presentation. After transcription, decide which sentences belong on the page. A recording often contains introductions, false starts, and repeated details that should stay in a reference transcript rather than fill a poster.
Keep the faithful wording in a separate working copy before shortening it. If you turn “We expect to open registration next week” into “Registration opens next week,” you have strengthened the claim. That is an editorial change, not a harmless layout adjustment.
Route two: generate and edit captions in a video
In a signed-in Canva editor on 25 October 2026, we used a blank landscape video and our original eleven-second WAV, packaged as a 10.959-second MP4 with a plain background. This short sample lets you follow the caption controls before using a longer recording. The screenshots show Canva’s Chinese interface.
- Upload the video, add it to the timeline, and wait for the upload to finish.
- Open Text → Dynamic text → Captions (文字 → 动态文字 → 字幕 in the screenshots).
- Under Apply captions to, select the media you want to caption. We selected all media: one clip.
- Select Generate captions. Canva created four caption segments from the English speech.
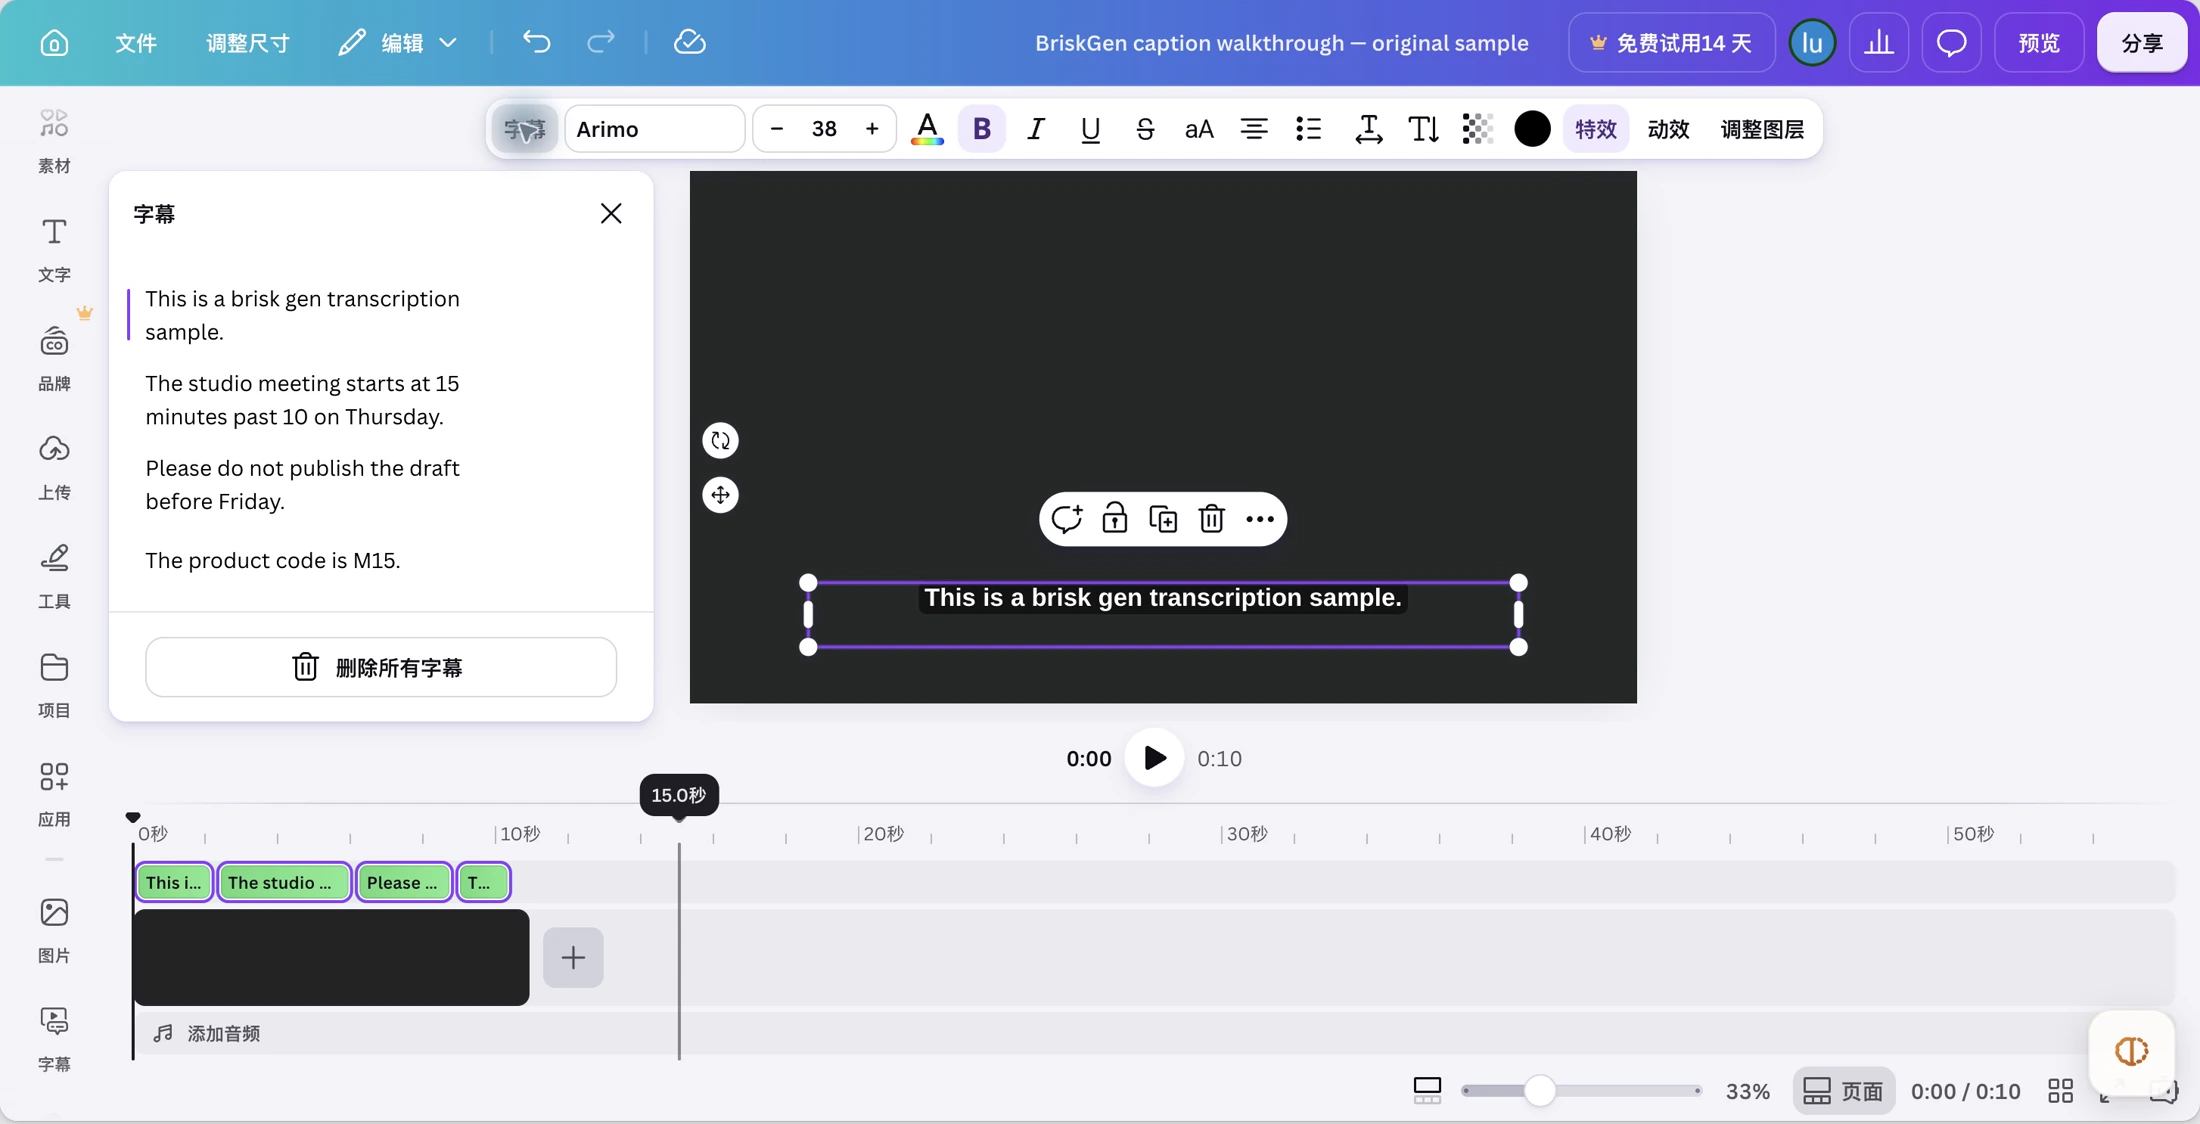
Four caption segments generated from our short sample. The Chinese Canva interface, canvas and timeline show where the captions sit in the project.
The generated wording was:
This is a brisk gen transcription sample.
The studio meeting starts at 15 minutes past 10 on Thursday.
Please do not publish the draft before Friday.
The product code is M15.
- Edit the wording in the caption panel. We changed the first sentence to “This is a BriskGen transcription sample.” The canvas and timeline updated with the correction.
- Review the timing controls and play the clip. The first caption’s duration control showed 2.2 seconds; we left that duration unchanged. Check each segment against the speech before adjusting it.
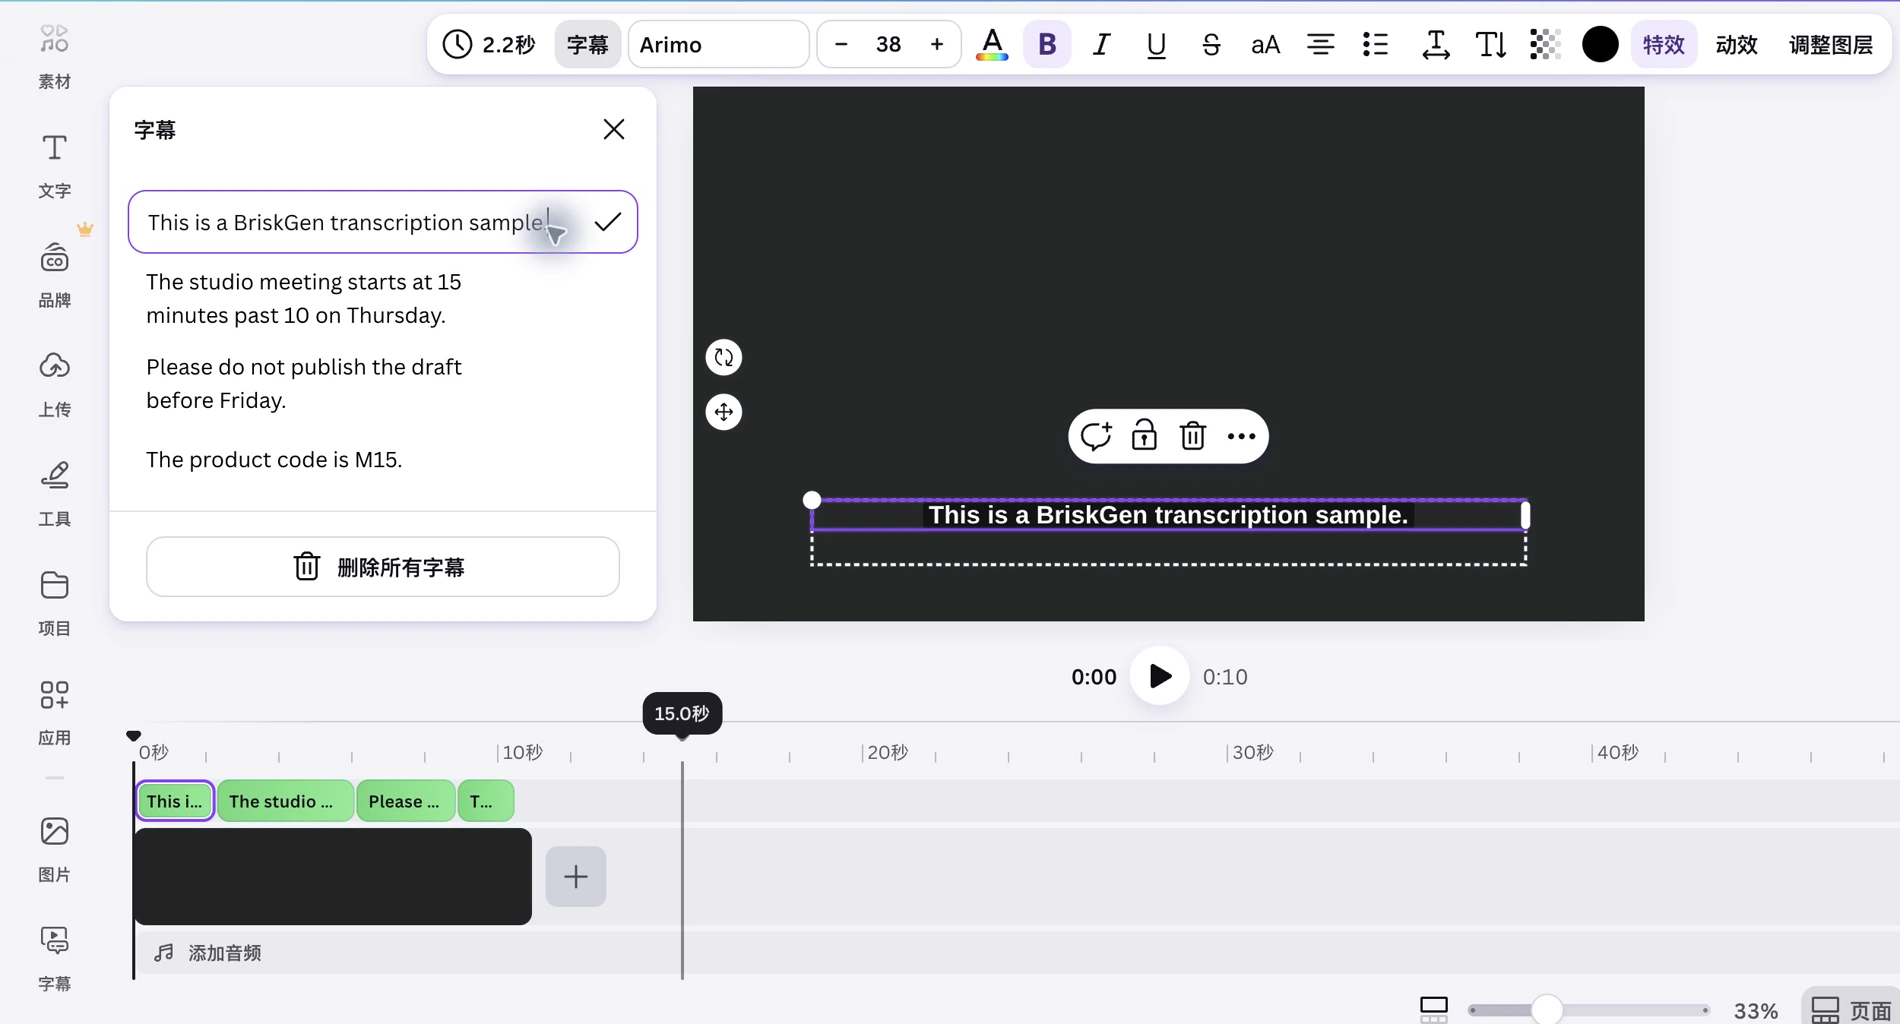
Correcting the brand name in Canva’s Chinese caption panel updates the caption on the canvas and timeline. Proofread names, times and product codes before exporting.
- Open Share → Download, choose MP4, and check the selected resolution. We kept the default 1920 × 1080 and downloaded a 10.959-second MP4 with audio. The corrected BriskGen spelling appears in the exported frame, so the text is part of the video itself.
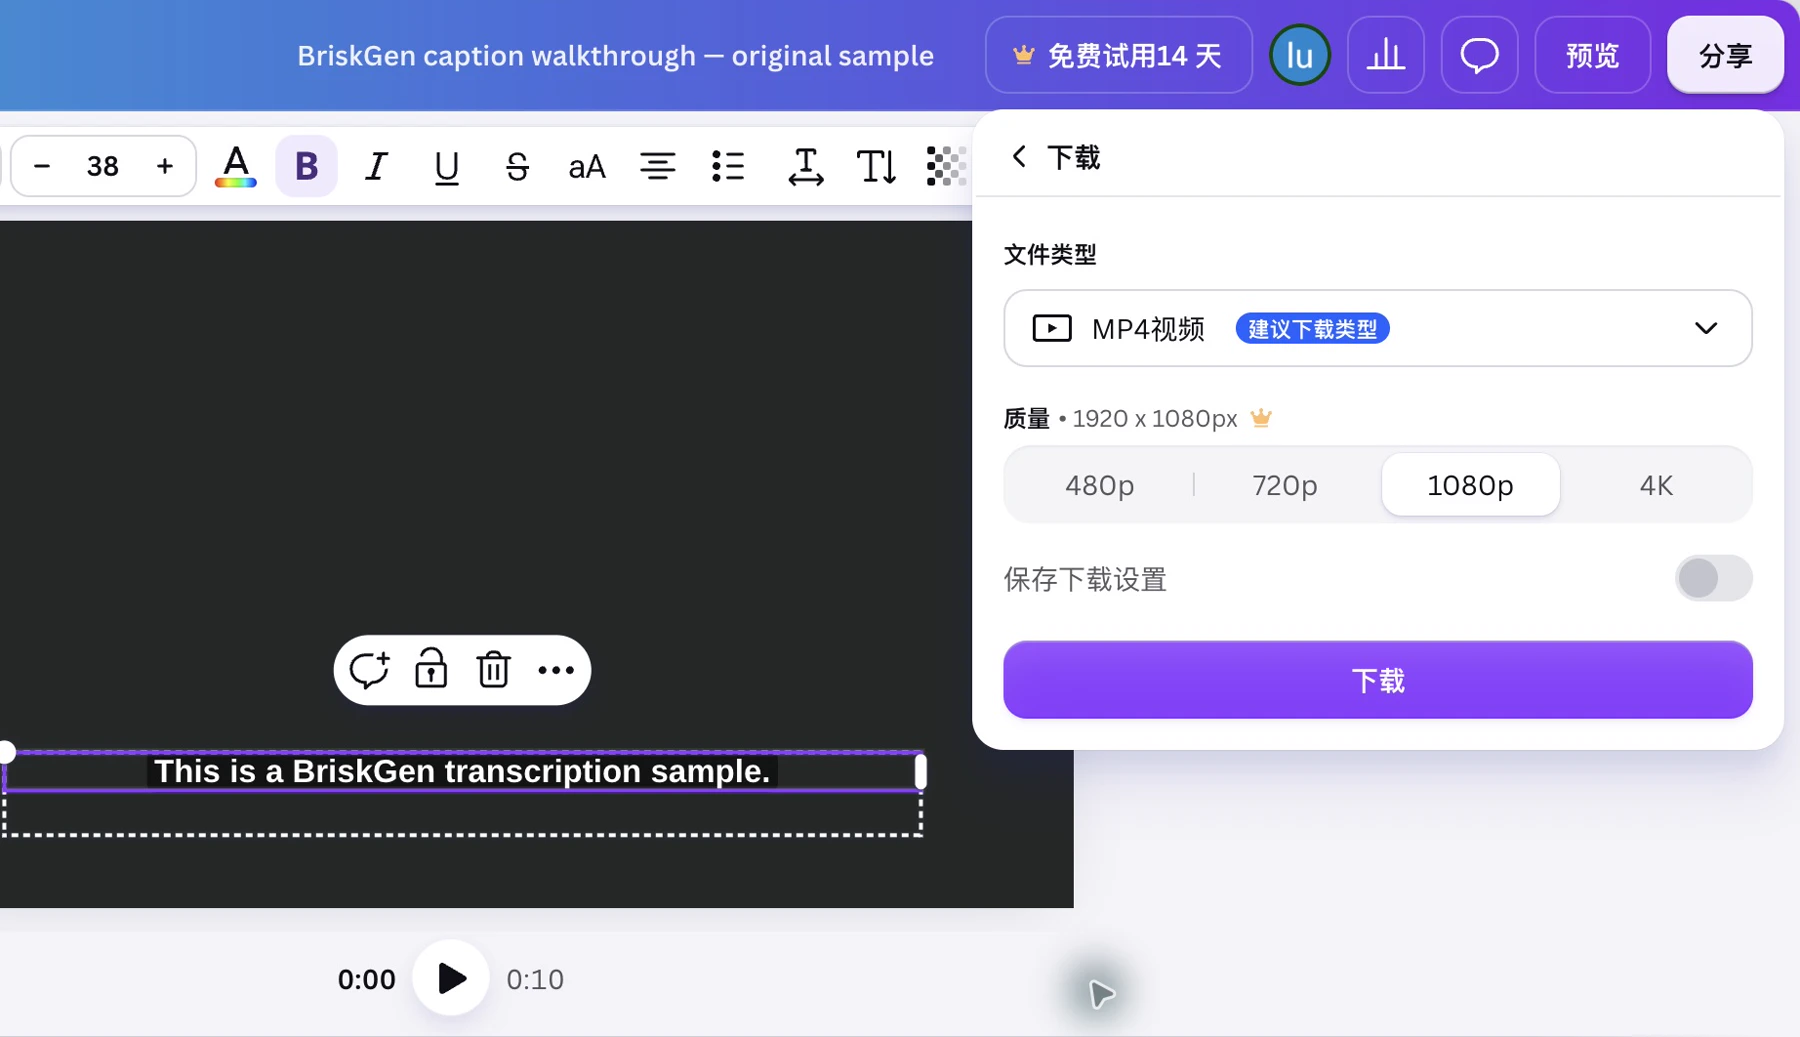
Share → Download opens the MP4 settings beside the video. Keep the desired resolution and check the downloaded result; changing resolution can have a different plan requirement.
Compare our original input MP4 with the actual Canva export. The plain background makes the captions easy to inspect; this is an operation sample, not a finished creative video.
Choose a restrained caption style first. Make the words readable and synchronized before adding animation. Styling cannot fix a wrong date or a caption that appears after the speaker has moved to the next point. For other design types, language controls and audio-only timelines, consult Canva’s Editable Captions help.
Example: a workshop announcement in three forms
Suppose you have an original 40-second voice note saying:
“The paper-lighting workshop is on Saturday, 21 November, at ten thirty. Bring a pencil. We will provide the paper and lights.”
For this fictional announcement, the same spoken information needs three different treatments:
Reference transcript: keep the spoken wording so the organizer can check the date, time, and materials. Listen again to “ten thirty” and the date before copying them anywhere else.
Announcement card: after confirmation, edit the information into a short layout: workshop title, date and time, and “Bring a pencil; materials provided.” This is an edited announcement, so it should not be displayed as a verbatim quote.
Captioned video: preserve the spoken sequence and time the words to the voice. Keep “Bring a pencil” visible long enough to read, and check that “we will provide” remains attached to the correct items.
Approve the date, time and materials once in a reference transcript, then build the card and captions from that wording. If the event changes, use that master to update both outputs. If only the video is shortened, recheck its caption timing.
Inspect the download, not just the editor
For a text-based design, check the downloaded or shared result at its intended reading size. Long lines may look acceptable when zoomed in but become difficult to read on a phone. Verify dates, contact details, and any edited quotation after layout changes.
For video, open the exported MP4 outside Canva. Watch once with sound to inspect synchronization and once muted to see whether the captions communicate the spoken information. Check the opening, a scene change, and the last line. Keep text clear of important visual details and likely platform overlays.
Ask the recipient a concrete question: “Do you need the words in the video, or an SRT/VTT you can import?” An MP4 can display captions while giving the editor no separate caption file to change. Confirm the selected app’s export options before processing a long recording.
When a file handoff is the main goal, the ElevenLabs transcript guide explains documented text and subtitle exports. The Vidnoz guide covers choosing an output on a public conversion page.
Need TXT first, with design work afterward?
When the organizer needs to approve the wording before you design anything, start with a reading transcript. BriskGen Audio to Text accepts local MP3, WAV, M4A, MP4 and MOV files up to 100 MiB and 30 minutes. Sign in, choose the recording and review the estimate. After transcription, correct and save the words, then copy or download TXT. Usage is 1 credit per started 2 minutes, with a 1-credit minimum; a 40-second voice note uses 1 credit.
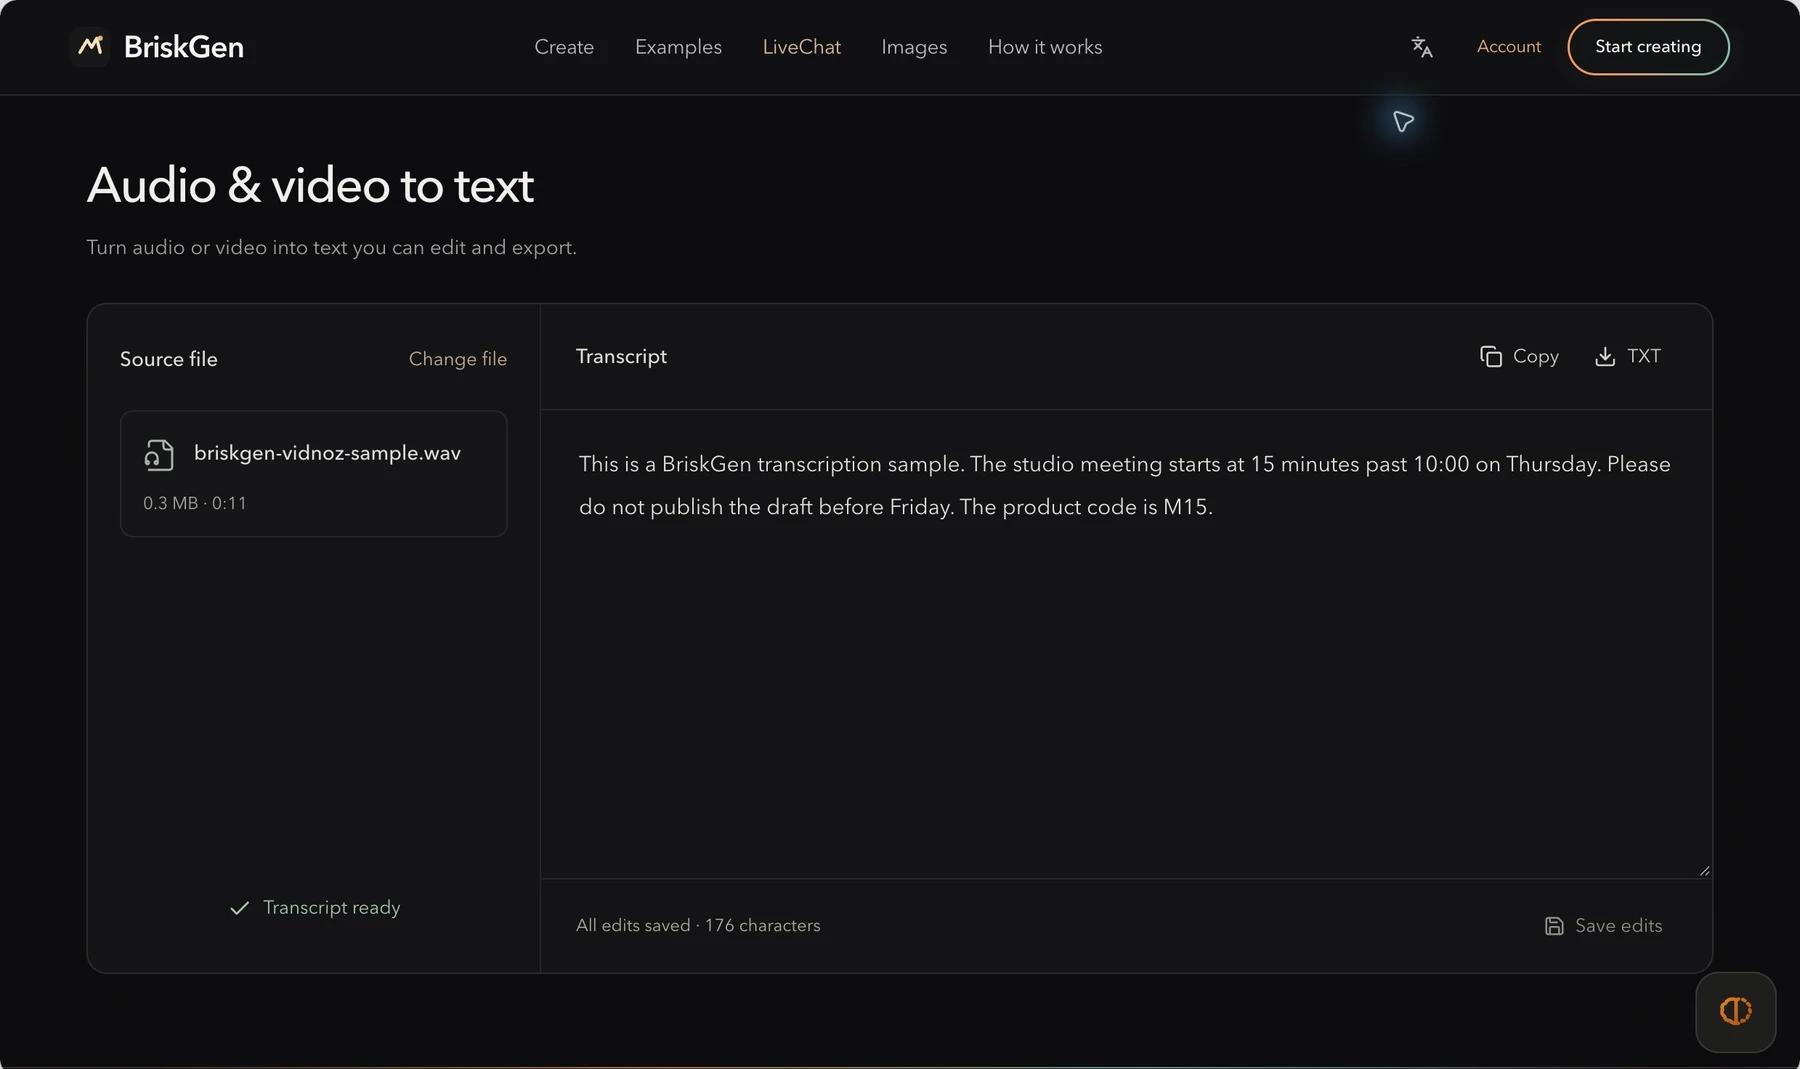
For the workshop, send that TXT to the organizer to confirm the date, start time and materials. Once approved, manually paste the chosen sentences into Canva. Keep the complete transcript and shortened announcement as separate files so layout edits do not overwrite the agreed wording.
Prepare the source text in BriskGen when approval comes before design. It outputs the spoken language as editable text and TXT; it does not translate, import YouTube links or produce timed subtitles. Use Canva’s captions route for the MP4.
Open the downloaded TXT before copying into a design
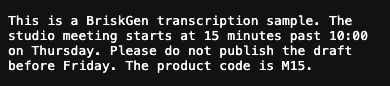
Our original eleven-second WAV and saved TXT give you a small example to compare. The brand spelling was corrected before saving. In the downloaded text, check the final instruction with “do not” and the product code “M15.” For an announcement, give its date, price and conditions the same attention before shortening the text.
Check the app allowance and permissions
Before uploading a full session, inspect the exact app's allowance and permissions. Canva's marketplace listing describes Transcribe Audio as free, while another official audio-to-text page describes a limited free transcription allowance with paid credits. Confirm what your selected app offers rather than assuming Canva Pro makes every transcription app unlimited.
The SRB listing also describes access to design contents and uploaded media. For a work recording, use an account and app appropriate to the material you are allowed to share. The practical first step is a short, permitted sample that lets you inspect the output before committing the full recording.
If captions are missing, confirm the design type, selected media, timeline view, and presence of audible speech. When the spoken language was detected incorrectly, Canva's help recommends choosing the correct language and regenerating. If music masks the words, return to a clearer speech source or correct the affected text manually.
Sources and verification
Official Canva pages were checked on 24 October 2026. On 25 October, we generated four caption segments and corrected the brand spelling in a signed-in Canva video editor using our original eleven-second recording. The downloaded MP4 was checked as 1920 × 1080, 10.959 seconds, with an audio stream and the corrected caption visible in the exported frame. This short test does not establish accuracy or synchronization for longer recordings. The SRB Transcribe Audio app and its account allowances were not tested. The workshop announcement is fictional and separate from the recorded sample; the linked BriskGen WAV and saved TXT are our original files.
- Canva audio-to-text converter: documented Transcribe Audio app path.
- Transcribe Audio marketplace listing: developer, input formats, and permissions.
- Generate and animate captions: editable timeline captions, language selection, and video download.
- Canva audio-to-text overview: allowance context to confirm in the selected tool.
Cover: original AI-generated editorial scene illustrating the topic; product interface and test images in the article are documented separately.