The BriskGen Journal
Higgsfield Genjutsu Lite: Inputs, Limits and Workflow
Learn what Higgsfield Genjutsu Lite accepts, how to prepare a video edit, check the credit quote, and review motion transfer or object swap results.
Higgsfield Genjutsu Lite starts with existing footage and a change you want to make. That is a different task from describing a new clip from scratch: your video already supplies movement, timing, and a camera viewpoint. First decide whether you want to rebuild a scene around that movement or replace a particular element within it.
This is a public-documentation guide, checked on October 26, 2026, rather than a hands-on review. Official images illustrate the Genjutsu family and do not establish Lite-specific results; our original illustrations are static preparation examples. We have not verified a signed-in upload, generation, or credit charge.
Higgsfield Genjutsu Lite inputs and limits to check first
The October 19 release note lists Motion transfer, Objects swap, 720p/1080p, and up to 10 reference images. It describes 4–15-second input videos. The current Genjutsu page's Lite banner instead advertises up to 30 seconds. Treat the duration limit as something to confirm after selecting Lite in your account, using its upload validation.
Prepare one section containing the complete action. Our example below uses a 4–10-second shot because it is easy to inspect, not because that is a required input range.
Prepare these four things before submitting:
| Preparation | What it should answer |
|---|---|
| Source video | Which movement and camera timing should the edit follow? |
| Clear product image | What exactly should the replacement look like? |
| Written edit brief | What changes, what stays, and what must not be added? |
| Acceptance checklist | Which visible details determine whether the shot is usable? |
Check the quote before generating
We could not read a Lite-specific credit amount from the public Higgsfield pricing page. There is no verified per-shot cost or dollar conversion in this guide.
In your account, choose the mode, clip length, resolution, and references, then inspect the pre-generation credit quote. If the quote is not visible or its scope is unclear, resolve that before submitting. Keep a record of the settings and quoted amount so a later retry does not silently become a different purchase.
For your own test, note the balance before and after, compare it with the task's usage record where available, and keep other jobs out of that interval. A subscription balance alone does not explain the cost of one edit. This is a recording method, not a report of a bill we observed.
Choose Motion transfer or Objects swap
The Genjutsu family page presents Motion Transfer as rebuilding subjects and surroundings around existing motion, while Object swap targets specified elements. Those are different creative goals. Choose the scope of change before writing the prompt.
Motion transfer: reinterpret a filmed performance
Use this direction when the movement is the valuable part of your source and you want a broader visual reinterpretation. Describe the new subject or setting, then identify the action beats and camera relationship you still need. A result can preserve a recognizable pose while changing much of the scene's appearance.
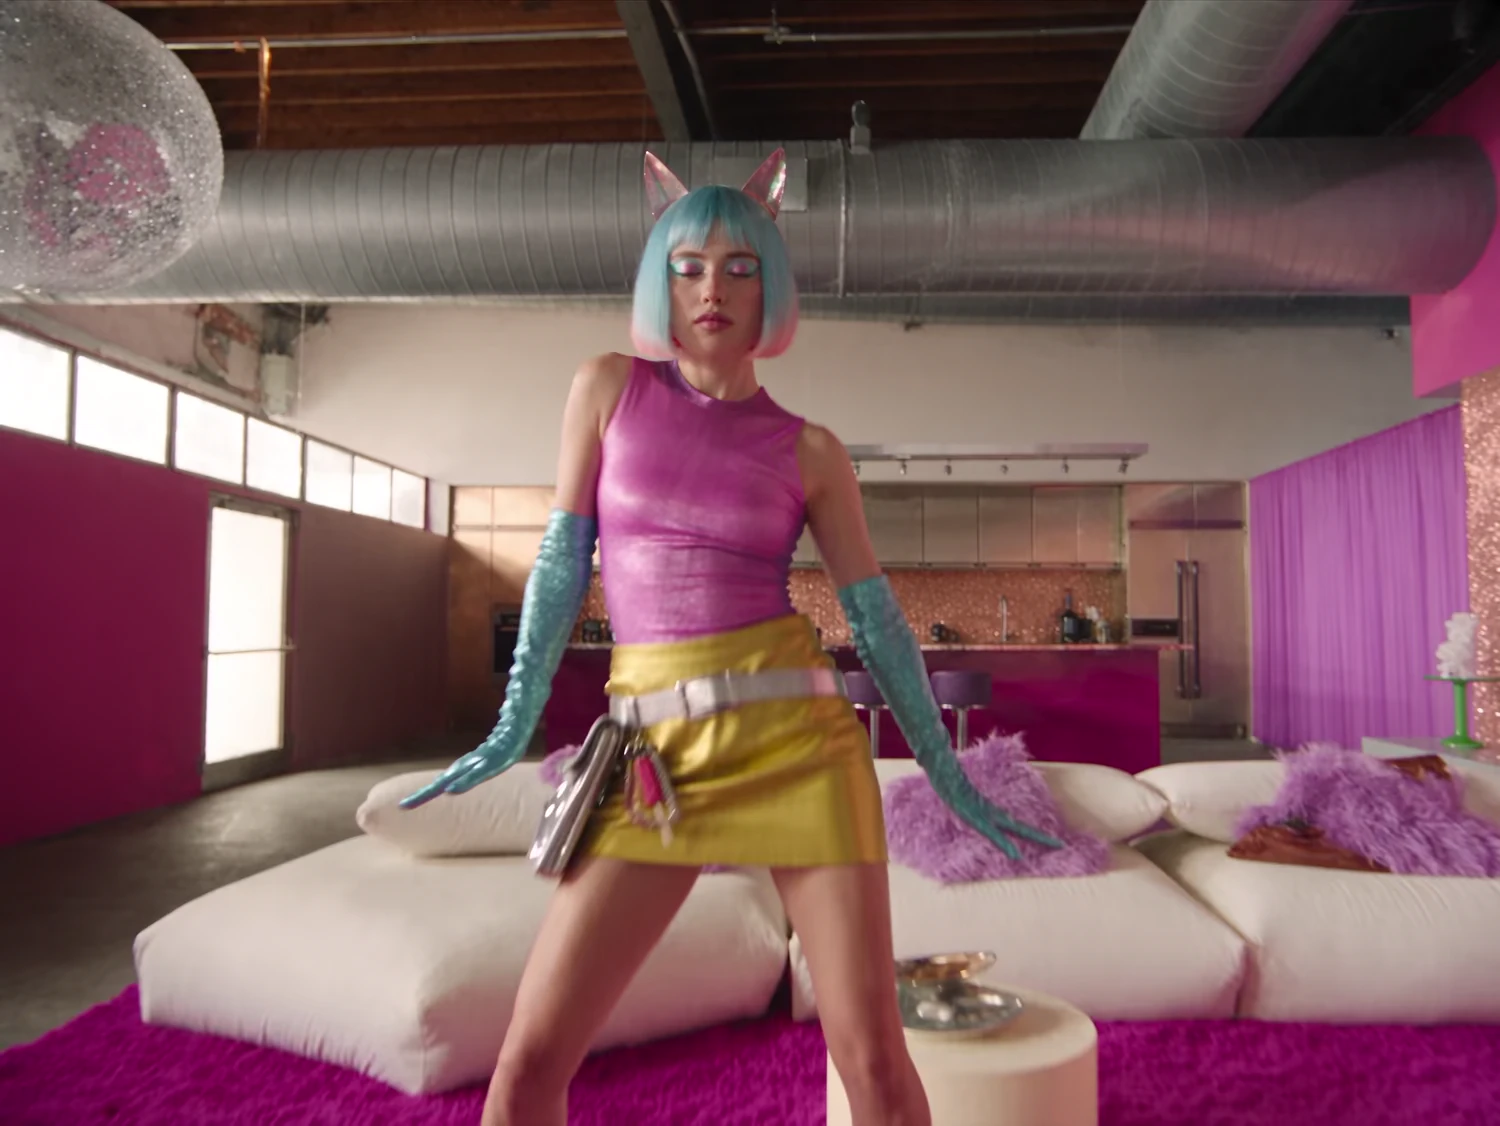
Family showcase, frame A: note the standing pose and surrounding space before judging the change. Source:
Higgsfield showcase
.
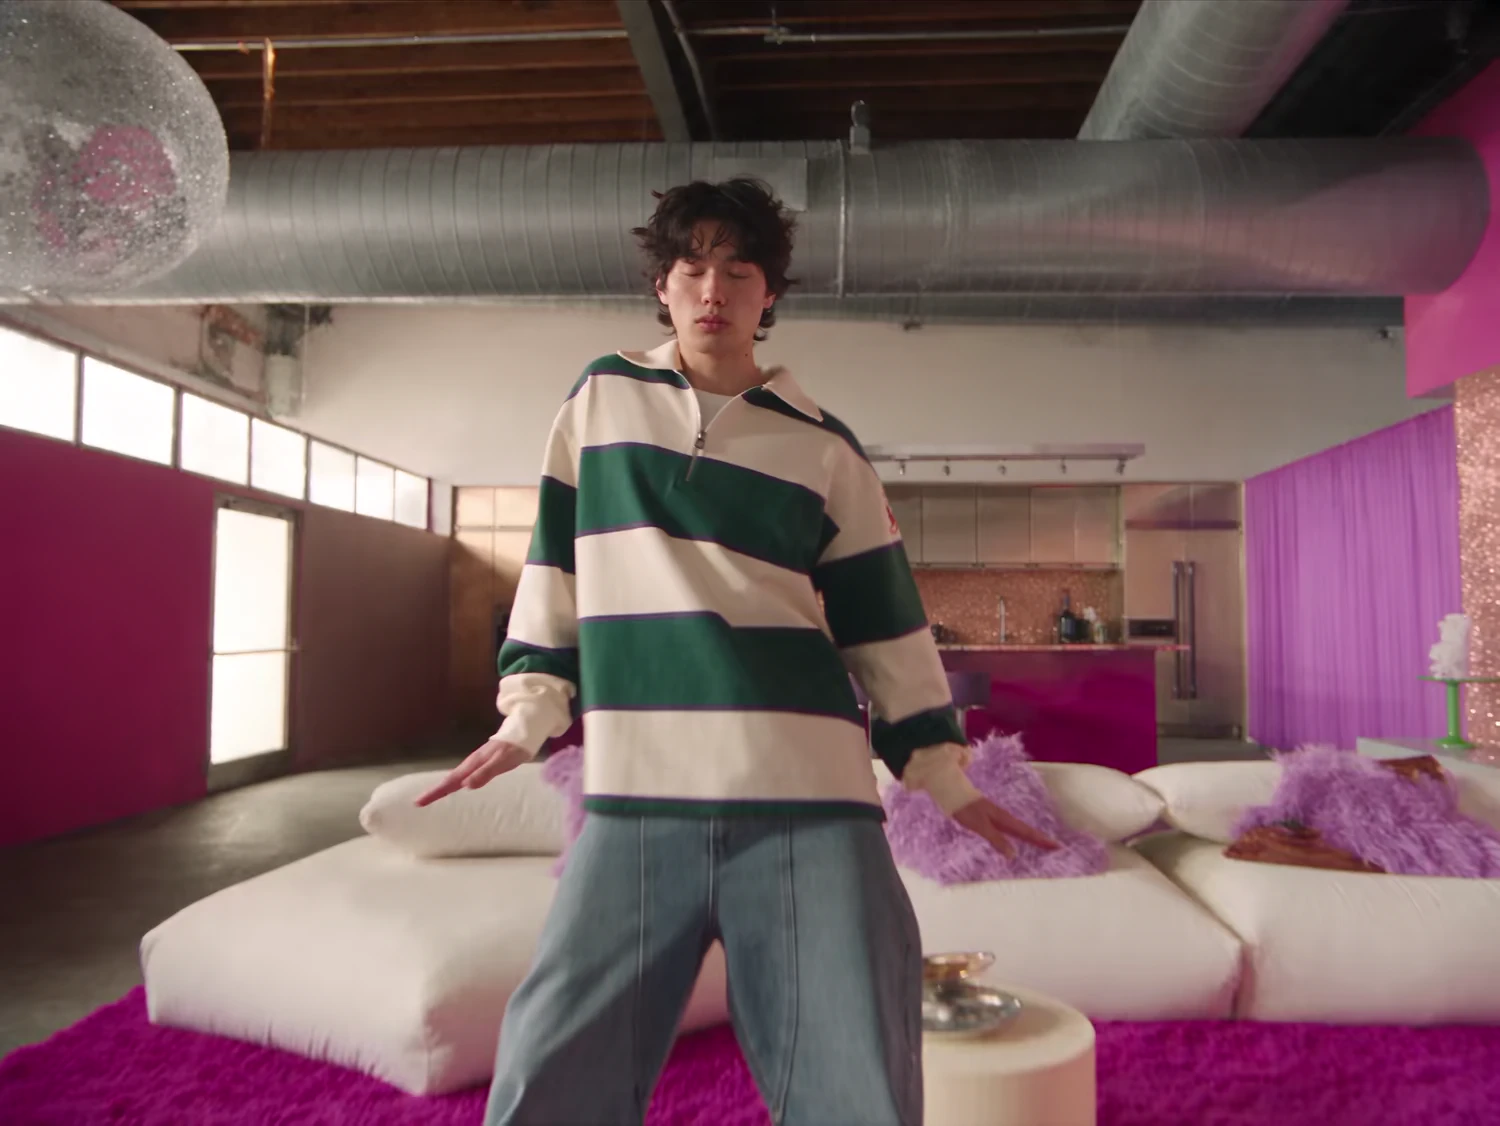
Family showcase, frame B: compare appearance and composition with A; the two posters cannot establish synchronized movement. Source:
Higgsfield showcase
.
The stills explain a visual change, but do not verify intermediate frames, input conditions, or Lite attribution. Watch the full video before drawing conclusions about motion.
Objects swap: name a particular change
Use this direction when your main instruction is local: replace a prop or alter a visible element while retaining the shot around it. Name the target by its appearance and position. “Replace the plain container held in the right hand” is easier to inspect than “make this a product ad.”
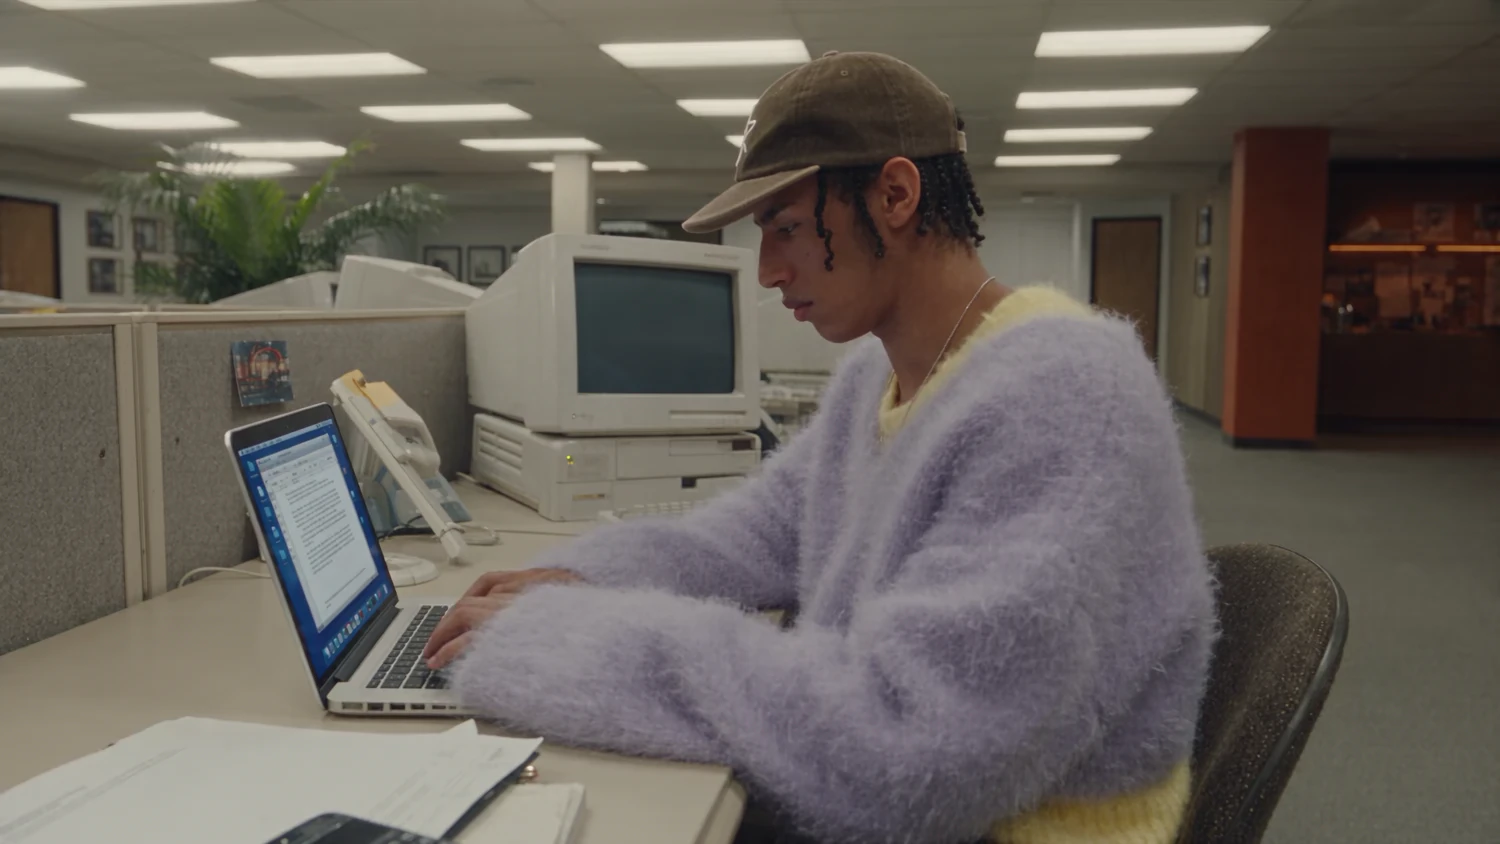
Family showcase, frame A: identify the clothing area separately from the person, desk, and computer. Source:
Higgsfield showcase
.
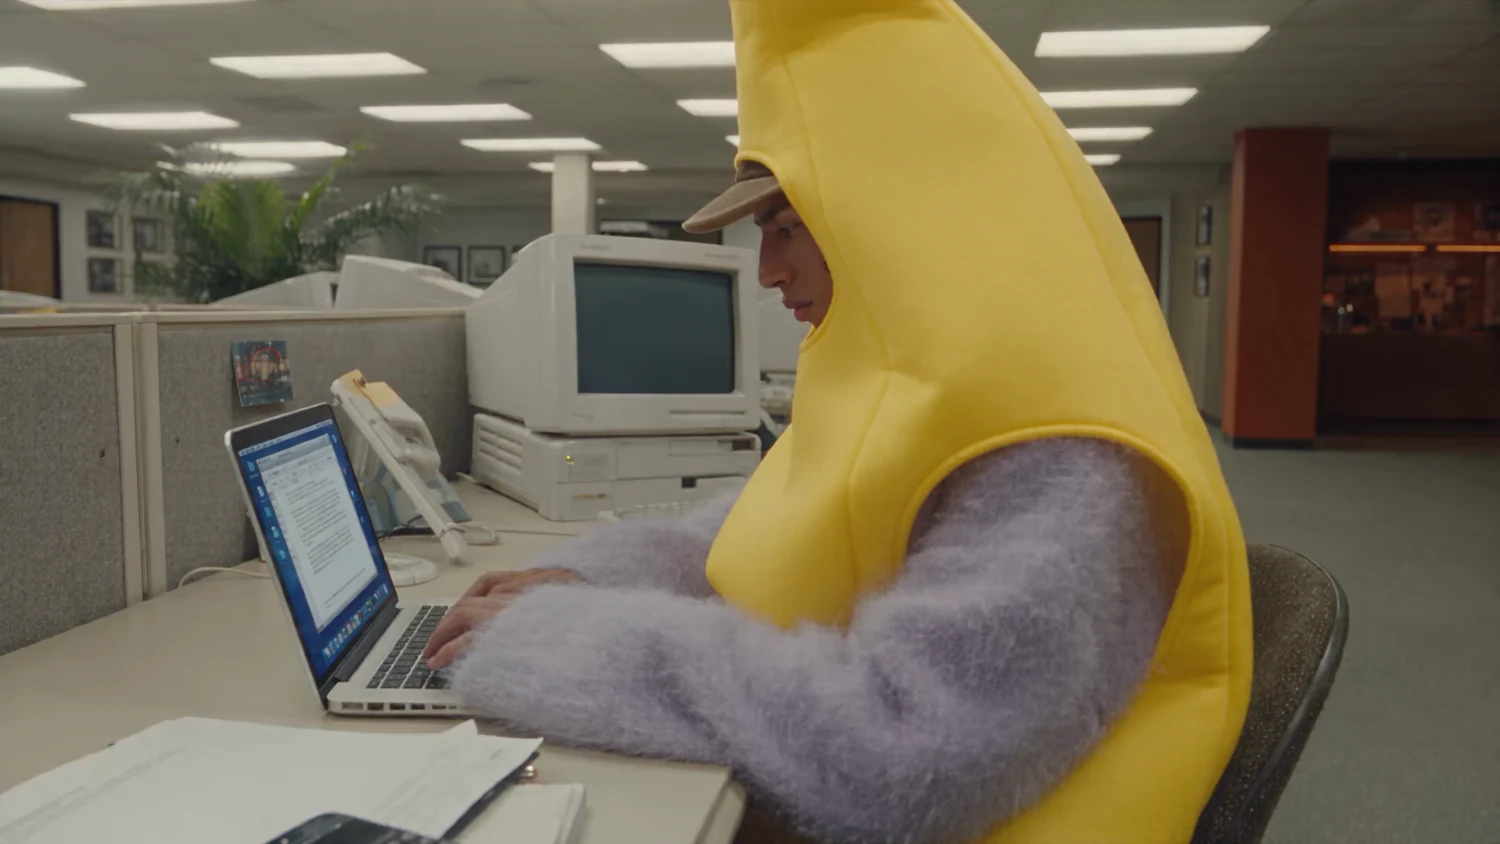
Family showcase, frame B: the conspicuous outfit change makes the target easy to locate; surrounding continuity still needs video review. Source:
Higgsfield showcase
.
For a product substitution, ask a narrower question than whether the result looks dramatic: did the product change without an unwanted change to the hand, desk, light, or camera? An appealing redesign of the whole scene can still miss a local-edit brief.
Prepare a product edit with your own short clip
Imagine a simple shot you filmed yourself: a hand sets a plain, bottle-sized prop on a desk, releases it, and moves away. You want that prop to become your own bottle. Keep the first attempt simple enough that you can follow the entire contact between fingers, object, and desk.
Choose footage with readable edges and an unobstructed view of the target for part of the shot. Avoid beginning with a rapid whip pan, several similar props, or a hand covering the target throughout. These choices make your test easier to diagnose; they are not promised model requirements or a guarantee of success.
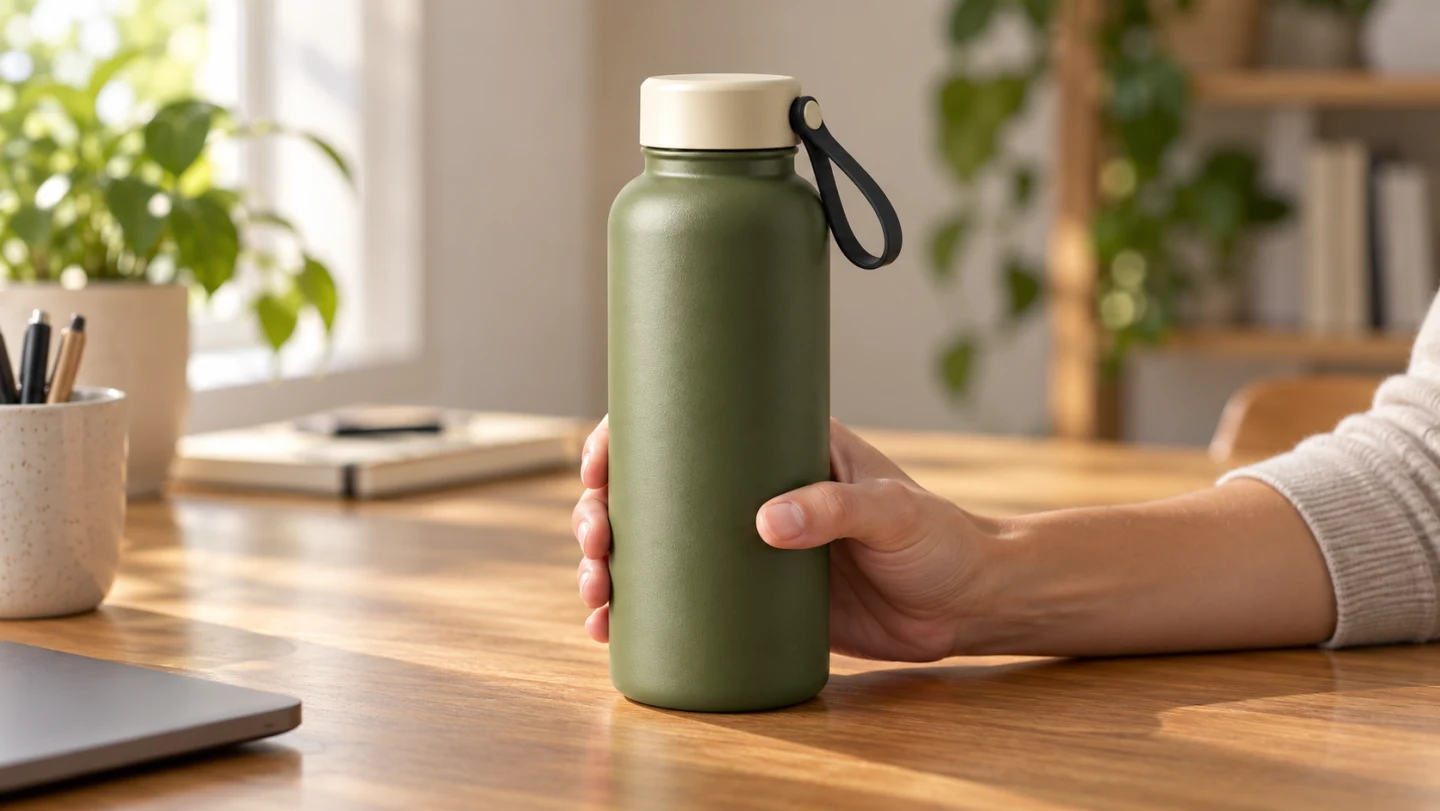
A filming-plan example: visible feet, obstacle, and landing space show why a clear action is easier to inspect. This still is not a source video.
A poster cannot supply the movement of a filmed action. Use a video file for the movement reference, and keep a separate still for appearance. For the desk example, preserve the source camera, the moment the object touches the desk, and the pause before the hand leaves. Those details define the shot you are trying to edit.
Give the product a readable reference
Use a clear image of the actual intended design. For our original bottle example, the anchors are an olive-green body, cream lid, and black loop. Show the full silhouette and the connection between those parts. If you add another angle, check that it depicts the same bottle rather than a similar design.
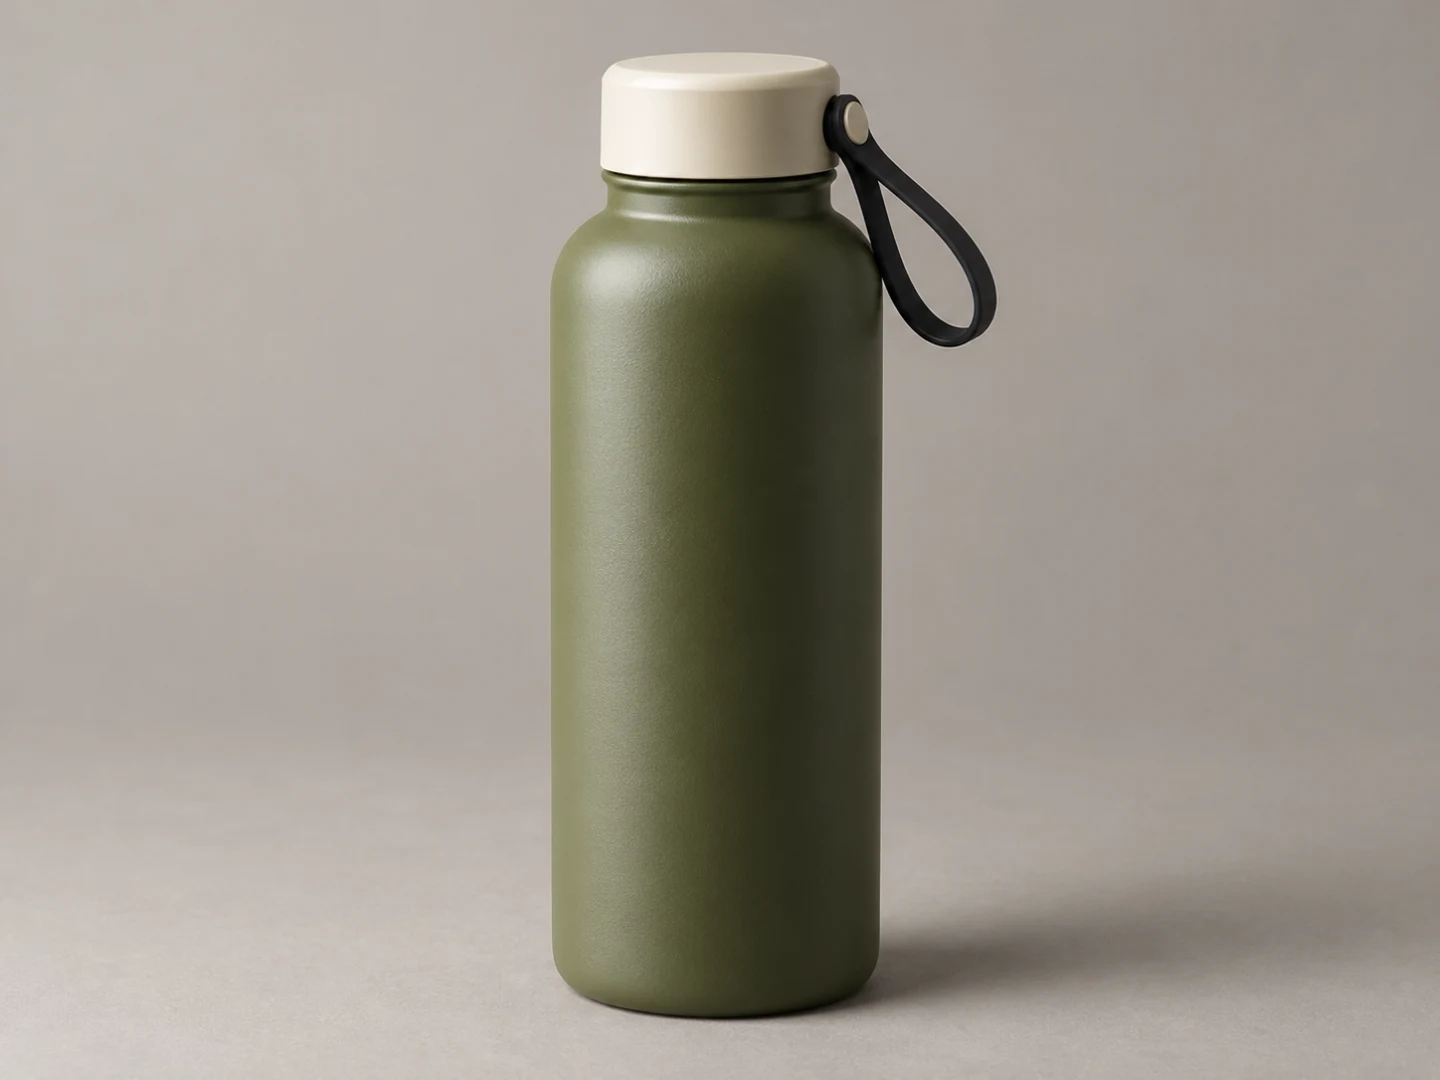
The appearance reference answers what the replacement should be: full body, lid shape, loop, proportions, and finish.
Do not fill the reference set simply because the tool accepts more images. Select images that resolve a real ambiguity, such as how the lid connects or how the side looks. An obscured label or tiny logo in the source deserves its own acceptance condition, not an assumption that extra references will fix it.
Write a goal, preserve, and do-not-change brief
Separate the requested edit from the scene details you want to retain. Here is a starting brief for the proposed desk shot; adjust it to match your own footage and product.
Goal:
Replace the plain bottle-sized prop placed on the desk with the product
in my reference image: olive-green body, cream lid, black loop.

Preserve:
Keep the source camera viewpoint and movement, action order, hand path,
contact with the prop, placement on the desk, and final pause.

Do not change:
Keep the desk, background, clothing, and other visible objects.
Do not add text, another product, or a new camera move.

Acceptance:
The fingers remain in front when they cover the bottle. The bottle keeps
its proportions and lid connection during placement and after release.
This is descriptive language, not special command syntax. If the lid fails, review its reference and movement before adding a new background, lighting style, and camera move.
Follow the published route, then verify your account's controls
Higgsfield's published starting route is Video → Genjutsu Lite → mode → video and references → Generate. The following checkpoints add preparation and cost review; they are not screenshots of a verified signed-in session.
- Open the official Genjutsu Lite entry and sign in if required.
- Confirm the selected model says Lite, then choose the mode that matches the edit scope.
- Add the working video and check the account's accepted duration and file validation.
- Add the product reference and the specific edit brief.
- Check the selected resolution and other visible settings.
- Read the credit quote before deciding to generate.
- Save the result and its settings together for review.
Interface labels and ordering can change. Our public check reached a login entry, so it does not establish the upload controls or available balance in your account.
Review the moving result, especially between the posters
Play the whole clip, then inspect the contact and occlusion moments. Pause before the hand reaches the object, while it overlaps the bottle, at desk contact, and after release. A clean opening and closing image can conceal an error between them.
Check these items against the source and product reference:
- Occlusion: fingers and product edges pass in front of one another correctly.
- Contact: the hand meets the surface instead of floating or cutting through it.
- Light: contact shadows and reflections remain plausible as the object moves.
- Geometry: the lid, loop, label area, and body do not bend into a different design.
- Timing: the placement and release occur where the brief needs them.
- Scope: the edit has not unexpectedly redesigned surrounding objects.
Record the first failing moment and the smallest correction worth trying. Review at normal playback speed as well as paused frames. The final decision is whether this clip can serve its intended purpose, not whether a single frame looks impressive.
FAQ
Is Genjutsu Lite a text-to-video workflow?
This guide addresses editing existing footage: start with a video and define the change. If you still need to invent the story, choose shot order, or decide what the camera should show, prepare that plan first. A finished poster is useful for appearance but cannot demonstrate the movement you want preserved.
Should I prepare a 15-second or 30-second video?
The dated release note and current public banner differ. Check upload validation with Lite selected in your account before committing to a length. For an initial comparison, choose one short, complete action that is easy to inspect; our 4–10-second example is a planning choice, not a published rule.
When should I use standard Genjutsu instead?
The release note directs longer videos, more references, and Restyle to standard Genjutsu. Confirm its current limits in your account as well. If your task is a small product substitution, first keep the requested change narrow; a broader visual treatment is a different creative decision.
Does BriskGen include Genjutsu Lite?
BriskGen has not integrated Genjutsu Lite. If you already have footage to edit, continue through Higgsfield's official tool. If you are planning a new multi-shot story, the product storyboard guide, character consistency workflow, and BriskGen creative workspace can help organize that separate preparation task.
For a first Higgsfield Genjutsu Lite edit, prepare one clear clip, one useful product reference, and one bounded change. Confirm the account's input acceptance and quote, then judge the complete moving result against the brief.