The BriskGen Journal
MiniMax H3 Lite vs Highspeed: Features and Full Cost
Compare MiniMax H3 Lite vs Highspeed and standard H3 with official specs, complete task cost examples, and three practical briefs for your own tests.
MiniMax H3 Lite vs Highspeed comes down to your required resolution, complete input-and-output cost, and what survives your own shot test. The useful choice is the one that completes your intended shot within your delivery requirements. A model name and a low attempt price cannot tell you whether a face, product, or action will survive that shot.
This guide is for creators choosing a model for a short scene. Official specifications and prices were checked on October 26, 2026. We have not run a paid comparison. Every illustration below is an original AI-created static brief for preparing tests, not an output from these three video models.
MiniMax H3 Lite vs Highspeed: the useful differences
Start with the delivery requirement. A client asking for 2K creates a different shortlist from a creator testing a vertical social clip.
| Model | Published emphasis | Output options and price / second |
|---|---|---|
| MiniMax-H3 | Quality | 768P $0.08; 2K $0.13 |
| MiniMax-H3-Highspeed | Quality/speed balance | 768P $0.06 |
| MiniMax-H3-Lite | Low-cost exploration | 768P $0.04; 480P $0.025 |
Source: MiniMax's official API prices and positioning. A service's retail quote may differ.
At 768P, Highspeed's rate is 25% below standard H3; Lite's is 50% below. Comparing 480P with 768P changes the resolution too. It does not demonstrate equivalent results.
The creation API documentation lists 4–15-second outputs for all three and text, image, and reference workflows. Its Highspeed positioning supplies no measured turnaround time for your workload. Record actual wait time separately if it matters to your deadline.
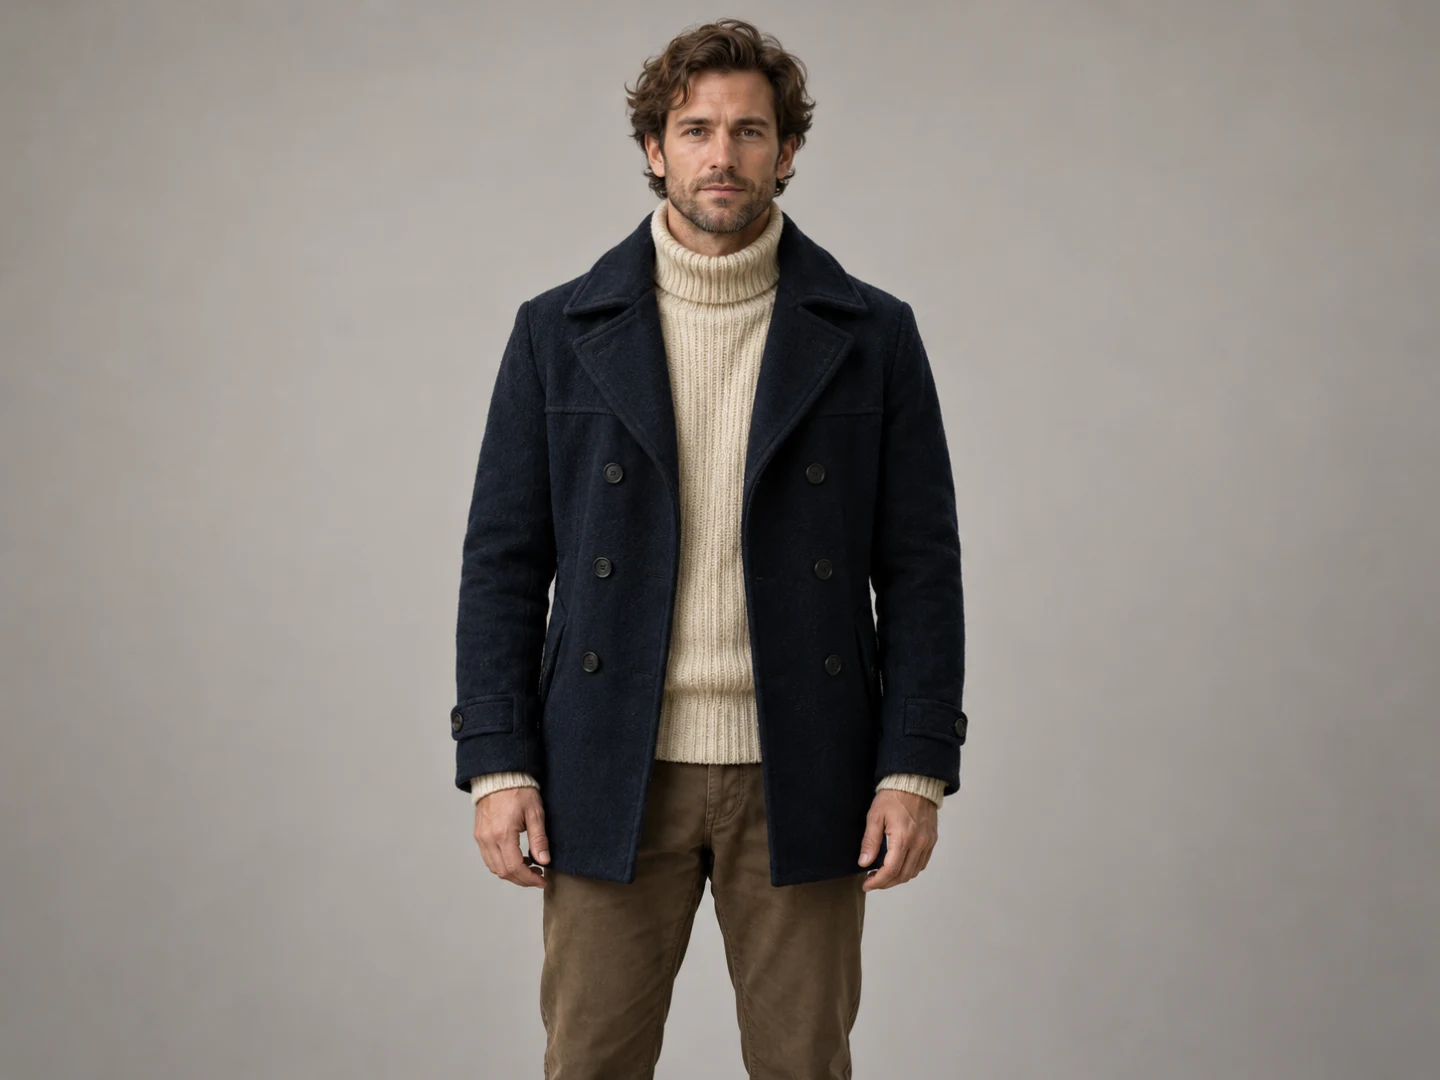
A clear identity reference gives the test something specific to preserve: hairline, facial proportions, stubble, and collar.
Calculate the whole task before choosing
An output-only estimate can miss reference costs. Under the official billing rules, input-video seconds cost extra at the chosen output rate. Five images are free; extras cost $0.04/$0.03/$0.02 each (standard/Highspeed/Lite). Audio input is free.
For the three variants here, the planning formula is:
Estimated task cost = (output seconds + input video seconds) × selected per-second rate + max(0, image count − 5) × extra-image rate.
Use the combined duration if you supply several reference clips. Count the assets actually submitted, rather than every image saved in your project folder.
| Example task | Standard H3 | Highspeed | Lite |
|---|---|---|---|
| 10s output, 768P, no video input, up to 5 images | $0.80 | $0.60 | $0.40 |
| 10s video input + 10s output, 768P, up to 5 images | $1.60 | $1.20 | $0.80 |
| Same video task, with 7 images | $1.68 | $1.26 | $0.84 |
For example, Highspeed's final row is (10 + 10) × $0.06 + (7 − 5) × $0.03 = $1.26. A ten-second reference doubles the duration charge in this particular ten-second-output example. A longer reference is not automatically more useful: include the moment that explains the intended movement.
These are calculations from a price table, not observed charges. They exclude tax, retries, and material beyond the stated inputs. A provider may package usage differently. Compare its final quote and inclusions; “credits” from different services are not a shared currency.
For an actual selection, also log the number of attempts and usable clips. A lower fee per attempt can still lead to more work if you repeatedly replace a broken hand or product lid. We have no measured acceptance rates here, so the table cannot predict your cost per approved shot.
Prepare one fair comparison
Fix a target before opening three model menus: one duration, one aspect ratio, one resolution, the same prompt, and identical input files. Use 768P when comparing all three. Decide whether the shot needs a supplied opening frame or reference material, then keep that choice stable.
The API's input rules keep first/last-frame inputs separate from reference roles. For reference-to-video, Lite needs a concrete aspect ratio rather than adaptive. Specify the intended composition, such as 9:16, and confirm the actual output. Do not silently compare a tight portrait crop with a landscape composition.
Save the brief and settings with each result. If a tool rewrites your prompt or does not expose a comparable setting, record that limitation. You are then comparing the workflows you can access, rather than an isolated model variable.

An exterior lighting change belongs in a later test. Keep the initial scene and exposure comparable before adding another source of variation.
Three shot briefs that reveal different problems
A dramatic montage is difficult to diagnose. These briefs isolate practical checks you can repeat with your own subject. They are proposed tests, with no claimed winner.
1. Character micro-action: turn, glance, hold
Use one approved character and a quiet medium shot. Ask the person to glance toward a window, raise an open compass slightly, and hold. Keep the camera steady. The useful question is whether a small movement preserves identity and the relationship between hand and prop.
Inspect the face at the start, during the turn, and at the hold. Watch whether the hairline or age changes, the collar grows, or the compass lid disappears. Record the first failure time. “Face changes at the turn” gives the next prompt revision a purpose; “looks bad” does not.

The map-room brief keeps the action small enough to inspect the face, grip, compass hinge, and final hold together.
For a reusable identity block and shot-to-shot checks, use our consistent characters in AI video workflow. Keep a cross-scene identity test separate from this first single-shot comparison.
2. Product detail: surface, lid, and silhouette
Choose one product with a clear shape and a visible closure. For this brief, use the same original bottle reference for every candidate. Request a restrained camera move while the bottle stays still. Check whether its height, shoulder, lid seam, handle attachment, and surface finish remain coherent.
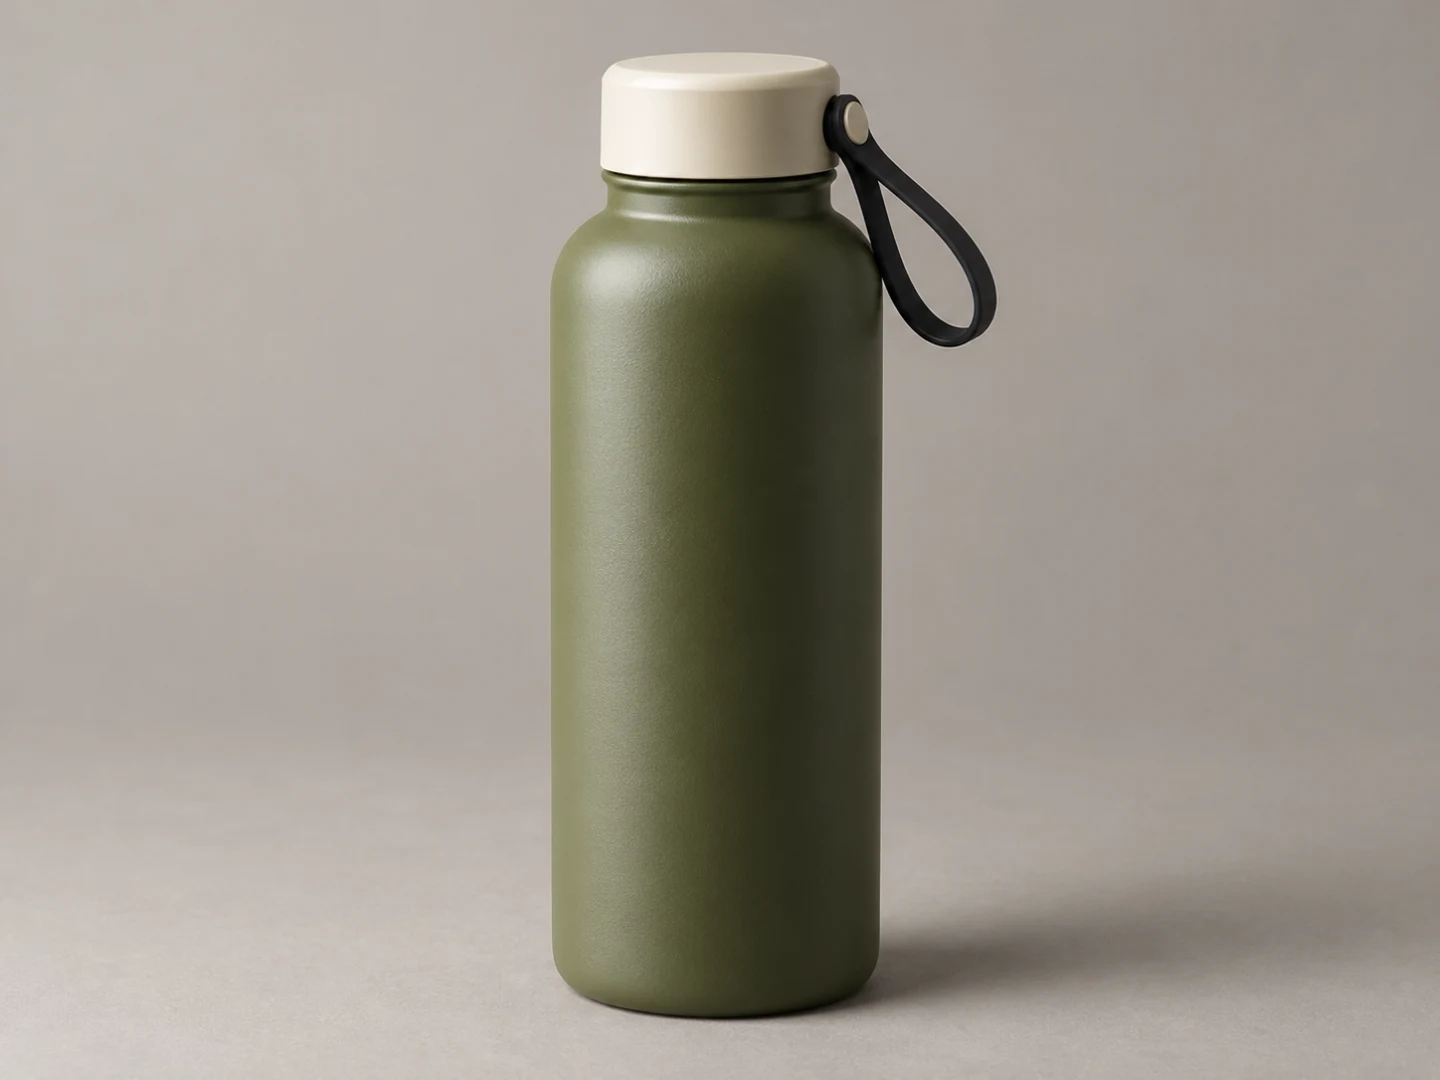
Use the whole bottle to define the approved silhouette before judging a moving product shot.
Then try a separate close view of the lid. Do not add an opening action until the static geometry survives the camera move. If both movement and mechanical state change at once, it becomes harder to identify the cause of a failure.
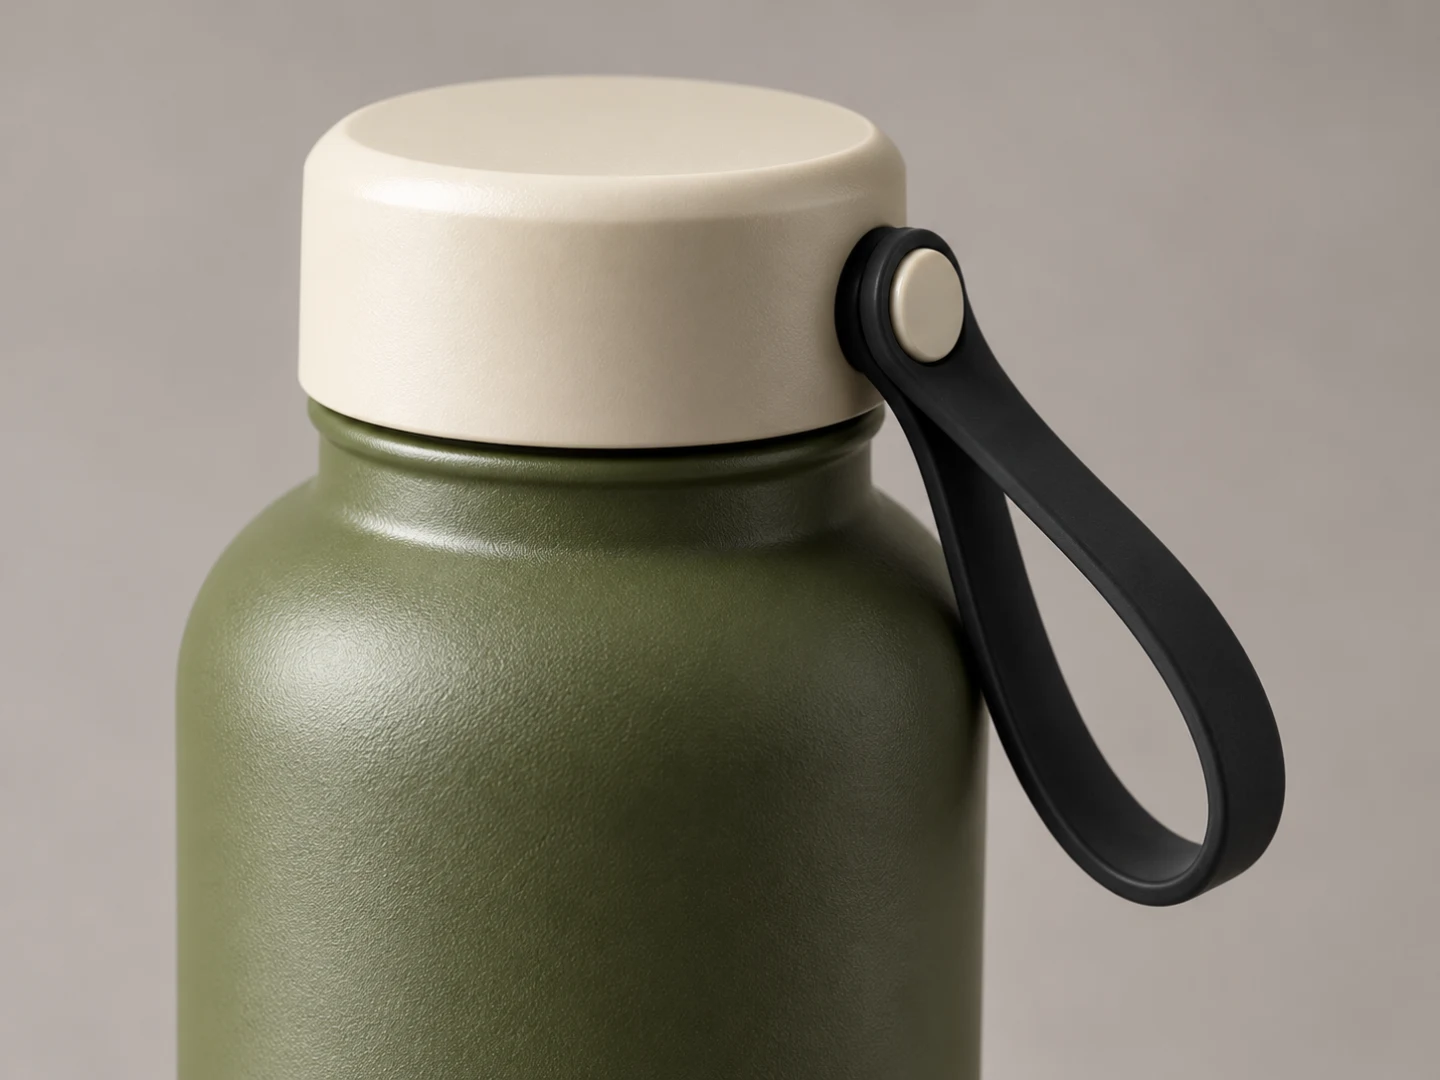
The lid view defines the seam and attachment details that should stay stable; a pleasing reflection alone is insufficient.
Our product video storyboard guide explains how to separate a hero view, detail shot, and use demonstration. That separation also makes a model comparison easier to interpret.
3. Complex action: approach, step, land
Ask a runner to approach a low stone step, cross it, and land in balance in one continuous shot. Keep the feet and obstacle visible. Avoid a fast camera orbit in the first test: it can conceal the exact contact you need to inspect.

The action brief exposes approach distance, foot placement, obstacle height, and landing space for a later continuous-motion test.
Replay the approach, contact, and landing individually. Does a foot pass through the step? Does the body jump position? Does clothing change as a limb crosses it? A result may look energetic at normal speed but fail the moment needed for an edit. Judge the intended use, including the playback speed your audience will see.
Review results with one acceptance checklist
Write your pass conditions before viewing the candidates. Otherwise, an attractive background can distract from the feature the shot was meant to test.
- Subject: identity, silhouette, wardrobe, or product structure stays recognizable.
- Motion: the requested action happens in order, with readable contact and a usable ending.
- Continuity: hands, props, seams, and background objects do not change unexpectedly.
- Composition: the subject remains inside the intended crop and essential details stay visible.
- Delivery: the downloaded file meets your required duration, framing, and resolution.
- Effort: record elapsed time, attempts, billed usage, and the repair needed before acceptance.
Use neutral filenames while reviewing so the model label does not become the explanation. Keep every attempt, including failures. With only one sample, describe a useful observation about that shot; repeat the same brief before treating it as a dependable pattern.
FAQ
Is MiniMax H3 Lite better value than Highspeed?
It has the lower listed 768P rate. Better value depends on whether its results satisfy your shot requirements and how many attempts you need. Begin with one controlled brief, record usable results and total spending, then decide whether the lower attempt cost helps your particular workflow.
Can Highspeed or Lite generate 2K?
Only standard MiniMax-H3 lists 2K among these three. Confirm the model and delivery setting in your chosen service before paying. If a platform promises a larger download, ask what process creates it; a file's dimensions alone do not explain how the image was made.
Does a ten-second video cost only ten times the output rate?
That describes the duration component when there is no input video. A reference-video task also includes its input duration, and images beyond the free allowance add another charge. Use the complete task formula above, then check the service's quote and the final usage record.
Can I test all three in BriskGen?
This article does not establish access to Lite or Highspeed in BriskGen. Official documentation, account access, and a particular workspace's available models are separate facts. If you first need to organize the story and shot briefs, open the BriskGen creative workspace; available models are shown there.
For your MiniMax H3 Lite vs Highspeed decision, choose one of the three briefs, fix its inputs and pass conditions, and budget a small comparison. The useful answer is the model that completes your intended shot within your requirements, supported by results you can inspect.